A couple of months ago, we were in San Diego watching the solar eclipse by accident and I started seeing images of a massive rock formation crop up across the Internet as photographers had flocked to “Horseshoe Bend” in Arizona to capture it as it happened. Sadly, clouds obscured a lot of the images they posted, but it did make me want to go there to shoot (after all, it faces almost due west, perfect for sunset) – so a trip was planned. The result? Well, I’m happy with it at least… 😉
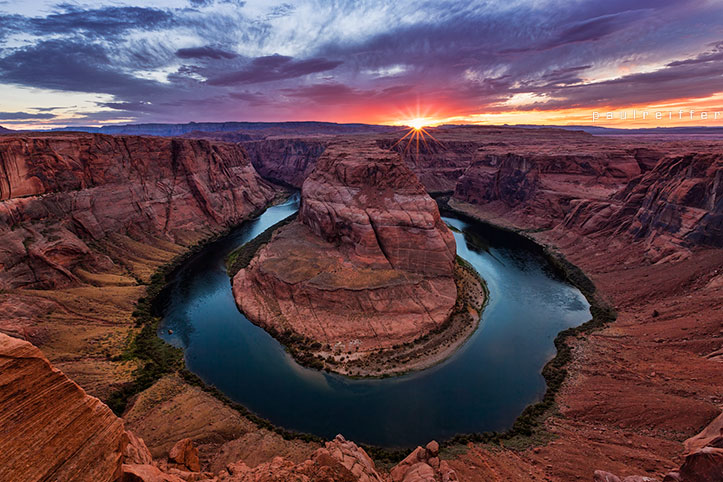 “Horseshoe Bend” – Print available to buy now
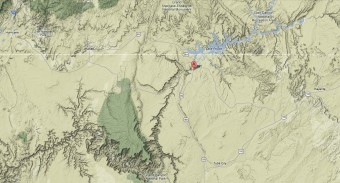 So, where is this place? Well, funnily enough – it’s right next door to another fantastic place to shoot, Antelope Canyon – both places being close to a town more widely known for its access to Lake Powell; Page, Arizona.
It also happens to be just up the Colorado river from Grand Canyon National Park – but having done the drive a couple of times (and given that this time it would be a very short trip, landing from London), I decided to stick with the option of flying from LA…
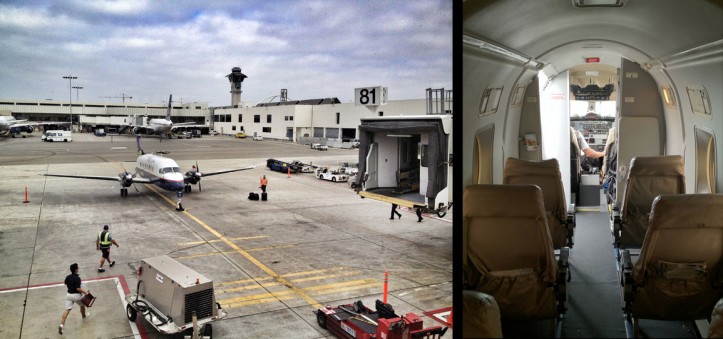
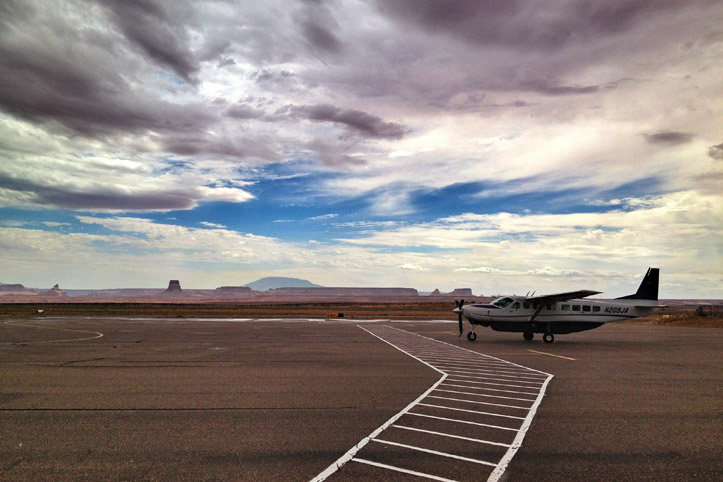
With a bit of investigation, it turned out that you can fly to the 100 degree heat-bowl of Page from LAX or Las Vegas with a fantastic company called Great Lakes Airlines. Word of warning though – compared to those 747s that move around, the aircraft you’ll be on will look rather tiny. No less safe, and a much friendlier service than “the big boys”, but it’s not a trip for those with a fear of small spaces 😉
On the plus side for me – it was an empty plane, and I could at least chat with the captain on the way over…!
Flying in to Page, you get a bit of a bumpy ride (along with a little stop-off at Prescott, AZ) but overall, they get you there in record time when you compare it to driving. Plus, you land in one of those fantastic local airports where everybody is friendly and happy to help (even the TSA guys!) meaning you’re on your way in a rental car in minutes.
I was staying at one of my little gems, surrounded by National Parks and slot canyons, the Holiday Inn Express, Page. With a trip out to Antelope Canyon already planned for the early afternoon, it was a quick “grab and run” while checking the sunset time for later.
I had two nights in Page, but there’s one thing I’ve learnt when photographing landscapes : never bet on the weather. It may be forecast for perfect sunshine (as it was) but in a matter of minutes you can be surrounded by clouds and your perfect picture has just flown out of the window. Thinking I was in for a perfect sunset, I rested back at the hotel after my afternoon at the canyon. What I didn’t realise was that the bright blue sky outside was quickly being replaced by clouds. By the time I got out to the car, the sun was nowhere to be seen 🙁
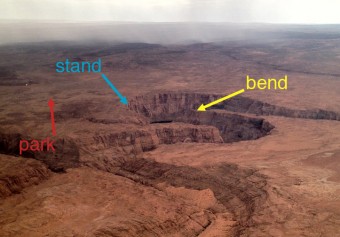 Driving into to the parking lot, I got that sinking feeling as people walked back down the hill towards me. The image to the left was actually taken from the plane on the way home, but we took a route directly across the canyon so I could capture the layout 🙂 There’s a big lookout point on the hill on the way, but you need to get right to the edge of the canyon in order to get the truly amazing view. Getting a “spot” for sunset looked like it could be tricky as all the photographers have the same idea : get to the centre of the bend! Luckily, with the sun behind clouds, many had either given up or decided it was getting too windy to stay and be disappointed.
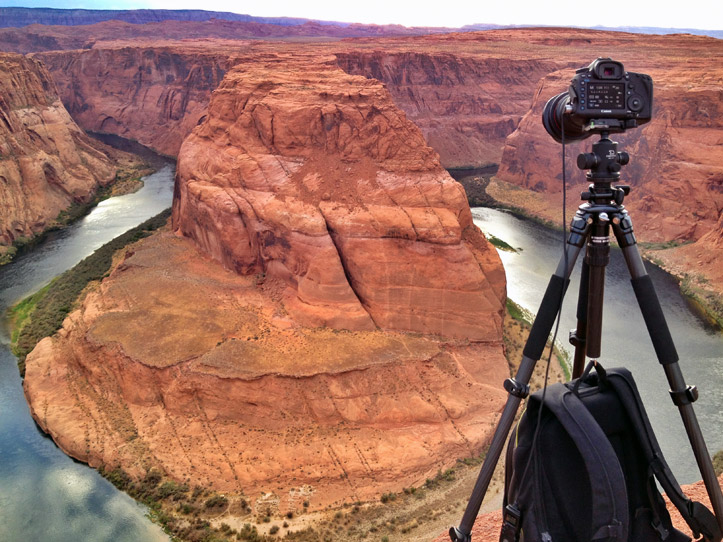 When you are at the edge, it’s an interesting dilemma – you have to be as close as possible, or you’ll have rocks beneath you obscuring the river below – but WOW you’re a long way up and the vista is huge. Even with a full frame body and wide 16-35mm f/2.8 L II lens attached, I struggled to capture the whole scene in one go and using my camera bag for weight-support, I didn’t move more than 10″ from my tripod for the whole time I was there, juuuuust in case 😉
More people left. A few couples turned up to take pictures of themselves with the stunning view behind them, but in the end there were only 4 of us left as you could feel the sun start to drop. Then, as if by magic, right at the point I was planning my return the next night a few rays of sunshine cracked through the cloud.
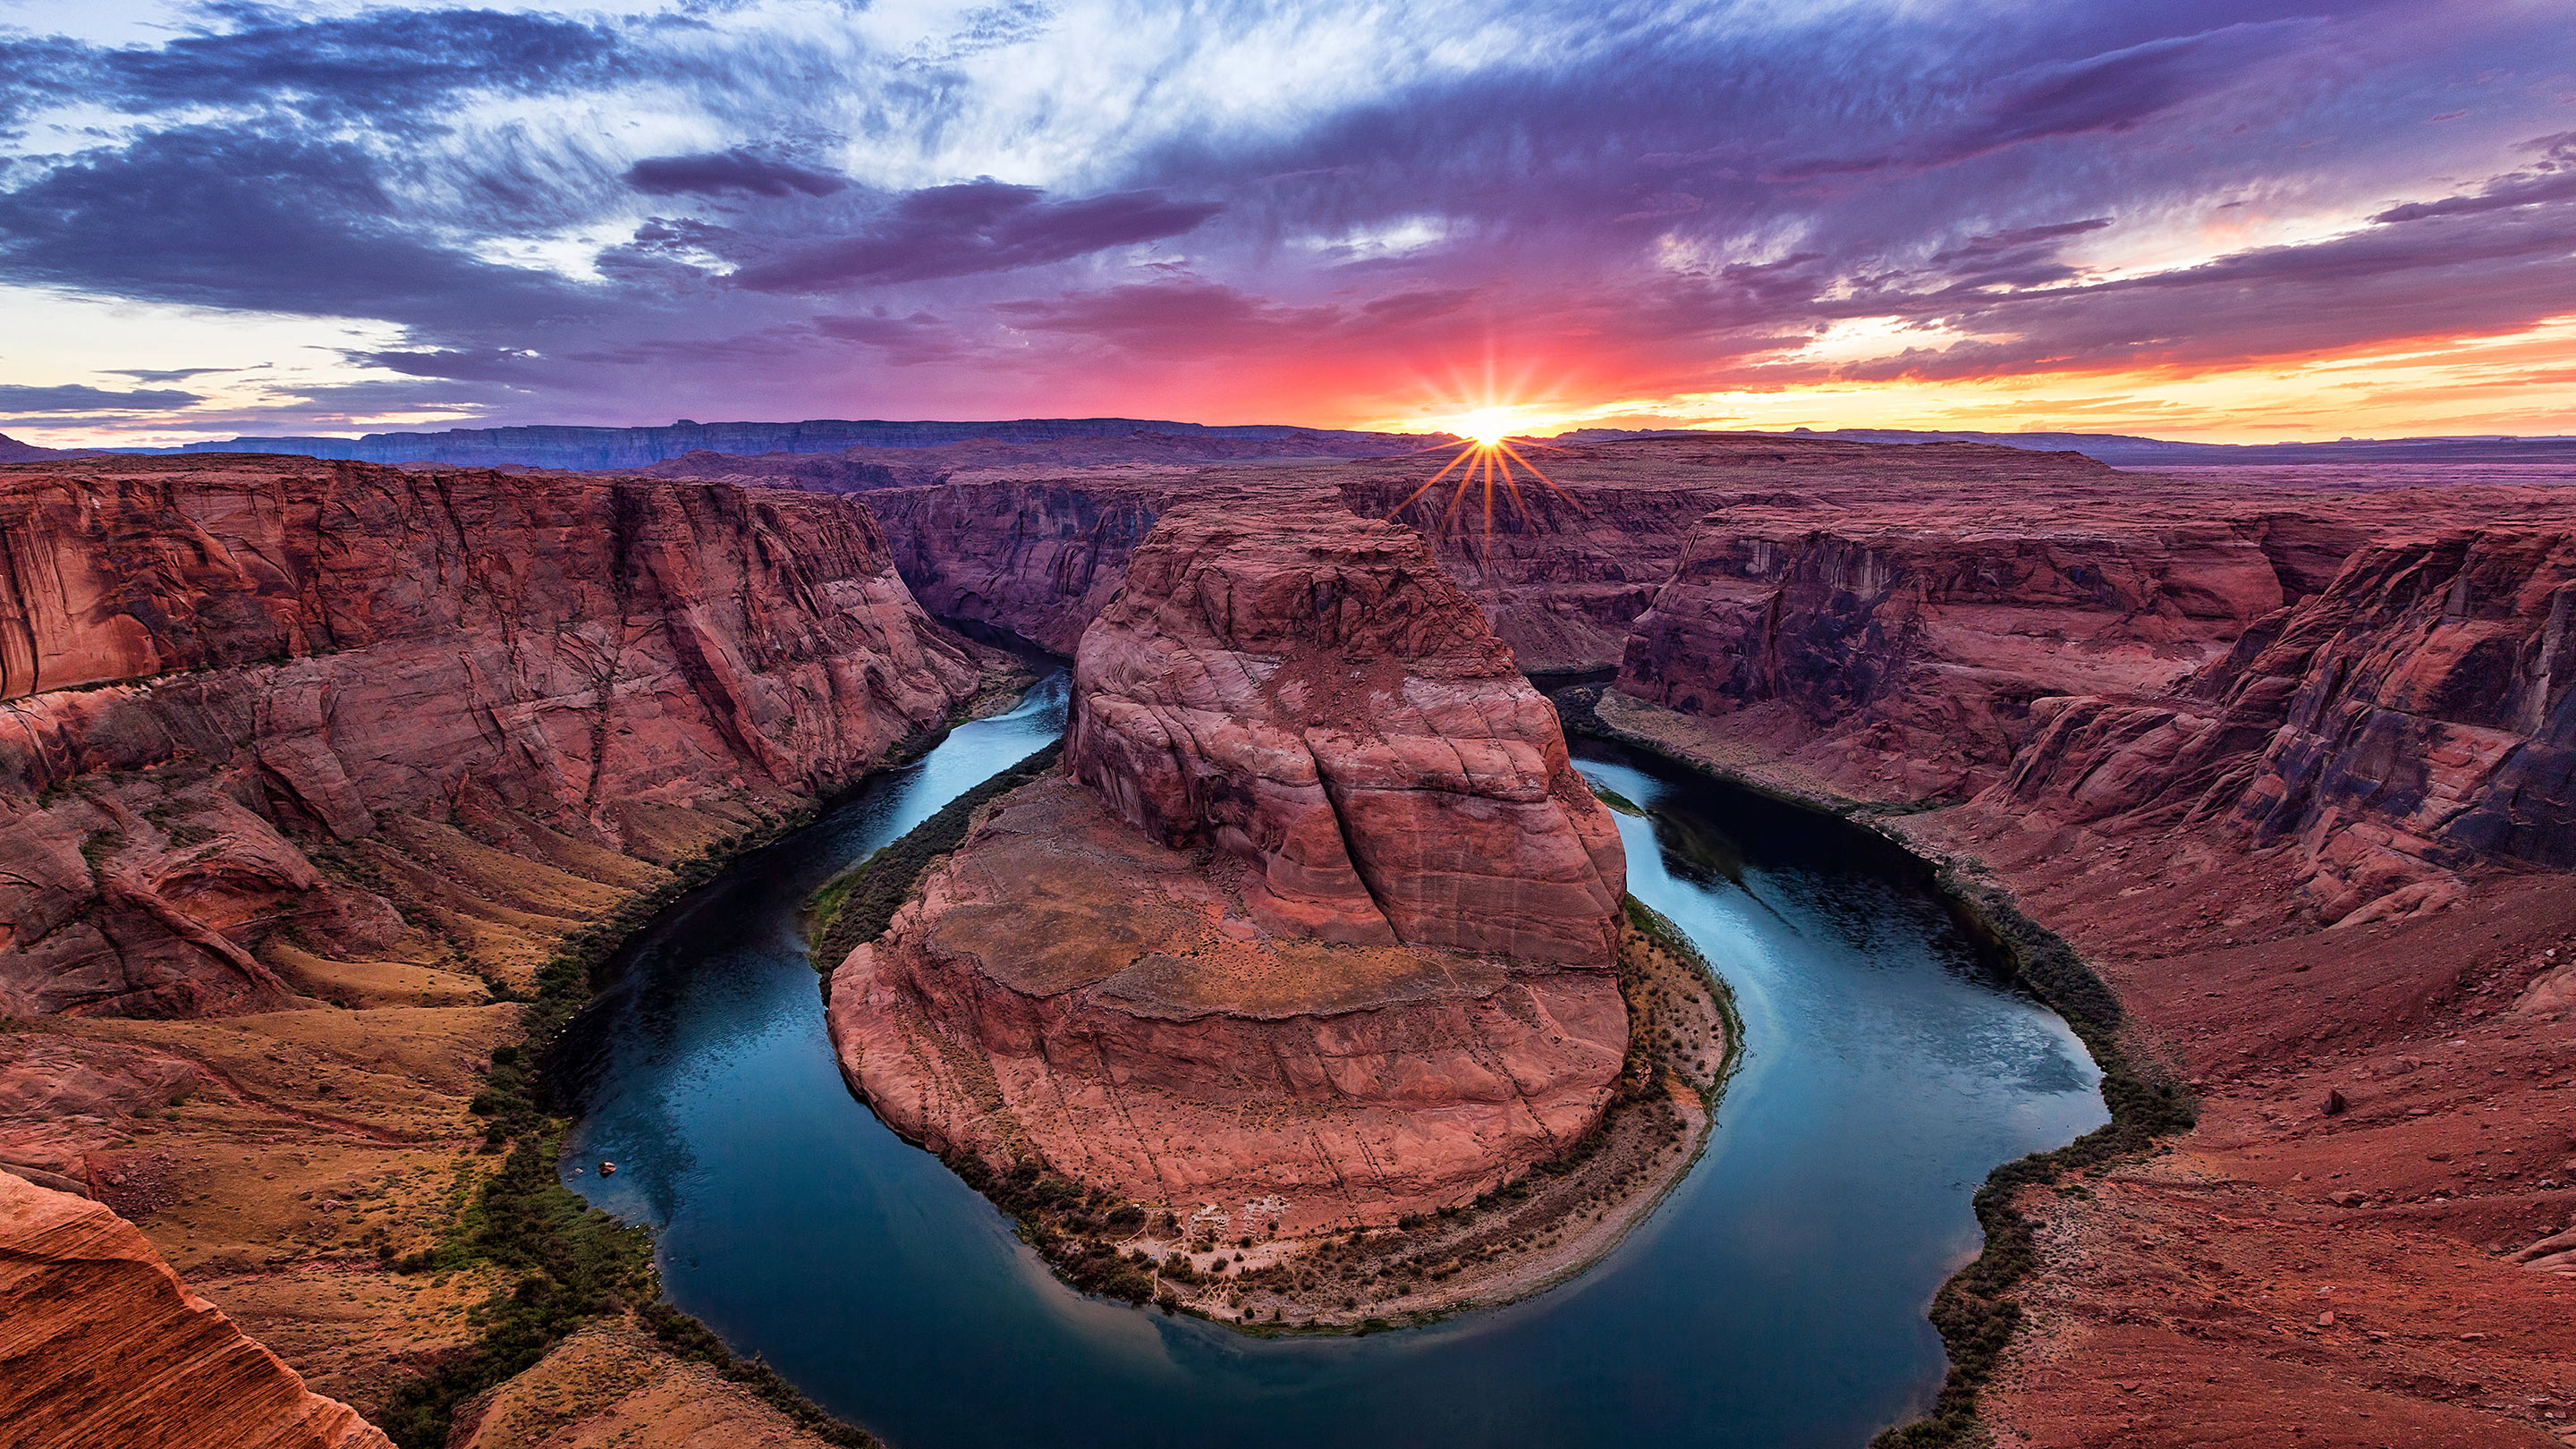
The opening got bigger as the warmth from the sun started to heat up the air below, and the sound of shutter clicks began while I hurried to fit my ND Grad as the sky light was now getting really strong 🙂 As usual, I posted a “what I see right now” on my Facebook page, but the iPhone really didn’t do it justice for two reasons: 1) the iPhone doesn’t have an ND Grad option to tame the light in the sky a little(!) and 2) this scene called for an ultra-wide lens, far wider than anything a mobile phone can offer right now. This got me thinking – I love my iPhone, but here’s a really challenging shot (for both perspective, dynamic range, as well as the wide angle requirement), so let’s see the difference between the little camera in my iPhone (on the left) and my full-frame DSLR (on the right) while we’re here…
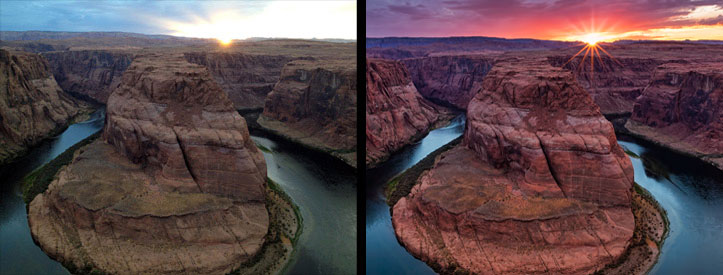
Now, granted, the final DSLR image above right has been “tweaked” a little in terms of saturation, but otherwise it is a pure rendition from the camera. Likewise, the image to the left is with the iPhone’s “auto” settings enabled. However, my 16-35mm lens provides starbursts I just can’t match with any other piece of glass. Combine that with the simple addition of a graduated ND filter to bring back the detail in the sky and it just makes the whole scene hang together in a way that phone cameras simply can’t touch. Oh, and that’s forgetting the frame size. Those images above; they don’t look bad in my opinion, but then don’t forget that framing is the widest the iPhone’s lens can go…
So let’s compare the iPhone’s field of view to that which my new 5D/3 was capturing:
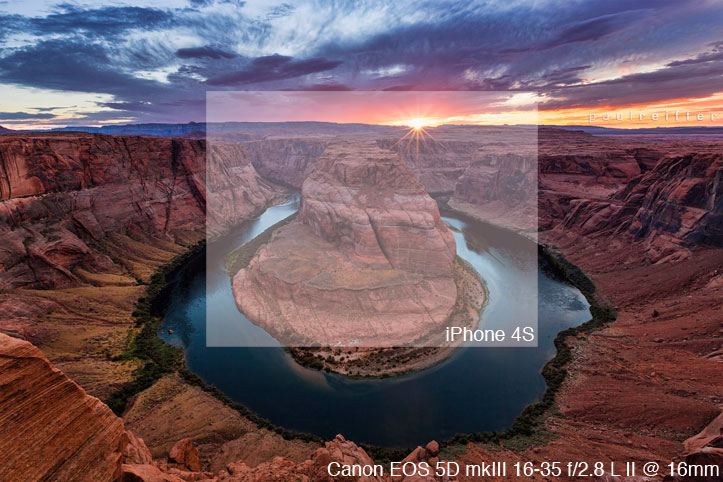
Wow. On the one hand – camera phones are fantastic : they’re always with you 🙂 On the other hand, without a panoramic stitch function just look at what you’d be missing! 🙁
Anyway, the final image is one I’m really pleased with. It took a lot of time, effort, money and jet-lag to get there, and eventually the sunset didn’t let me down. Many people left that ledge with the assumption that the sun had disappeared for the day and it just goes to show: Sometimes it’s just pure patience that you need to get the shot you want.
Later that night, I popped across to the canyon with a new photographer friend I met in Antelope to shoot some stars while light-painting the canyon walls – the results are pretty cool so they’ll be online soon. I’m glad I did manage to squeeze all three shoots into the one day, though, as the weather the morning after was basically rain, stormy winds and thick cloud. With that in mind, I decided to leave early and headed to San Francisco a day ahead of schedule. Although, following my own advice, I’m sure someone else will have captured an amazing shot of the Colorado river that night too. Just as long as they were patient… 😉
Finally – my “top tips” for photographing the Canyon and Horseshoe Bend:
1) Don’t think that the weather now will be the weather in 30 minutes’ time.
2) Take a WIDE lens – as wide as you can get.
3) CLEAN your lens every now and then – the longer it’s exposed out there, the more dust will be accumulating.
4) Get your spot early-on. I’ve heard stories of not even being able to get to the ridge during peak season.
5) Stay a little longer. Just because others are leaving doesn’t mean the opportunity has passed.
6) ENJOY the view! Get out from behind your camera and look at how amazing it is with your eyes as well as the CMOS sensor!
Want a print for your own wall? – they’re available to buy now! 🙂
