My iPhone 15 Pro Max is coming up to its 1-year anniversary and with the imminent 16 launch, we’re about to see what its successor can do as it takes the limelight in the next round of updates from Apple.
So I figured, what better time to look back on the past year of iphone-ography, to reflect on the great, the good, and the parts that still need some attention as we click along to the beat of our daily lives.
(And for those of you who want to skip to sections – here you go…)
- Landscapes that wow
- Back in 2009…
- Shooting The Night Lights
- Long Exposure / Frame Averaging Apps
- Golden Hour Goodness
- Capturing The Moment
- Ultra-Wide Fun
- Panoramic Views
- Details & Textures
- Macro & Close-Up
- Dynamic Range Challenges
- Capturing Bold Colours
- Shallow Depth of Field
- Sun Flares (or lack of)
- Concerts & Tricky Lighting
Landscapes that wow.
It will be of no surprise to any of you reading this, that most of the images I capture on my iPhone are landscape views.
It’s fair to say I rely on my iPhone for a lot of my work – whether it’s in maps and planning with apps and tools that have become part of my core workflow, or as a “reference shot” device that allows me to go back to what was there when I’m editing a shot from my full camera, the iPhone has become the one device that’s with me no matter what.
And that means it’s with me when I’m lucky enough to see some incredible views.
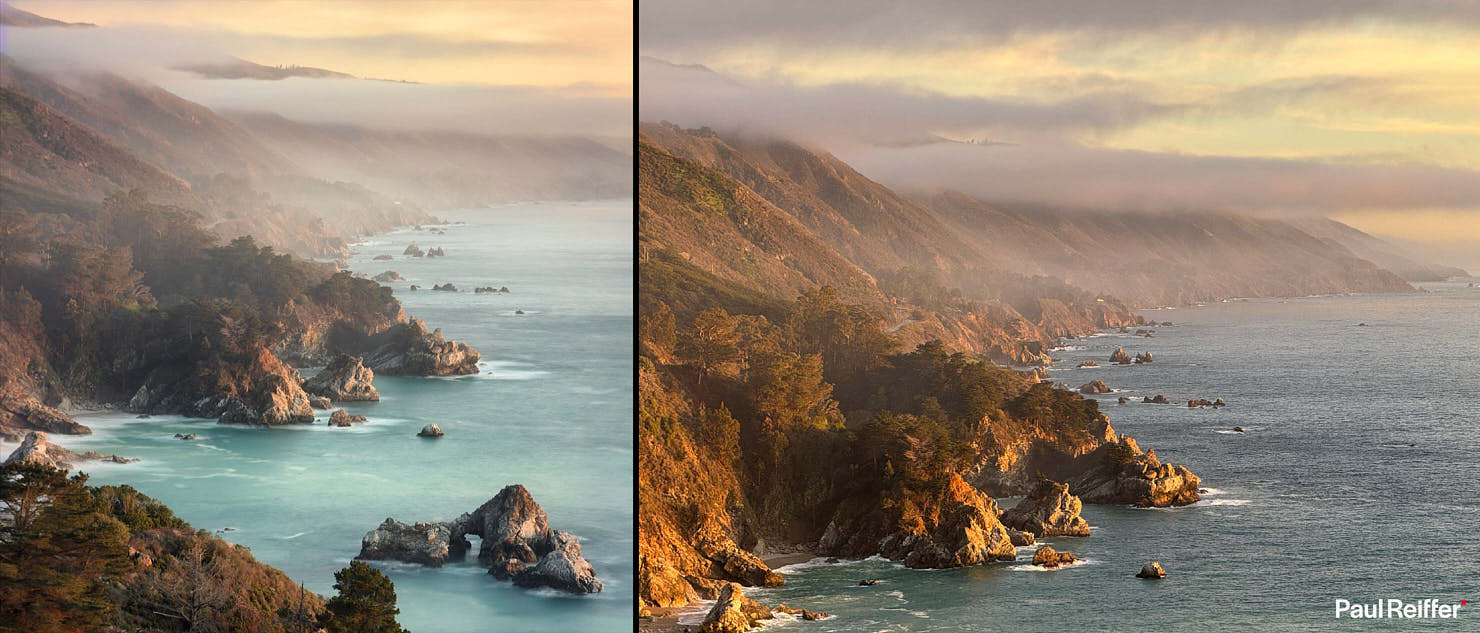
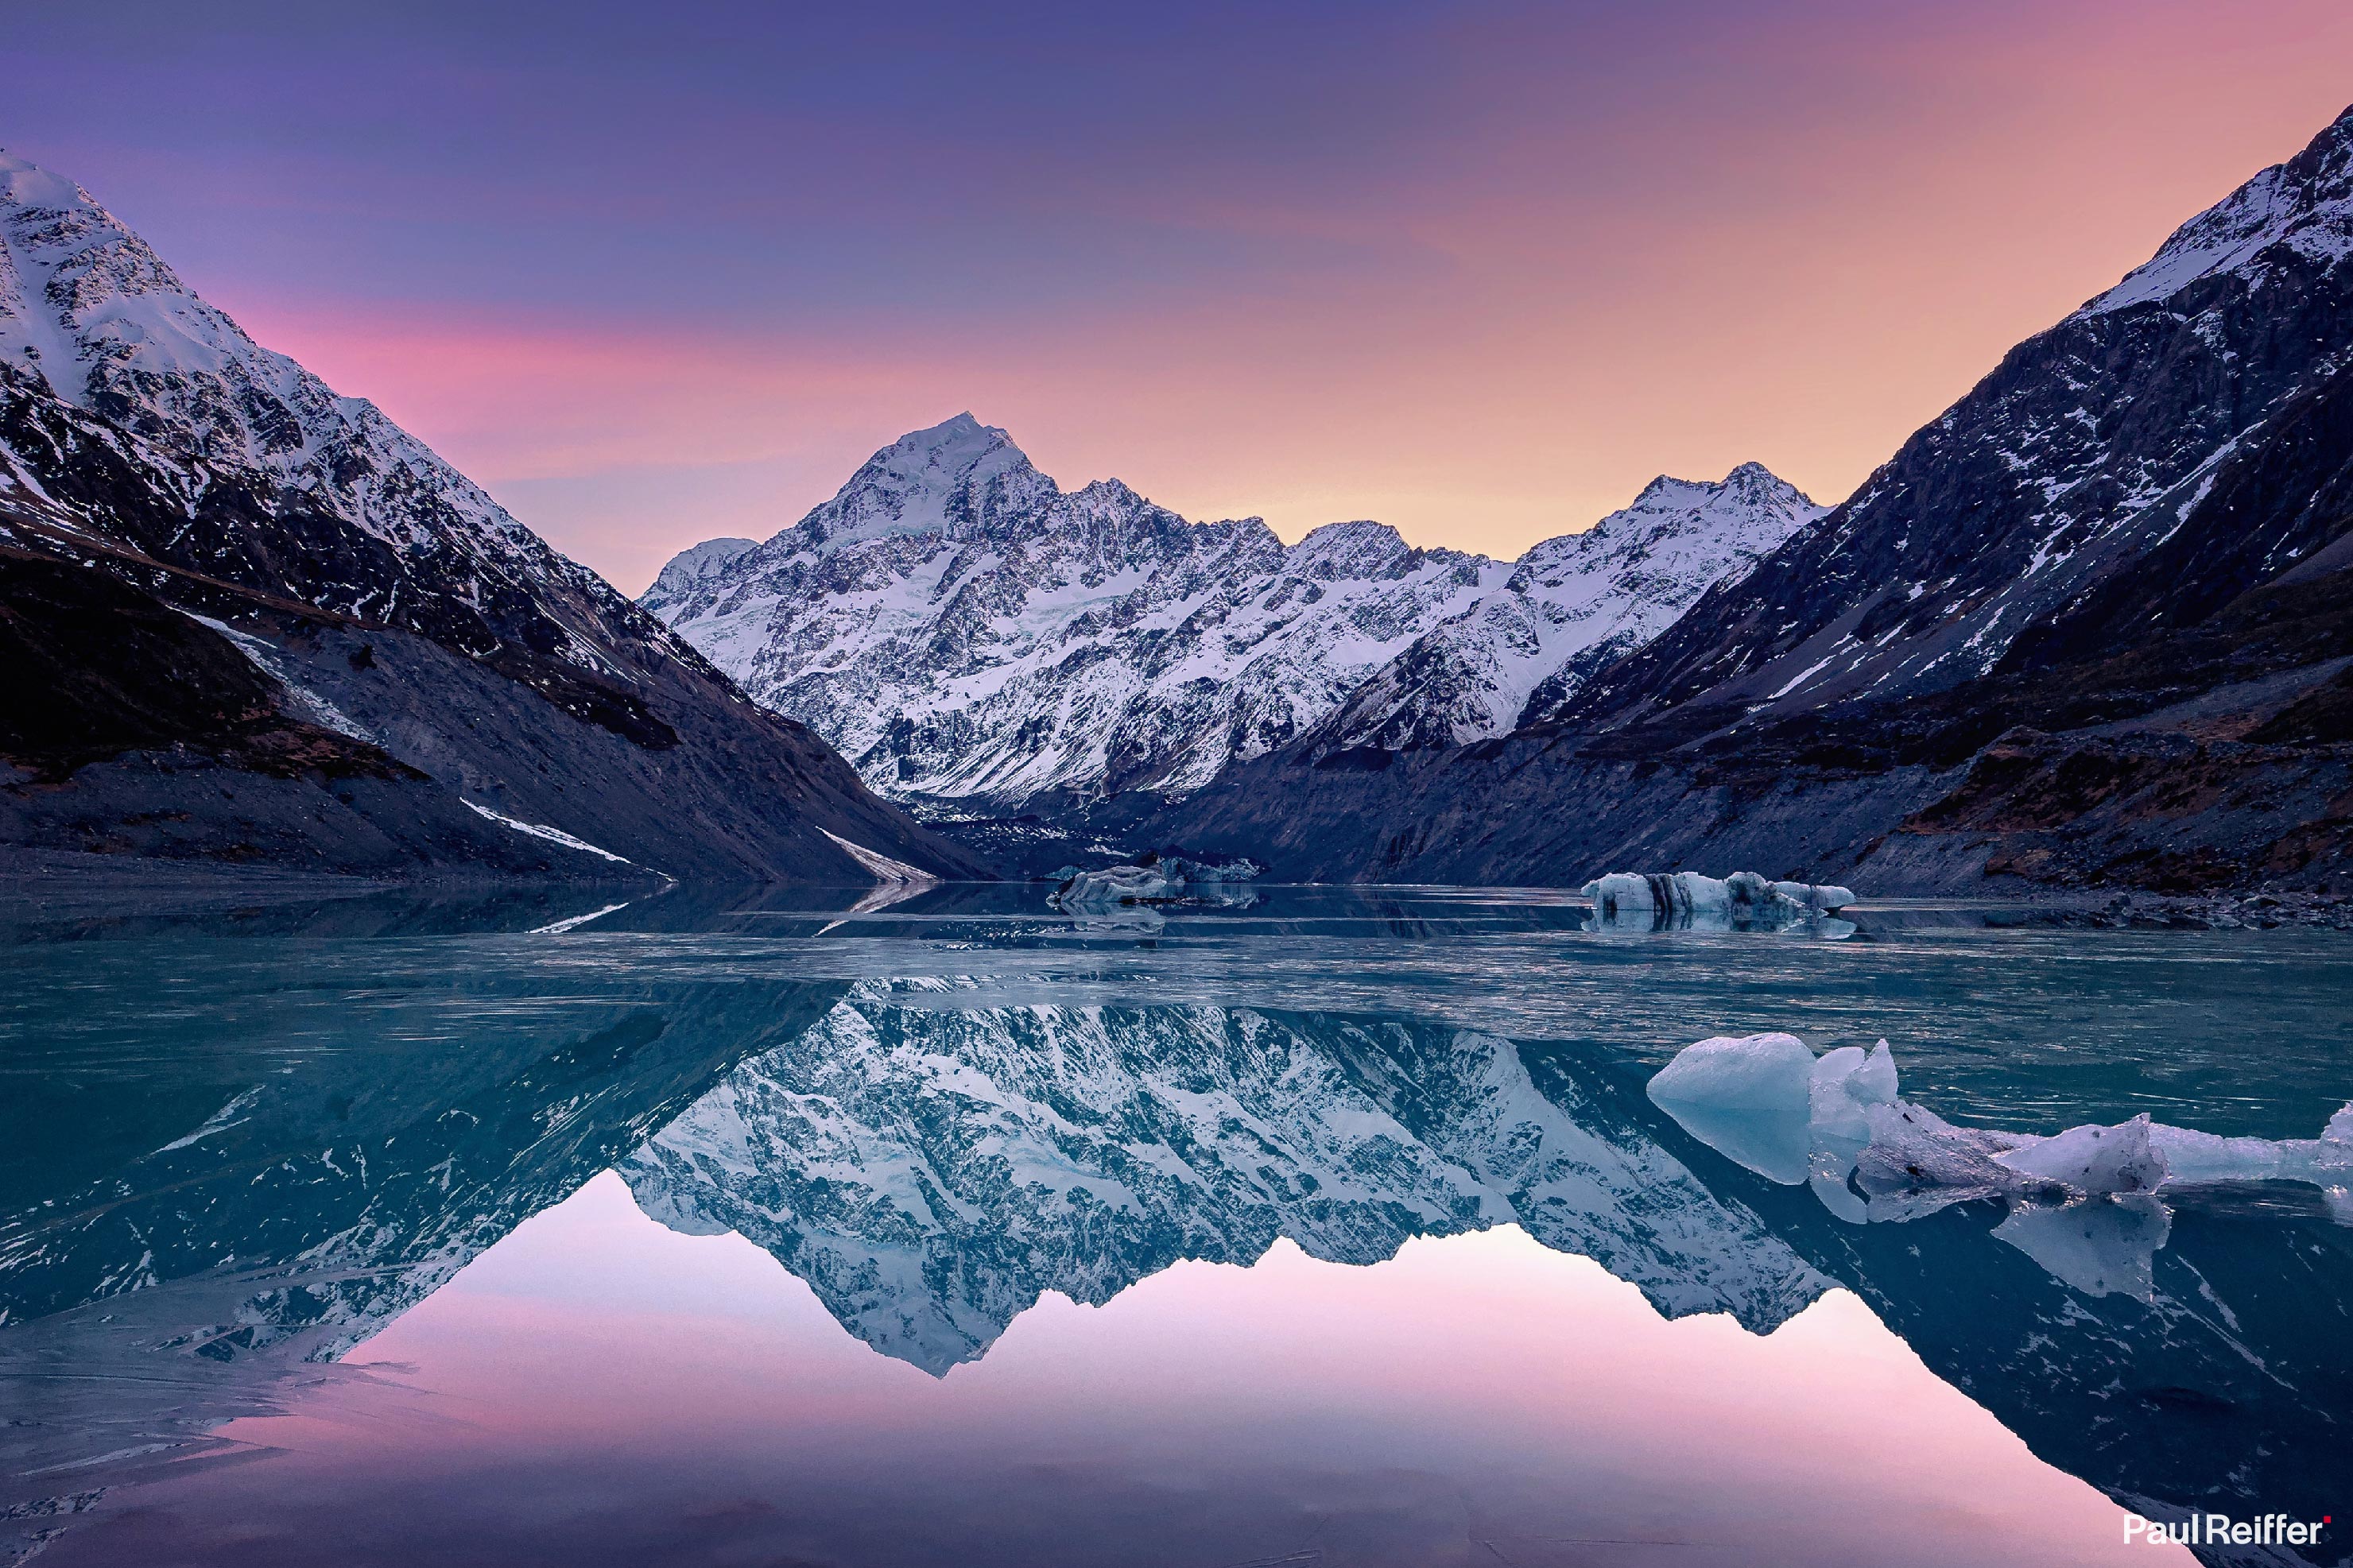
From Big Sur on the coast of California, to the pristine reflections of alpine lakes in Tekapo, New Zealand, it’s my phone that’s always there to offer a quick and accurate capture of what I see, regardless of any settings or equipment choices that I may make on my “big kit”.
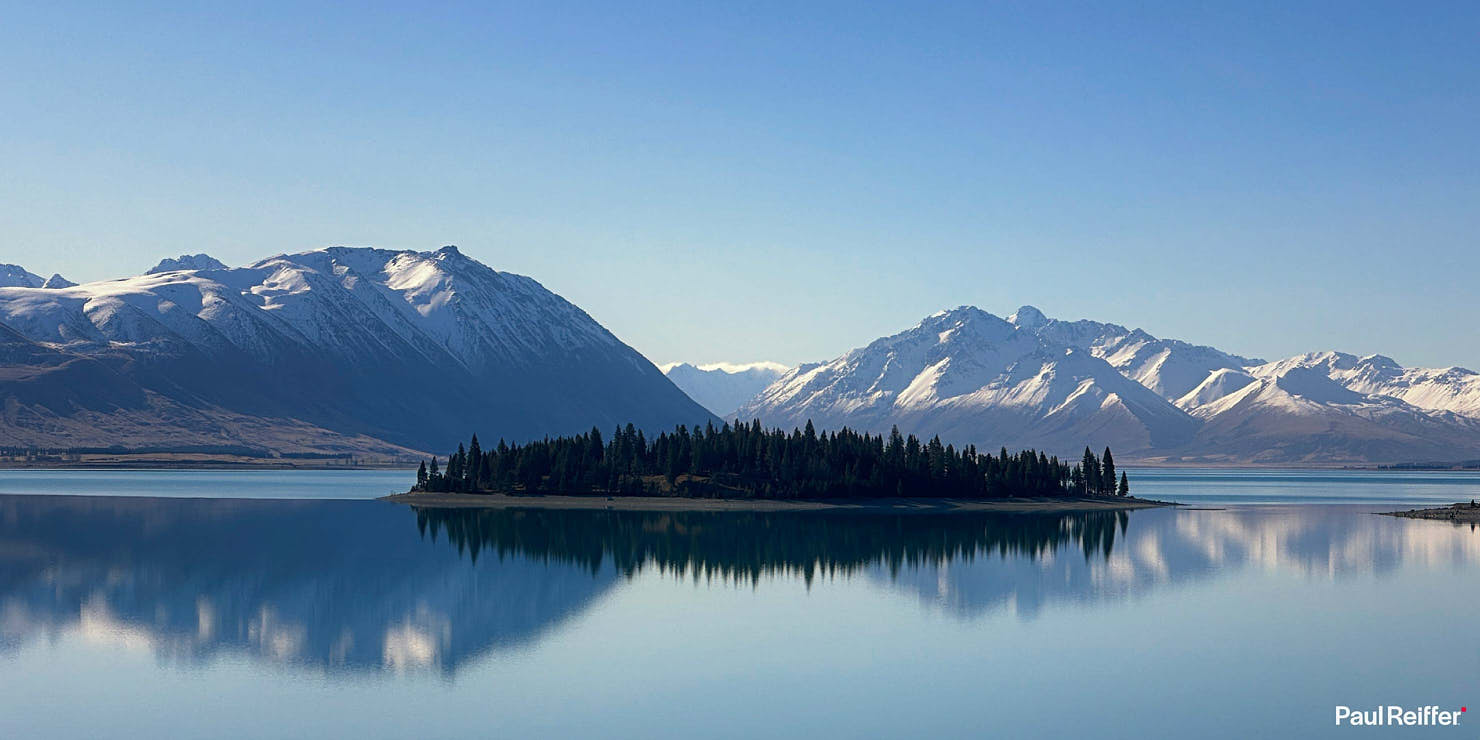
Sometimes, taking away those choices, and just focusing on the scene in front of you, actually gives us a clearer vision and image without the internal debate (and sometimes regret) over what settings we used at the time.
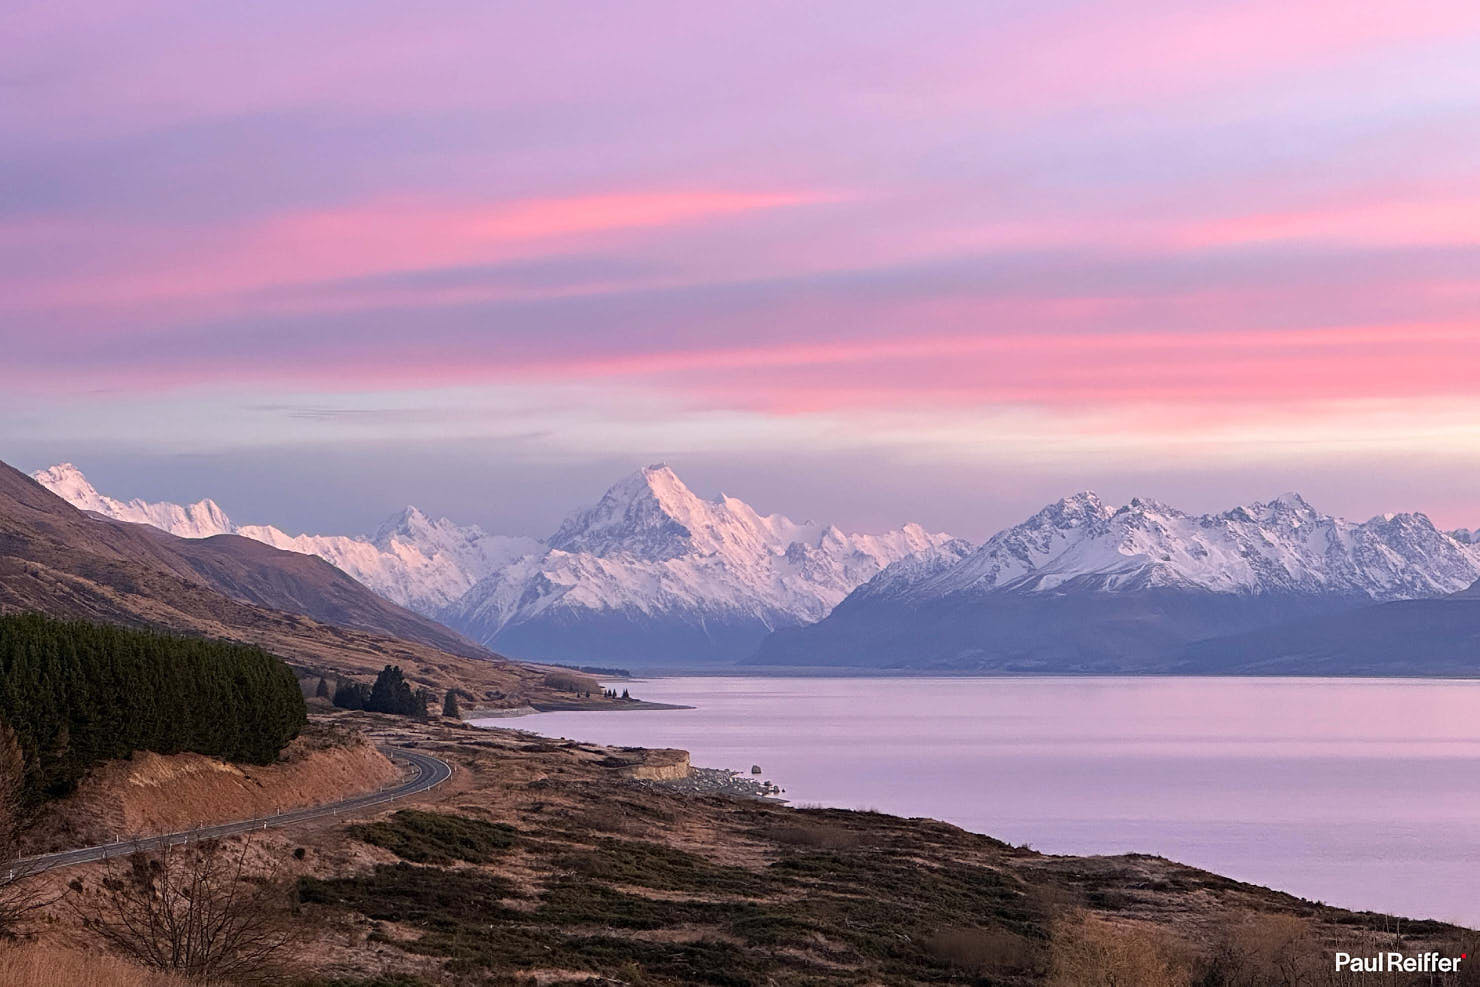
I mean, can I get a better shot than that of Aoraki Mount Cook during an amazingly pink-skied sunrise? Sure I can.
But that’s not really the point of the camera in your pocket, right? The idea is to capture what you see, right here, right now. “What I see right now”, if you will…
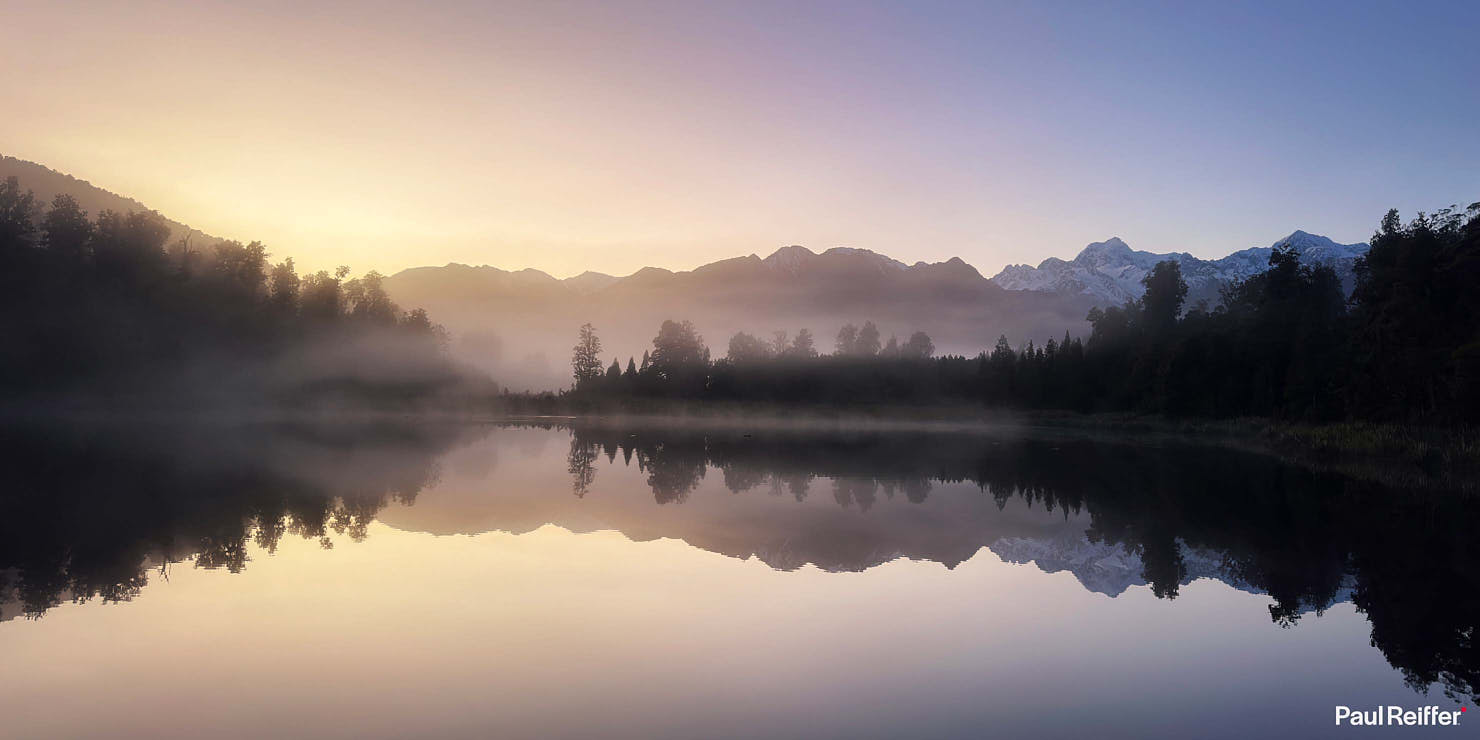
Of course, let’s not take away from the fact that the cameras in each edition of the iPhone lineup have gotten better, and better, and better still with each launch – delivering incredible image quality with seemingly effortless interactions – to the level where it is absolutely possible to create “pro-level” photographs of most subjects we encounter.
For me, however, my iPhone is the most used camera in my collection for another reason – one that’s more basic than that – it’s because it’s always with me, wherever, and whenever, I am.
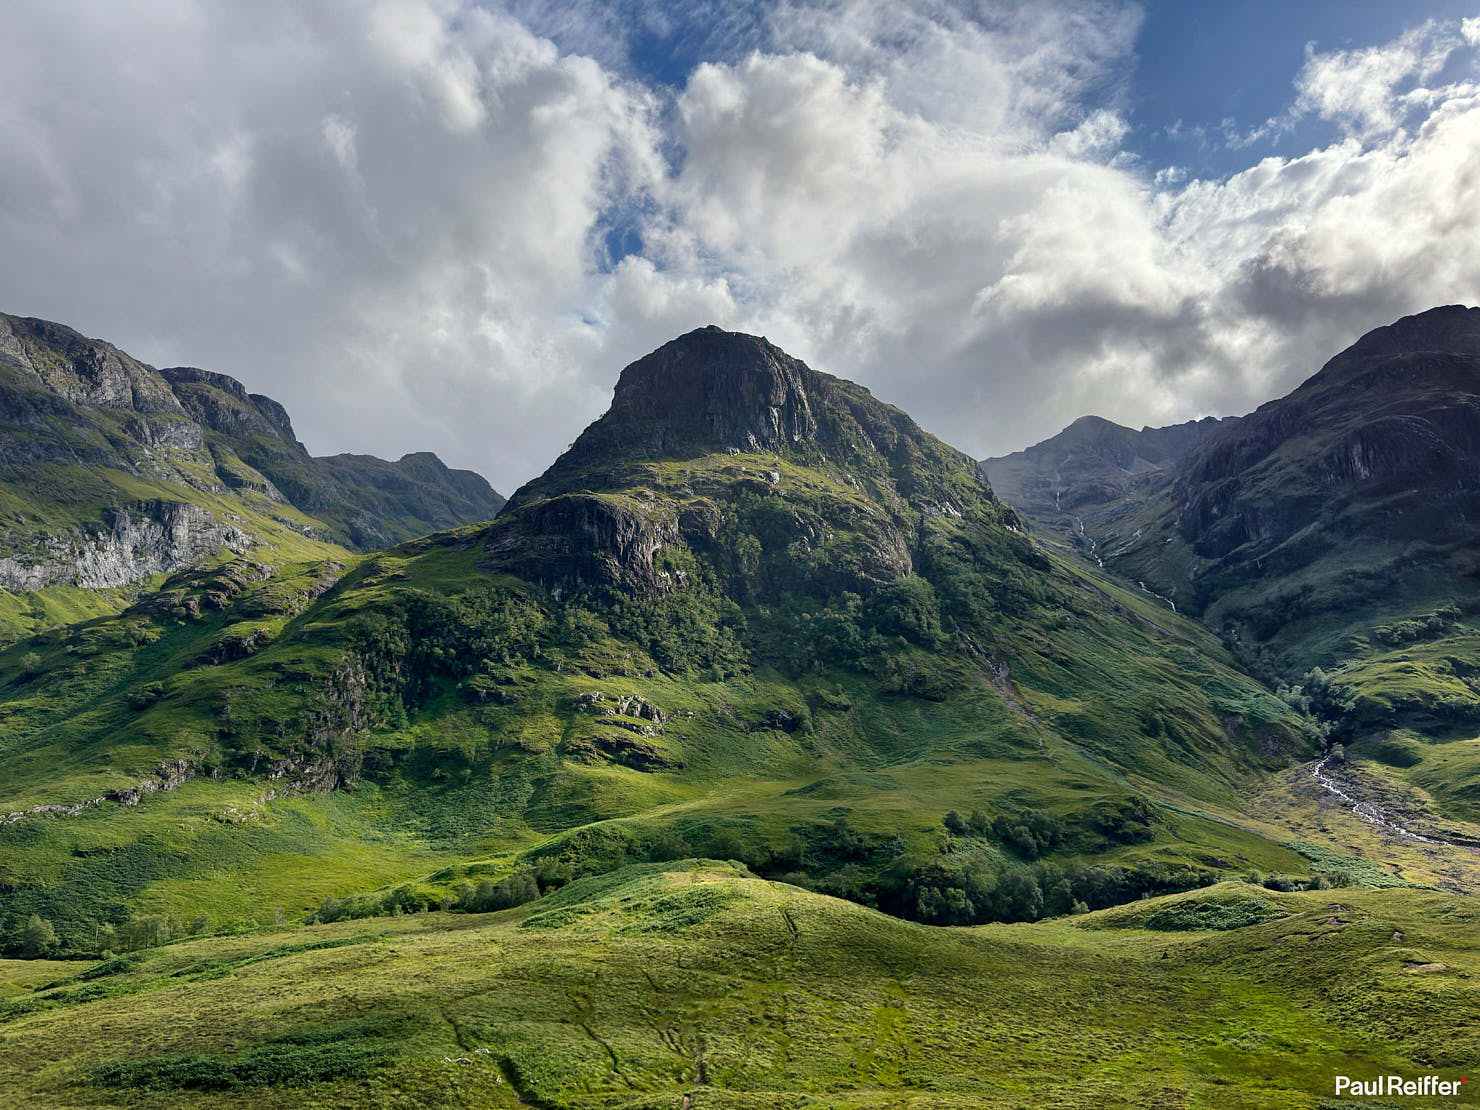
Over the years, while the resolution bumps have been welcome – it’s the improved dynamic range that’s really come into its own for on-the-fly shots such as this one of Glencoe in Scotland. What was a challenging scene to look at even by eye, the iPhone has done a great job of keeping the highlights in those clouds under control while keeping all those shadows visible and detailed.
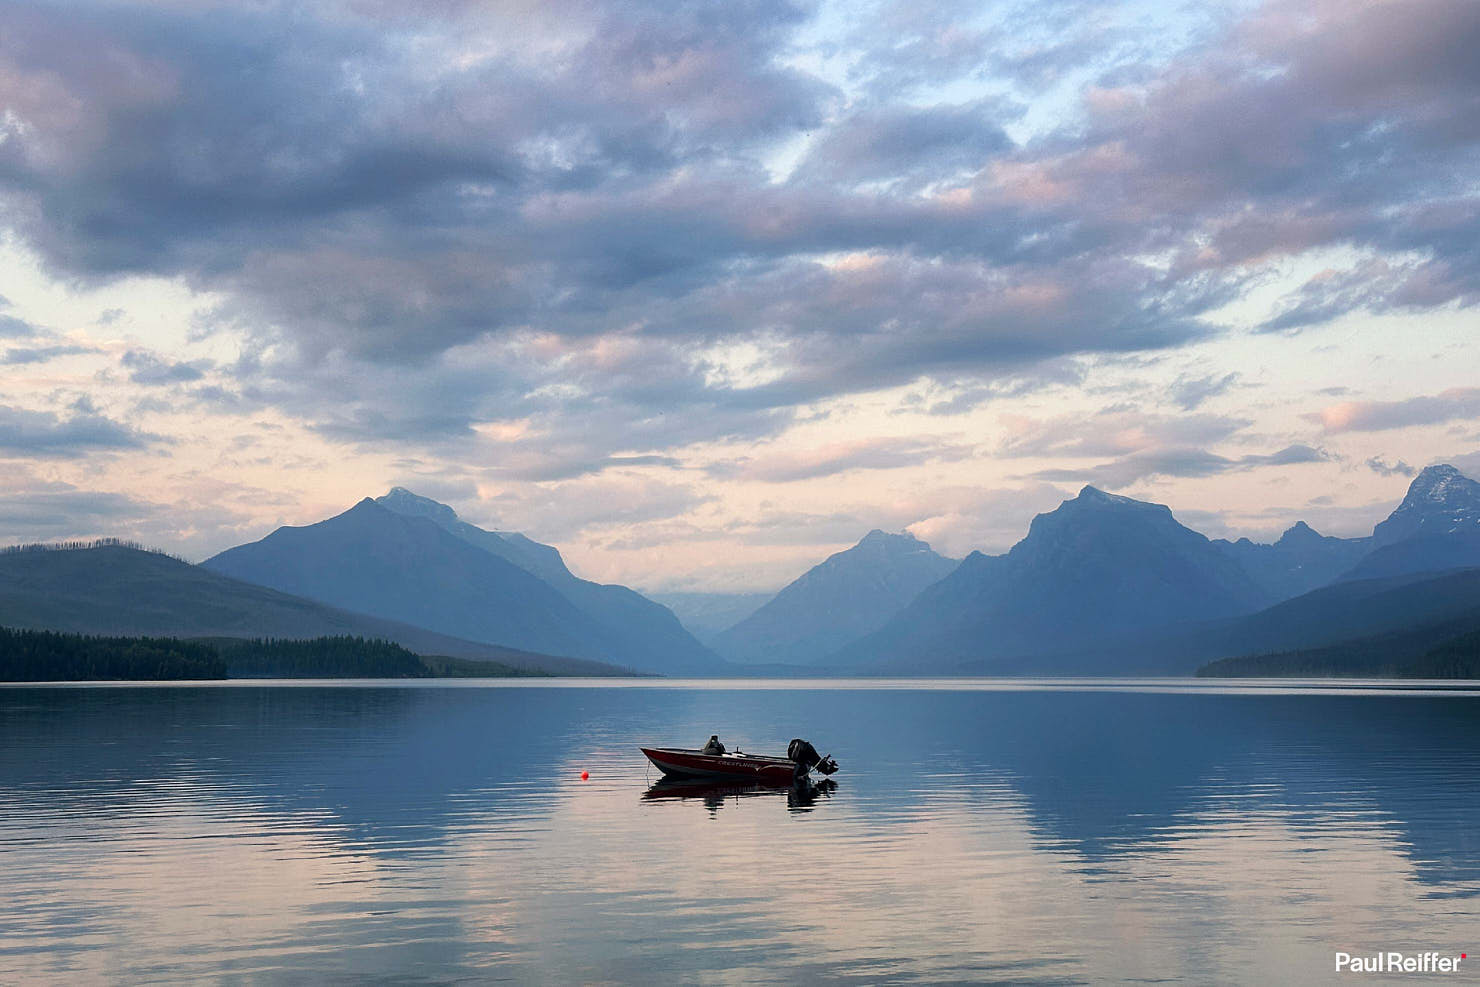
Of course, sometimes we want to leave some deep shadows in place – it can help simplify a scene when actioned intentionally – and shooting in ProRAW gives us the ability to capture the exposure we want and then “tweak” it later if necessary in either Apple Photos or software such as Capture One.
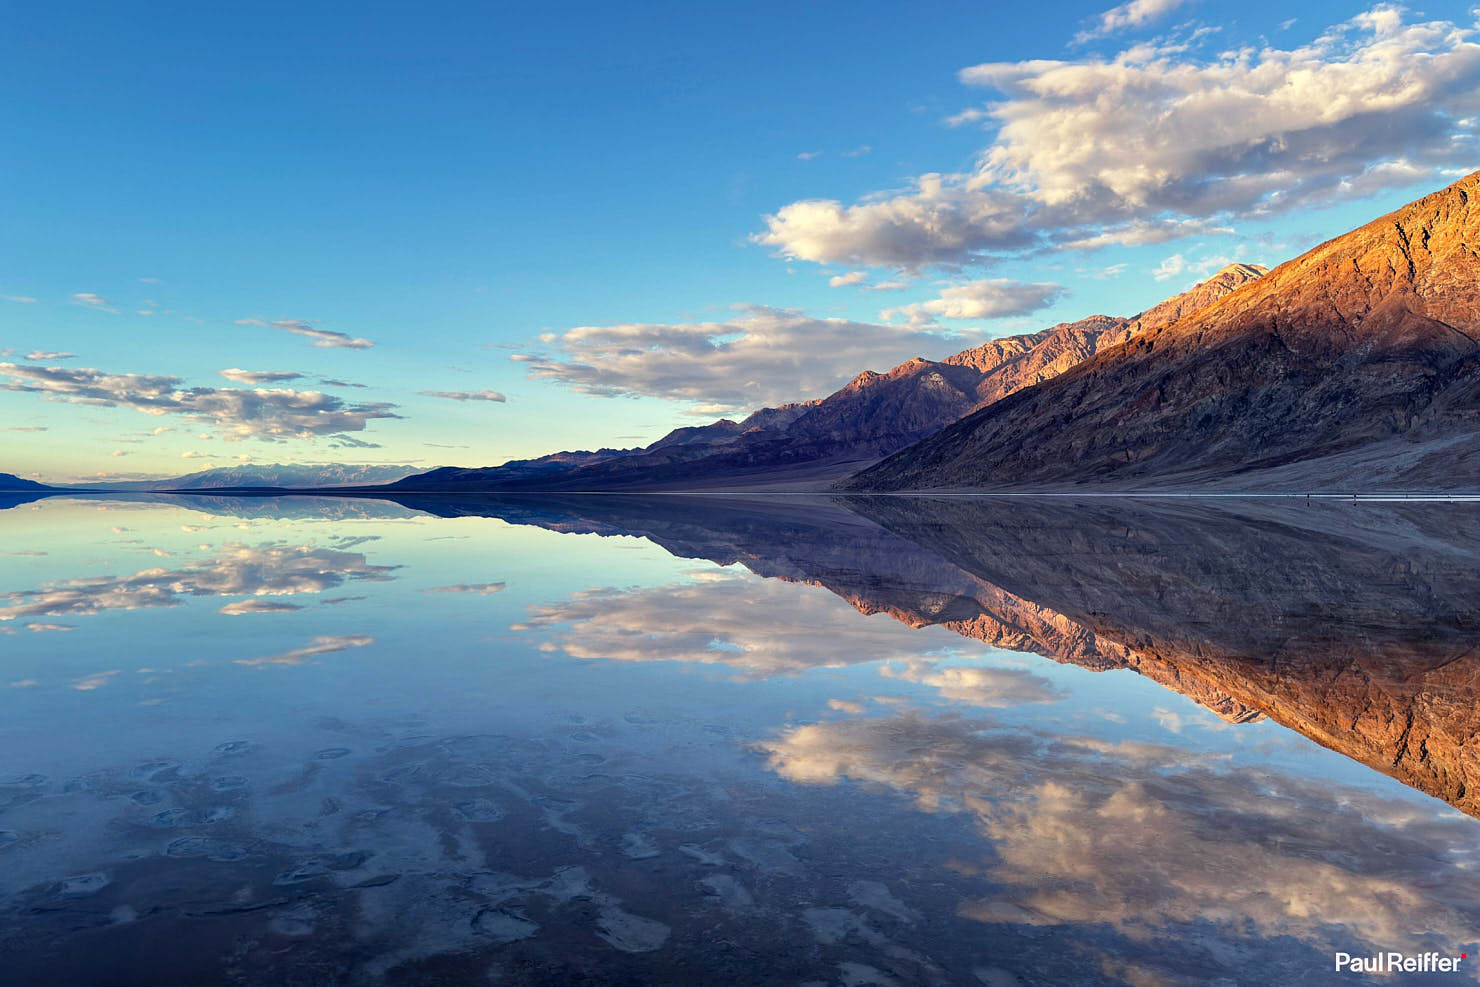
The lack of long exposure (without apps or add-ons, more on that later) can also be a benefit. Too often, we’re convinced that any area of movement should be blurred to demonstrate such motion, but in simple reflective scenes, that can deliver a milky texture to an otherwise crystal clear mirrored view.
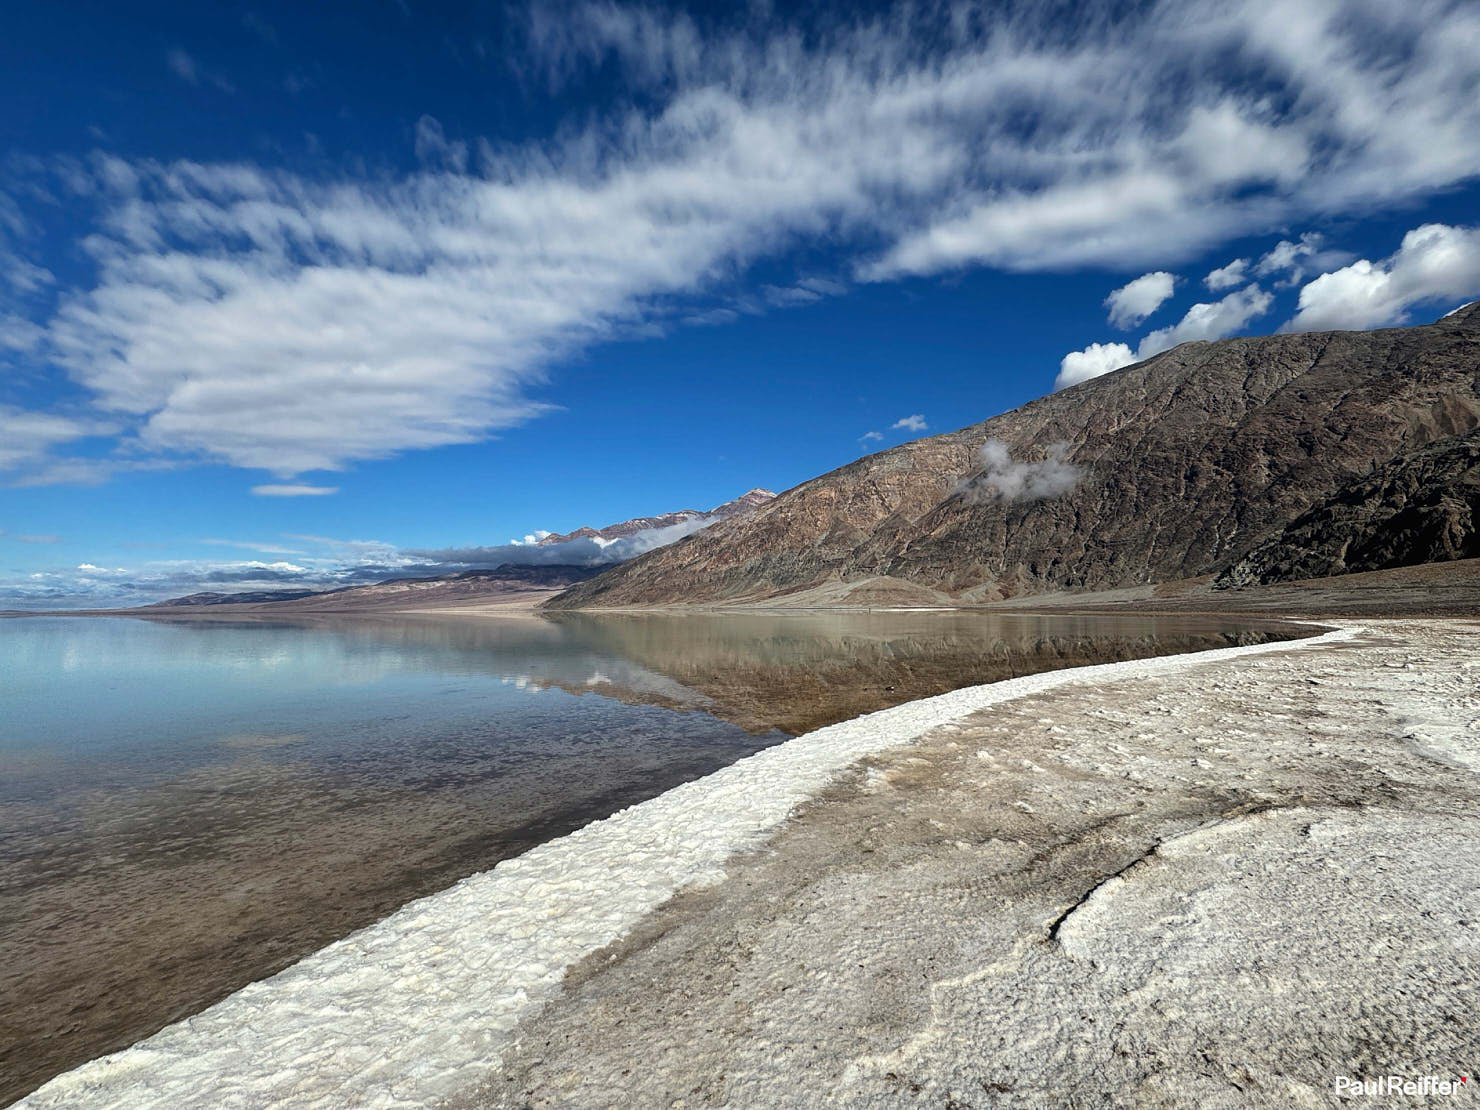
Sometimes, the simplest of clicks are the right ones for the scene.
Yes, that’s a flooded Badwater Basin in Death Valley, California.
Back in 2009…
Before diving too deep into my collection of random shots from the past year, I figured it might be worth looking back – despite my use of iPhone not being as one of the very first early adopters.
Sadly, as a corporate slave with a mix of BlackBerry and Nokia devices when the original iPhone launched – while I had access to some sort of phone camera – the images from my pocket were as tiny as they were useless, with no detail or quality to shout about.
Enter my first iPhone purchase in 2009 – and I remember being blown away at not just the camera features, but how integrated this made many of my daily tasks. Perfect…
…well, not quite.
Bearing in mind this was the era of my Canon 5D Mk II that I was shooting both models and landscapes with – the camera results, while impressive for a phone, were underwhelming to say the least when capturing challenging environments with lighting I couldn’t control.
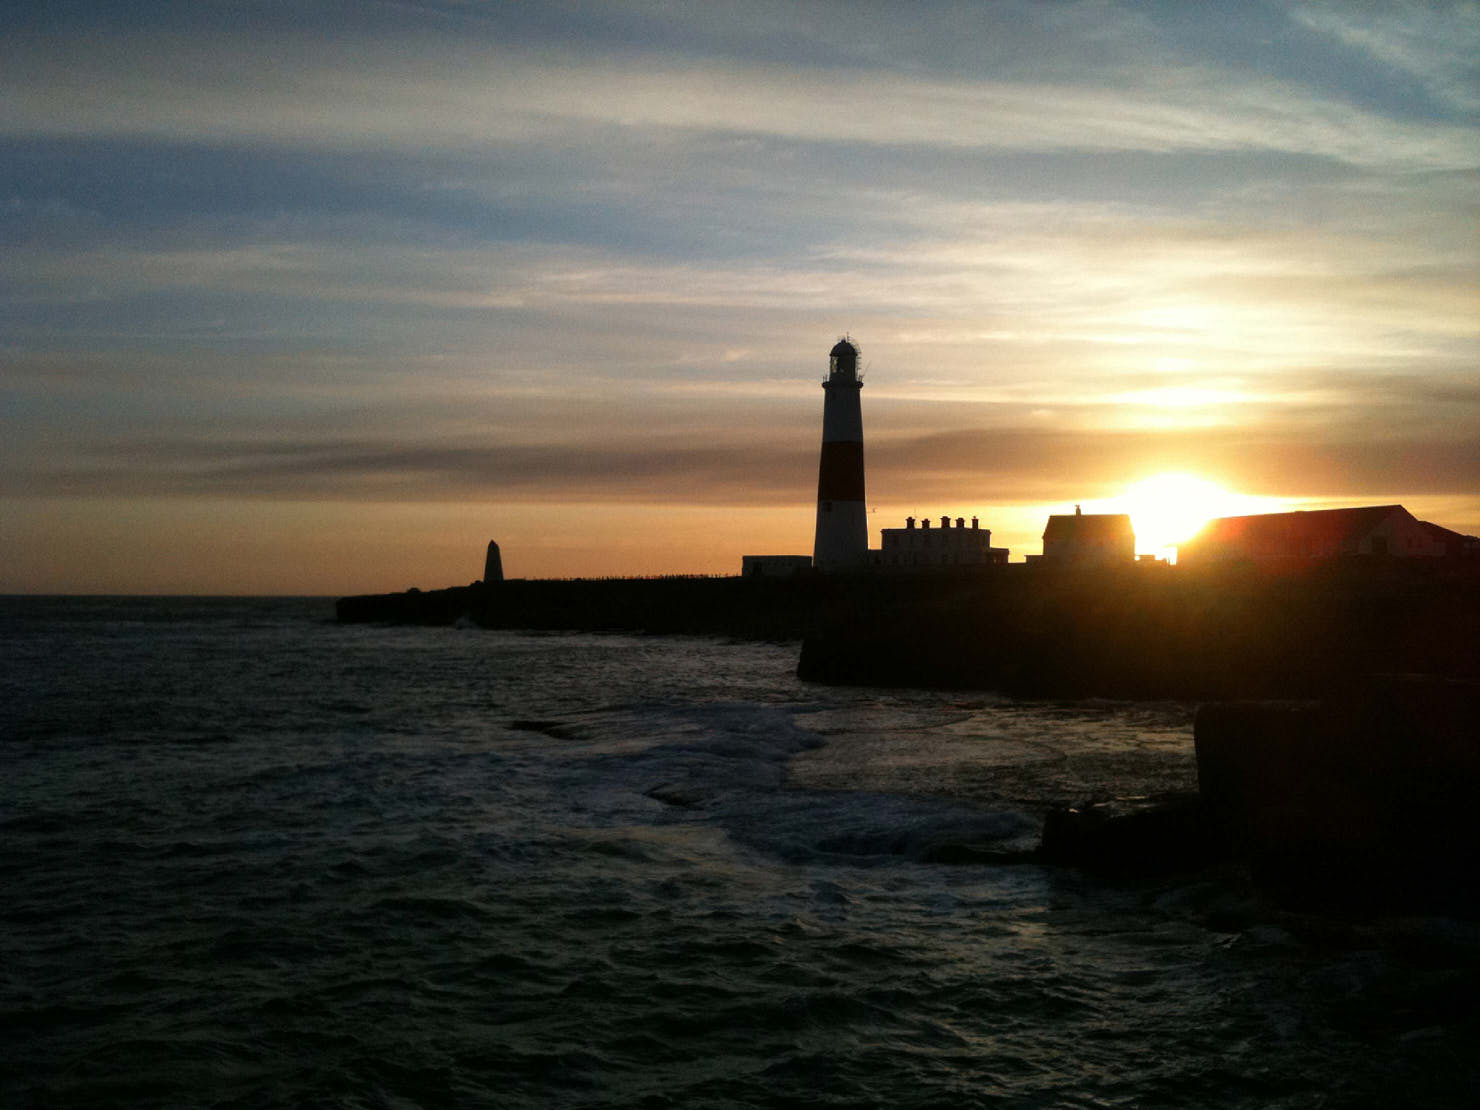
It was possible to get good quality shots from the new touch-screen wonder-kid, but it only really held its own when the subject was steady, distant, and in high levels of light. (To be fair, when you found that mix, it did the job perfectly.)
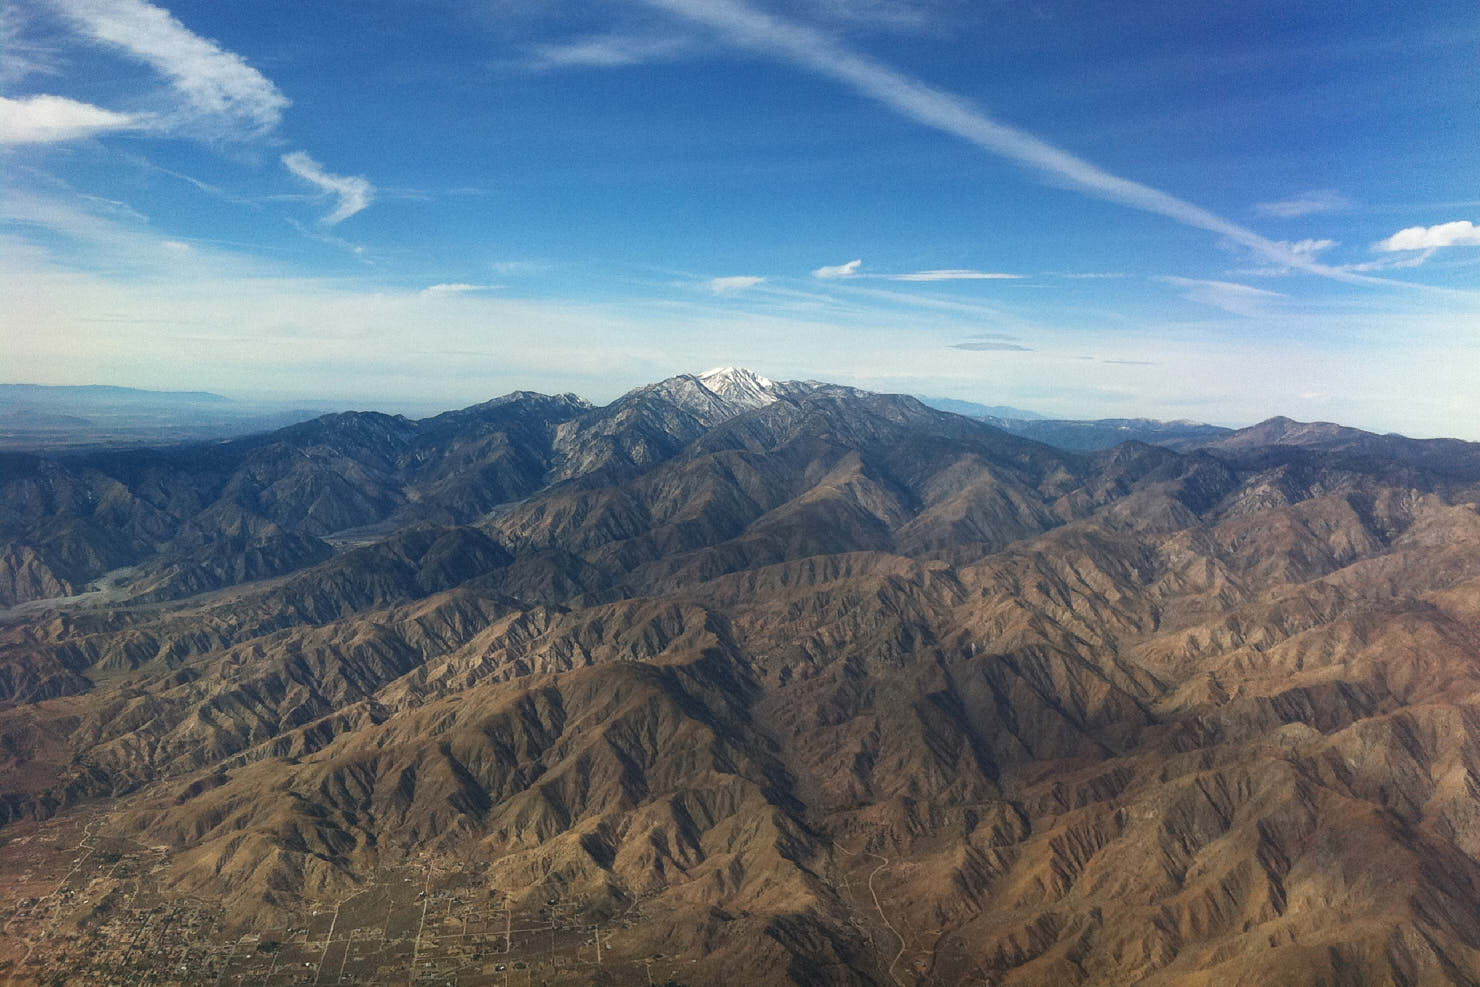
But when those ingredients didn’t find their way to a scene, wow, things got messy quickly. (And in fairness, that was true of all phone cameras at the time.)
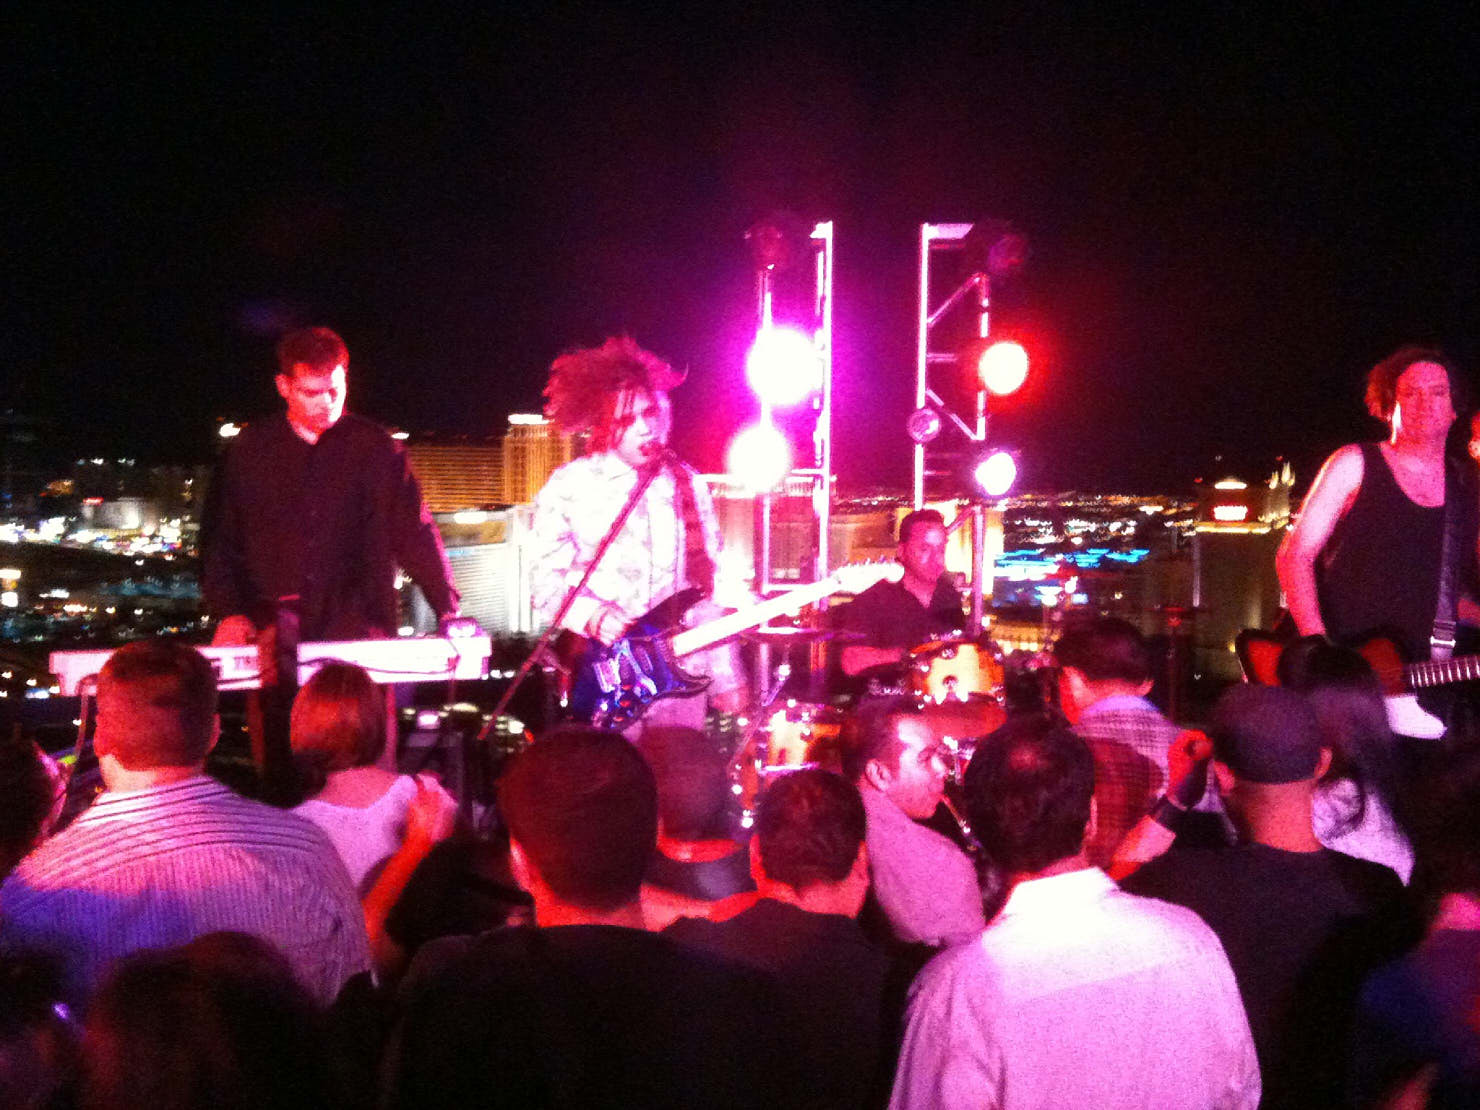
I guess that’s the reason people still took point-and-shoots to concerts – at least you could make out who was playing or where you were when you took pictures with them…
Shooting The Night Lights
So along with all those improvements to iPhone over the years, came new shooting opportunities – of subjects that I wouldn’t have gone anywhere near back in the early days. While based on tiny sensors, the 48MP maximum resolution that the iPhone 15 Pro Max offers still allows for great results when downscaled – with a very respectable dynamic range in tough lighting conditions.
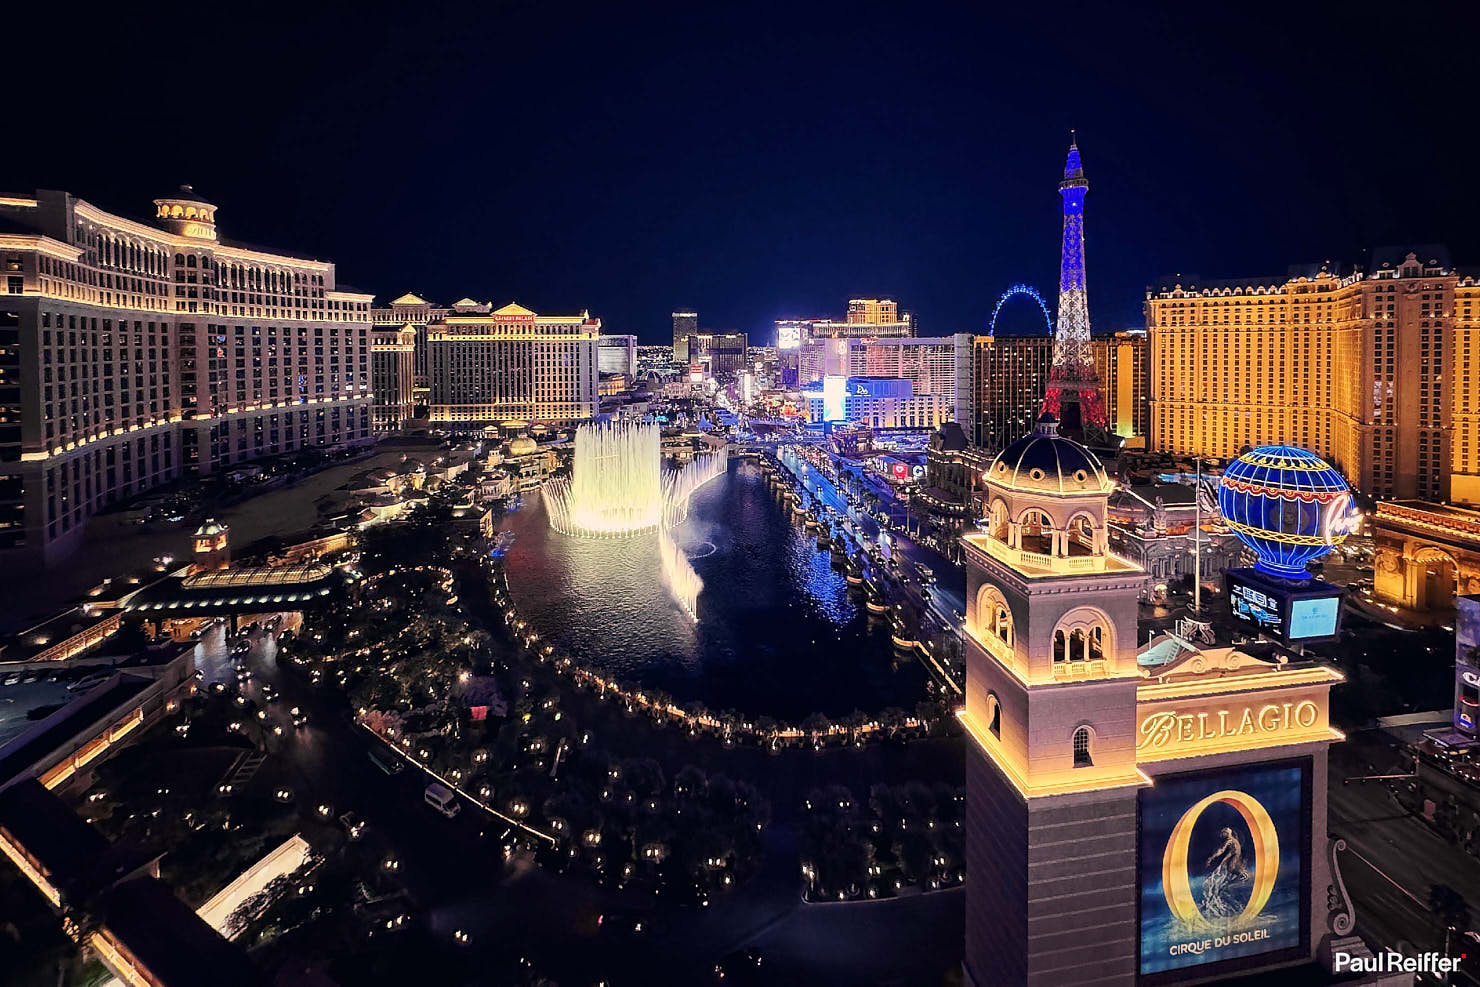
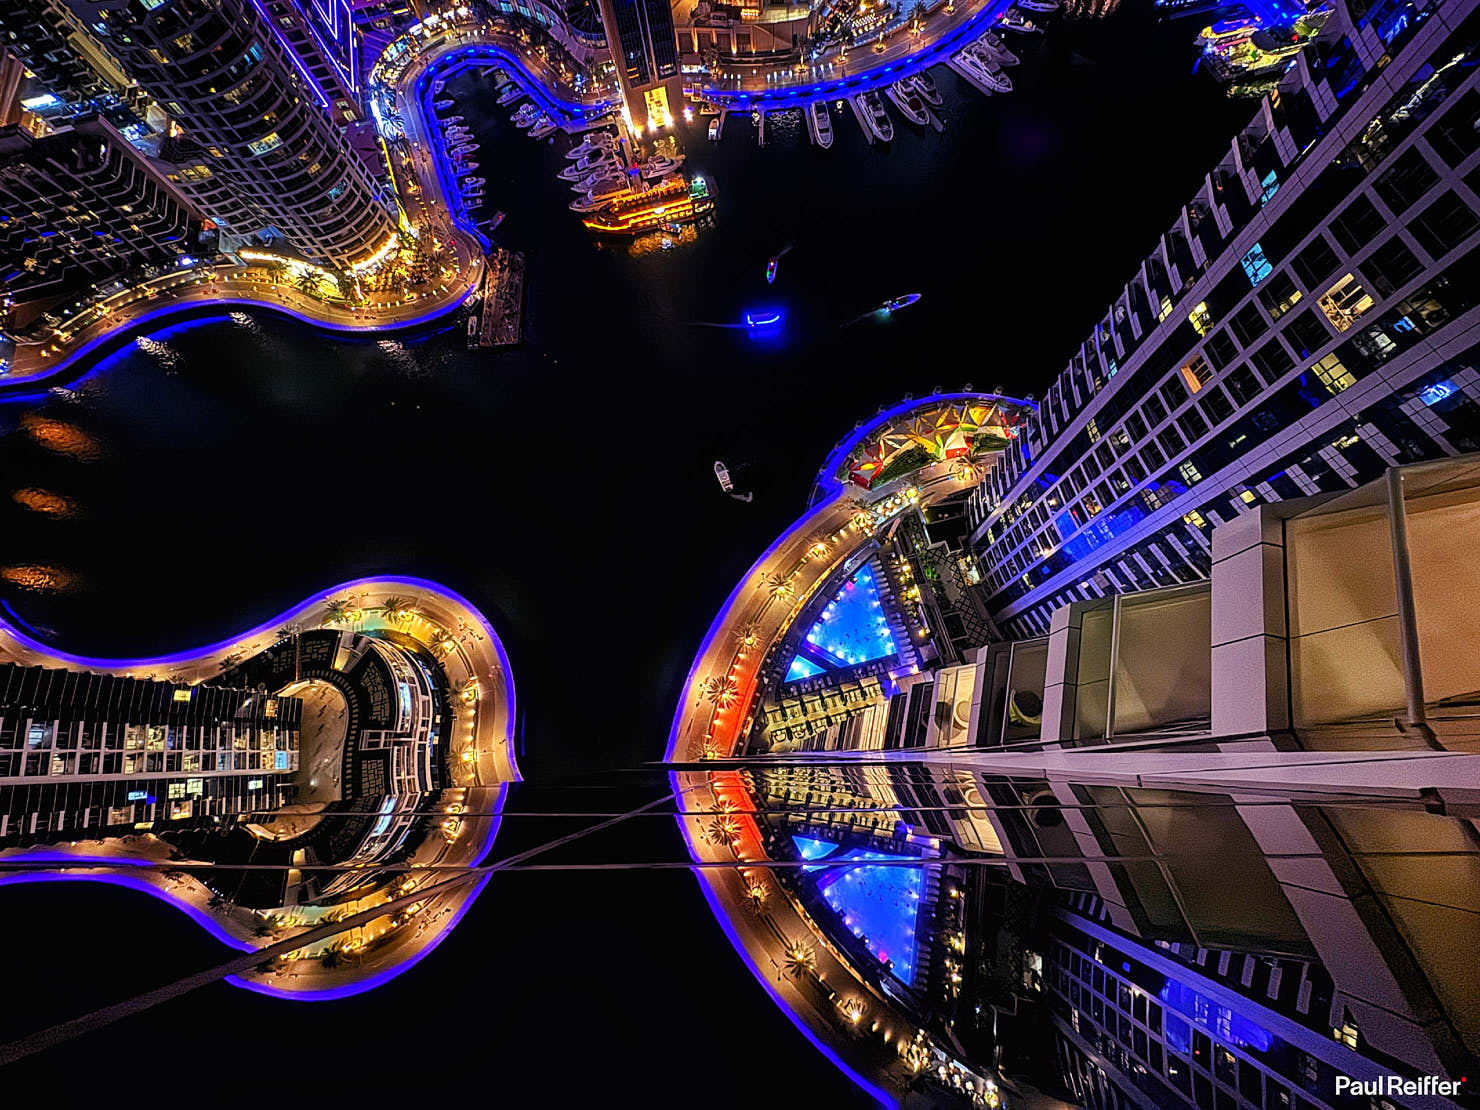
Of course, part of the appeal is still all about the spontaneity of shooting options – and the fact that night images can now be delivered clean, crisp and fully detailed means opportunities to dangle a camera over the side of a building become a lot more comfortable than the times I need to do it with my “big kit”…
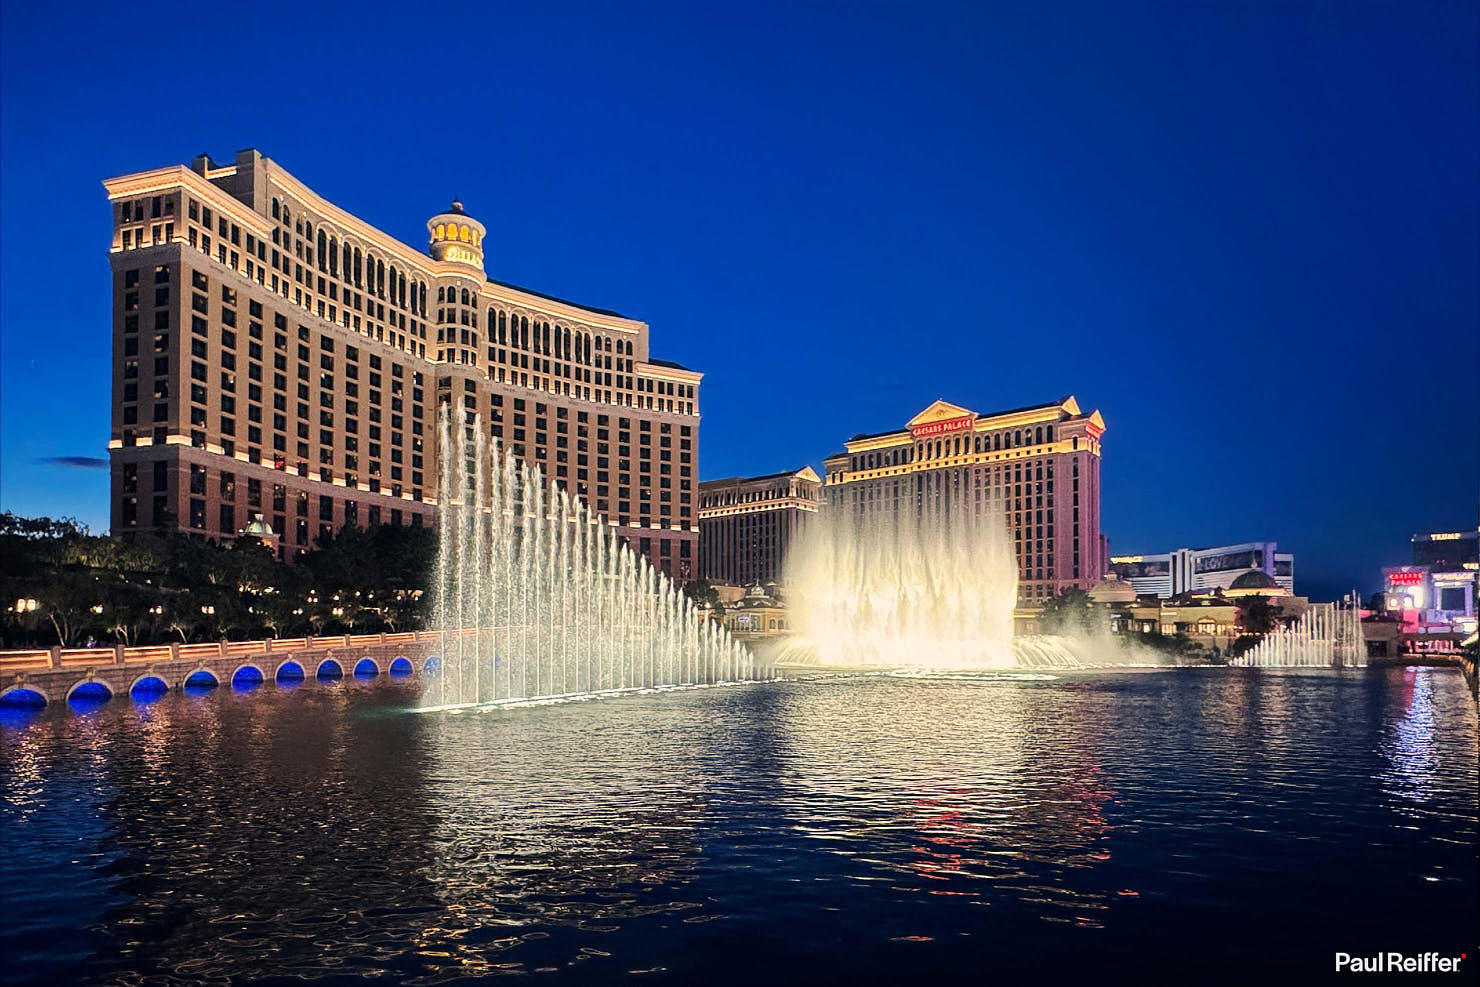
The three camera setup on the iPhone 15 Pro Max is also a life-saver for getting a slightly different view of a familiar place. Being able to get close, and shoot at 13mm (equivalent) when selecting 0.5x (which, interestingly, isn’t quite the 50% of 24mm…) gives us a view of Las Vegas without the crowds and chaos during another busy fountain-show.
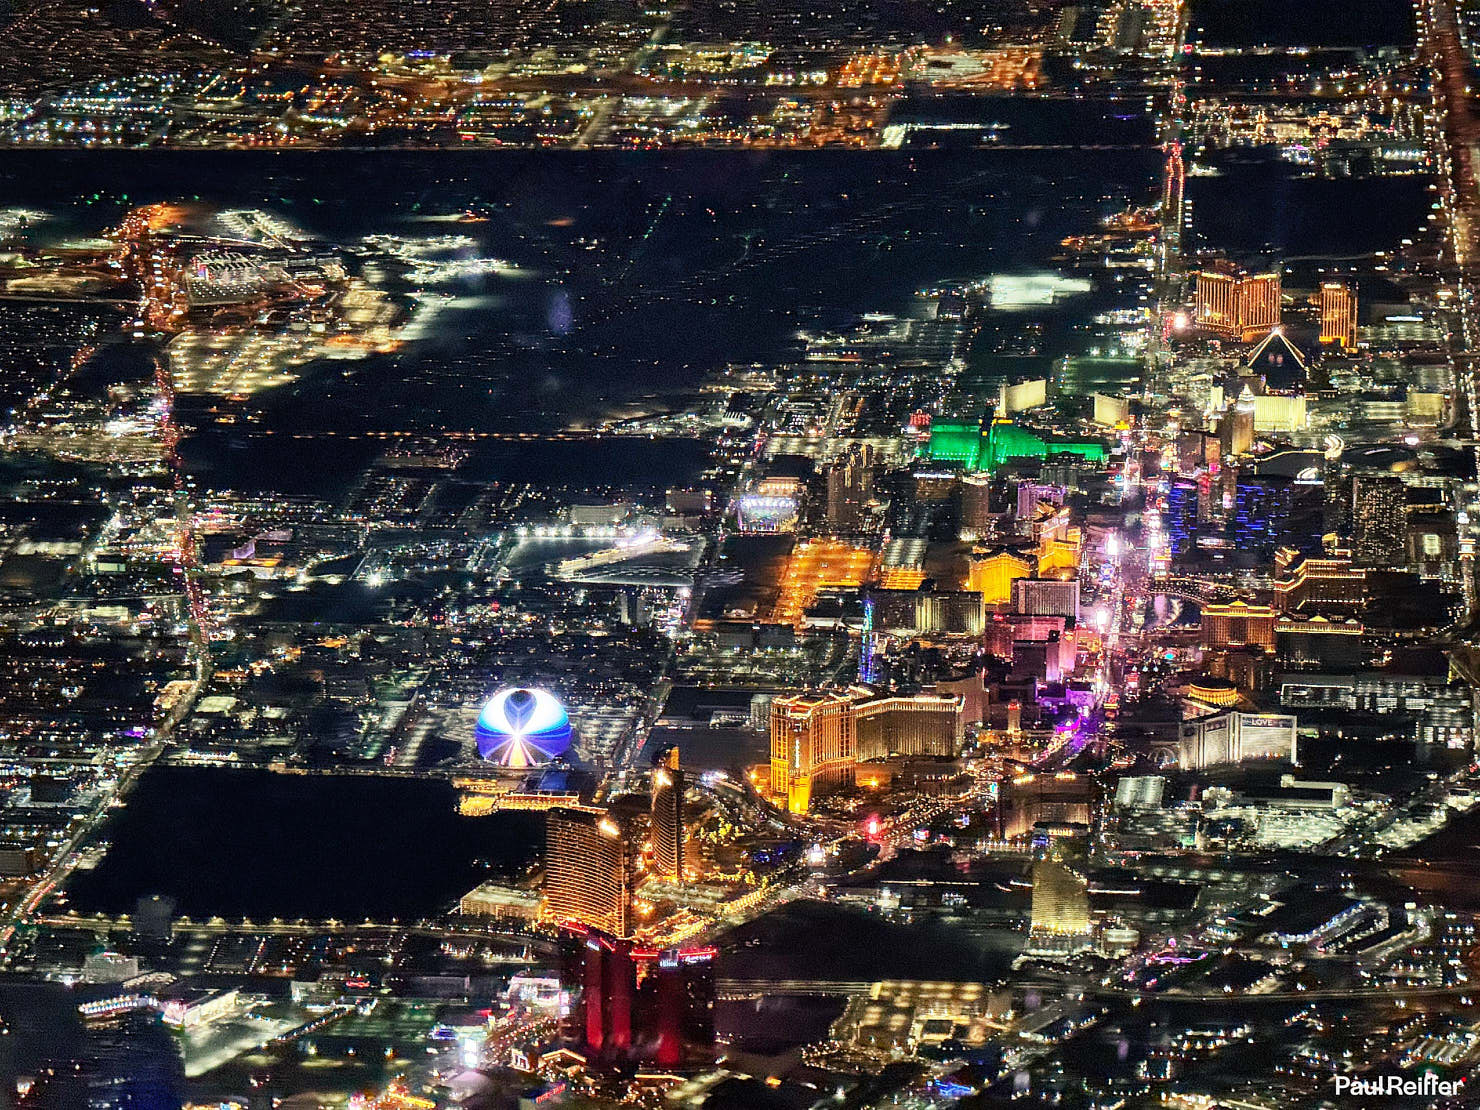
Plane windows give us a fantastic view of the world – but are often plagued by two issues : reflections and movement.
The relatively wide apertures of the 3-lens setup allows for much shorter exposures than previous models – helping to fix the movement issue. Reflections, you’re on your own, although a dark item of clothing (and no fingers in view) will help improve 90% of scenarios.
My iPhone 14 Pro Max did have one challenge that did annoy – it wouldn’t stop focusing on the window itself(!) – but this has seemed consistently more reliable on the 15 edition, and seems to behave without needing to disable to “auto macro” function each time I move the lens.
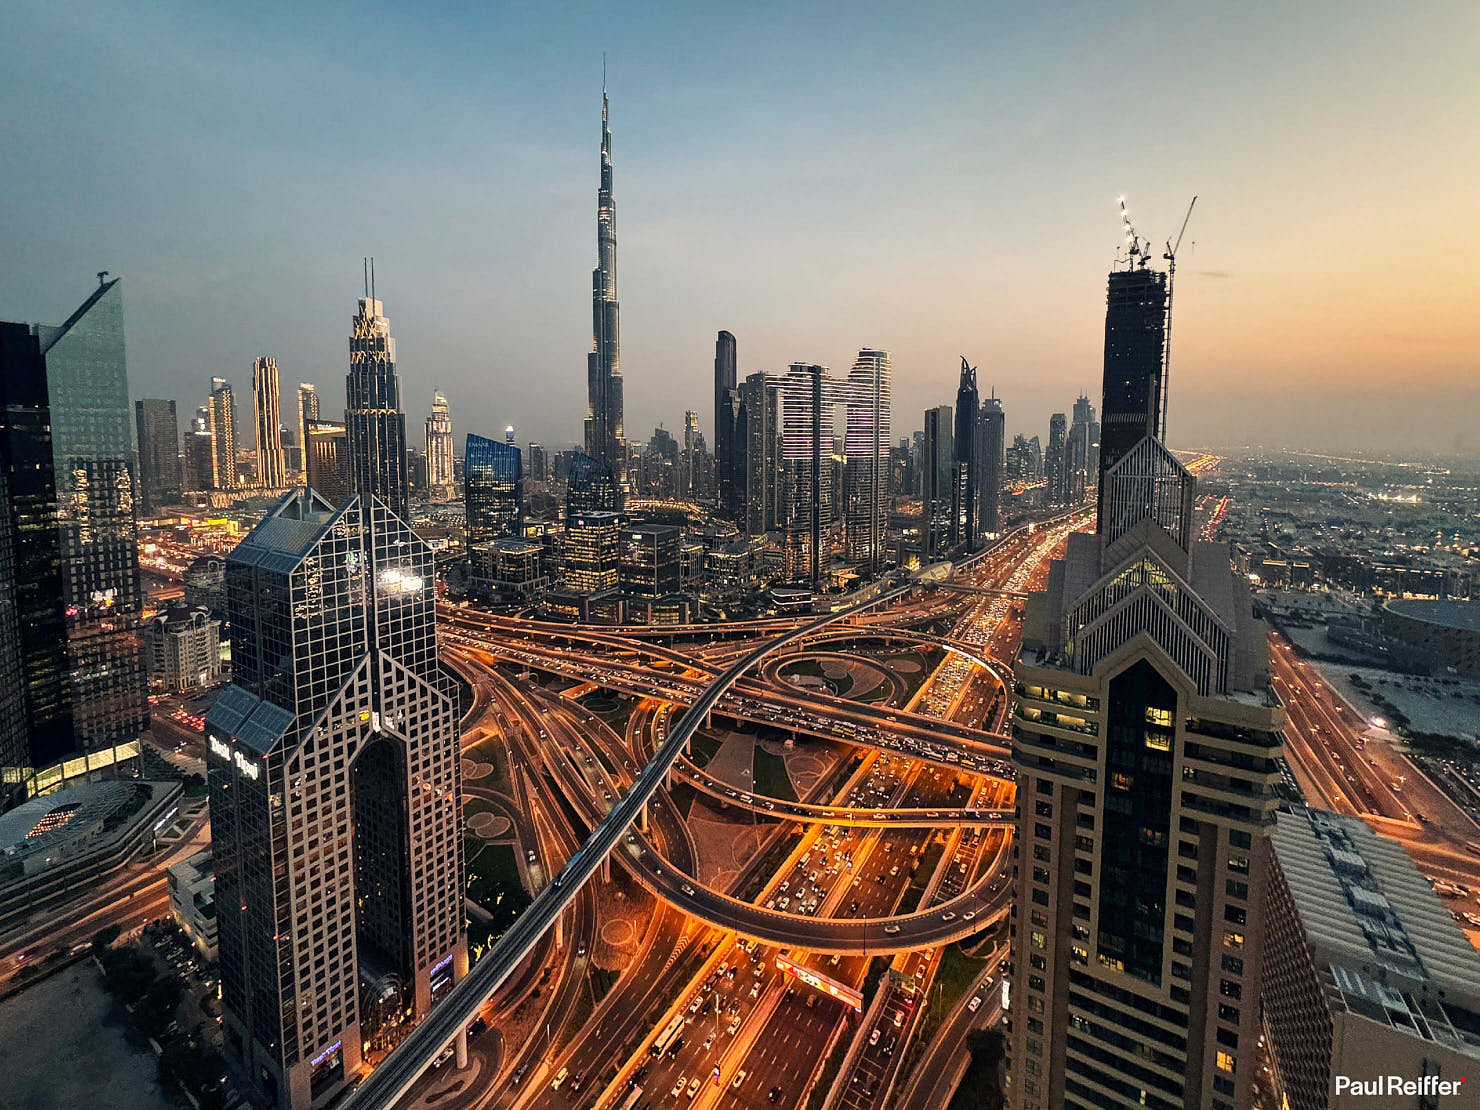
Back to my reference approach when it comes to using the iPhone’s camera to assist with my larger format photography – there are two key aspects that are now invaluable when I come to shoot:
- White balance reference, tone, “feel” – if I come to edit a Phase One image later on, having the reference for how that scene looked to my eye (and my phone) without any tweaking can help.
- With everything time- and gps-stamped, not only do I have a huge worldwide reference of views that I can pull on from over the years (and go back to the full size raw IIQ files to edit), but I can also reference sun positions, street light times, dating back to specific moments if I want to shoot the same scene again.
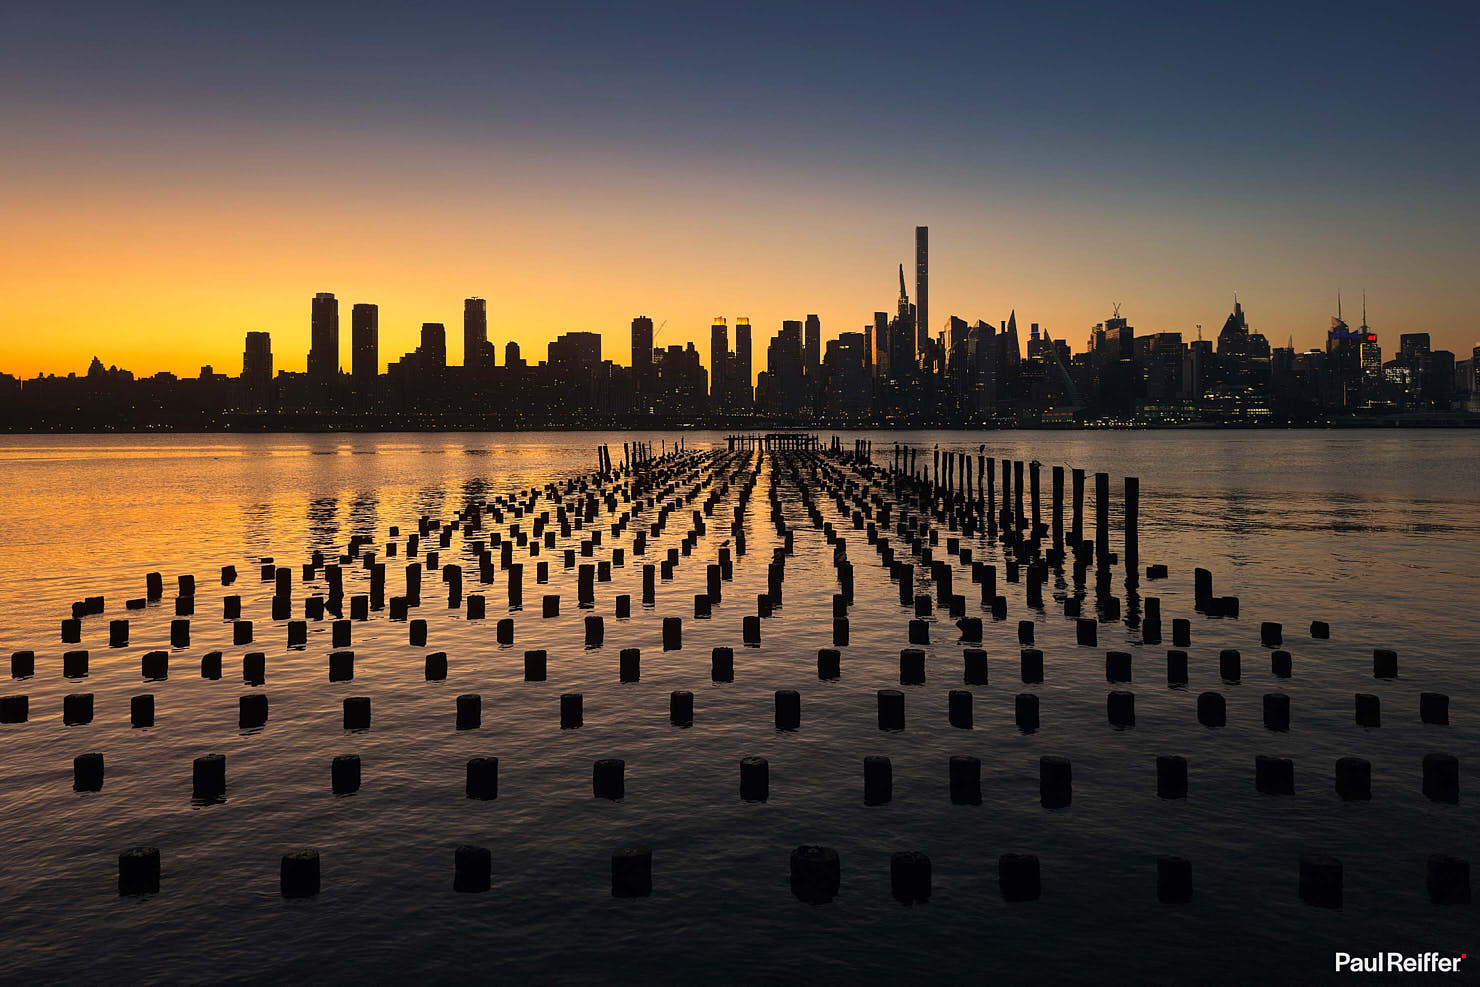
Getting the lights and details in silhouetted night skylines while also capturing the glow of a pre-dawn sun is a real challenge with “big cameras” – often resulting in the use of filters to manage the scene less than perfectly.
Luckily, while I’m not a huge fan of HDR blending in general, iPhone’s built-in computational approach to exposure management does indeed seem to manage these views exceptionally well, without artificial styling or an overly-processed look.
Speaking of computational approaches to recording scenes – for a few years now, I’ve been using my iPhone(s) to help double-check if Aurora is active when in areas with slight light pollution, before heading out for real.
We used to use a DSLR – set to silly ISO, 2-3 seconds hand-held, and point wide and up in the air – just to see if the trail we could see above was indeed the Northern/Southern Lights. Annoying, when you just want to check on-the-fly without going to grab kit…
Well, for the past few years, thanks to iPhone’s “Night Mode” we can select 3, 5, 8, or 13 second exposures right there in the Camera app, and even handheld it captures the sky perfectly well.
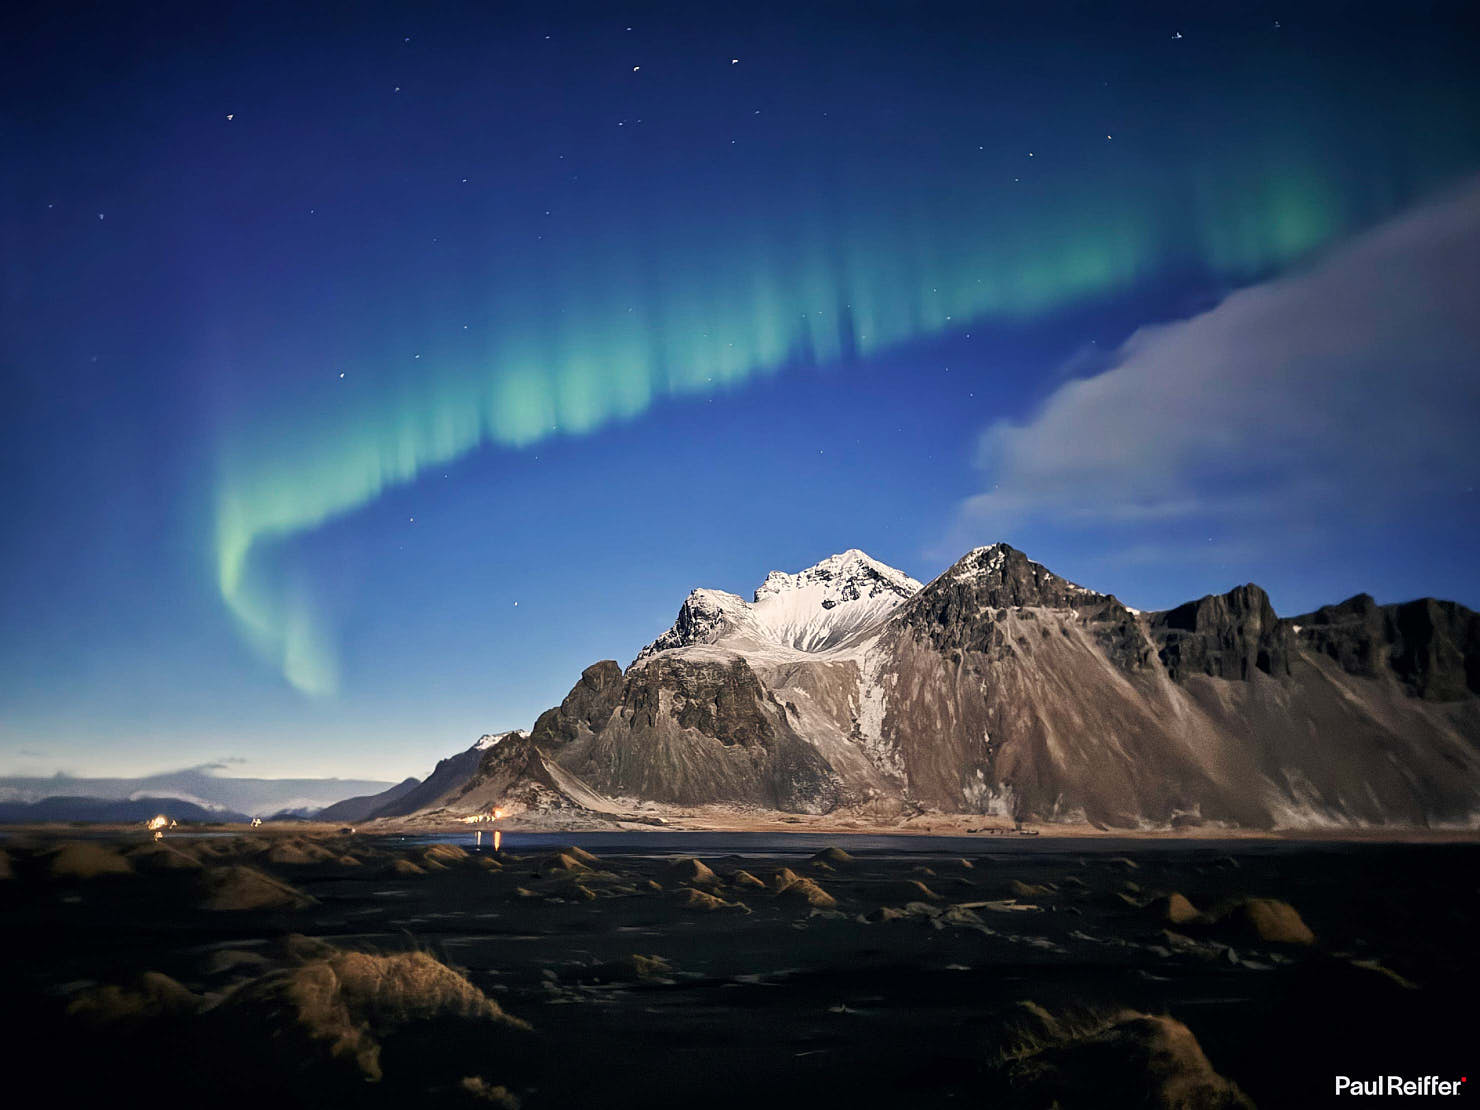
Certainly better than the green “smudges” we used to see on the back of our cameras, or phones, a few years back!
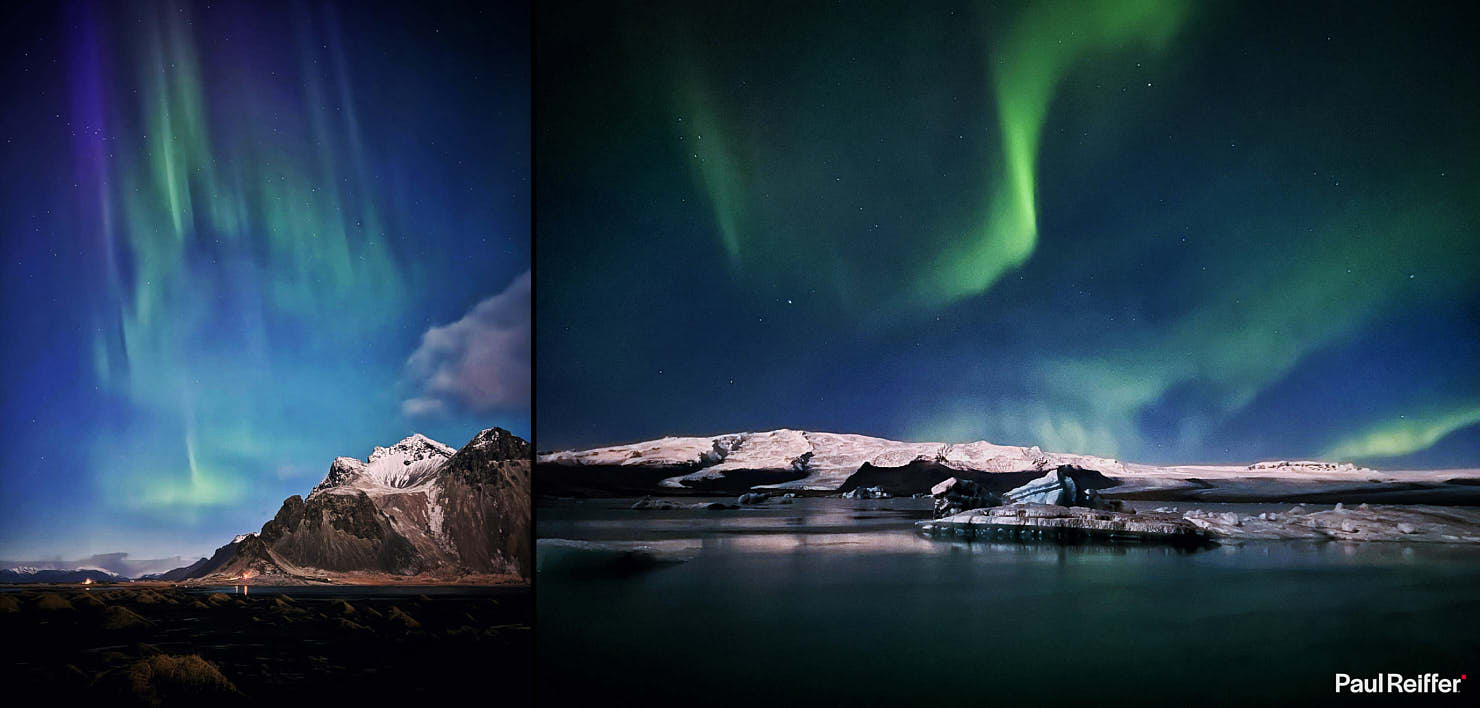
Bearing in mind these images are “SOOC” (Straight Out Of Camera), I’d say that’s pretty commendable for a sensor that’s just over 7mm high…
Long Exposure / Frame Averaging Apps
While iPhone’s Night Mode will indeed deliver stunning results for a phone camera at night, there are of course times when we want to record longer exposures in the daytime too.
While, of course, it’s possible to add on a compendium of extra bits of hardware, lenses, filters and other toys from various manufacturers out there, given how integrated the camera is with Apple’s App ecosystem (and given one of the main advantages of a phone is that I don’t have to worry about carrying extra bits and pieces with me), I’d say a software solution is the best option here.
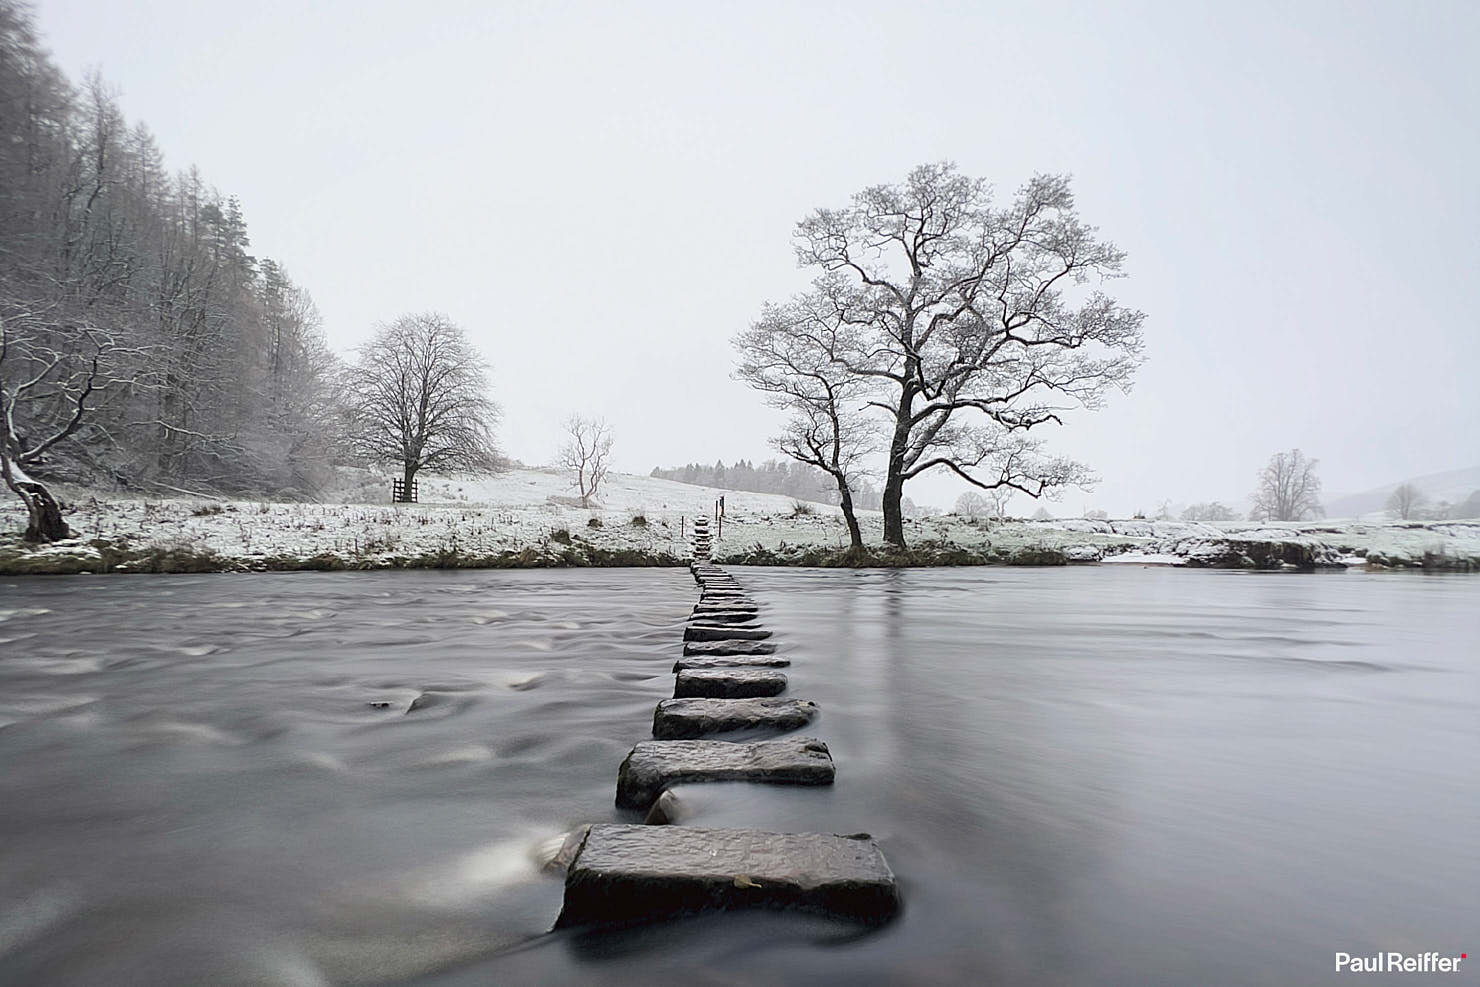
For those who have followed my work with Phase One over the years, you’ll be familiar with the concept of “Frame Averaging” as opposed to relying on filters and lens-based solutions to capture a long exposure.
Apple themselves offer a version of this with their “Live” photos option, but for those looking for a bit more control, consider apps such as “Spectre” (to use handheld) or “EvenLonger” (to shoot with a tripod/stationary) to deliver some great effects.
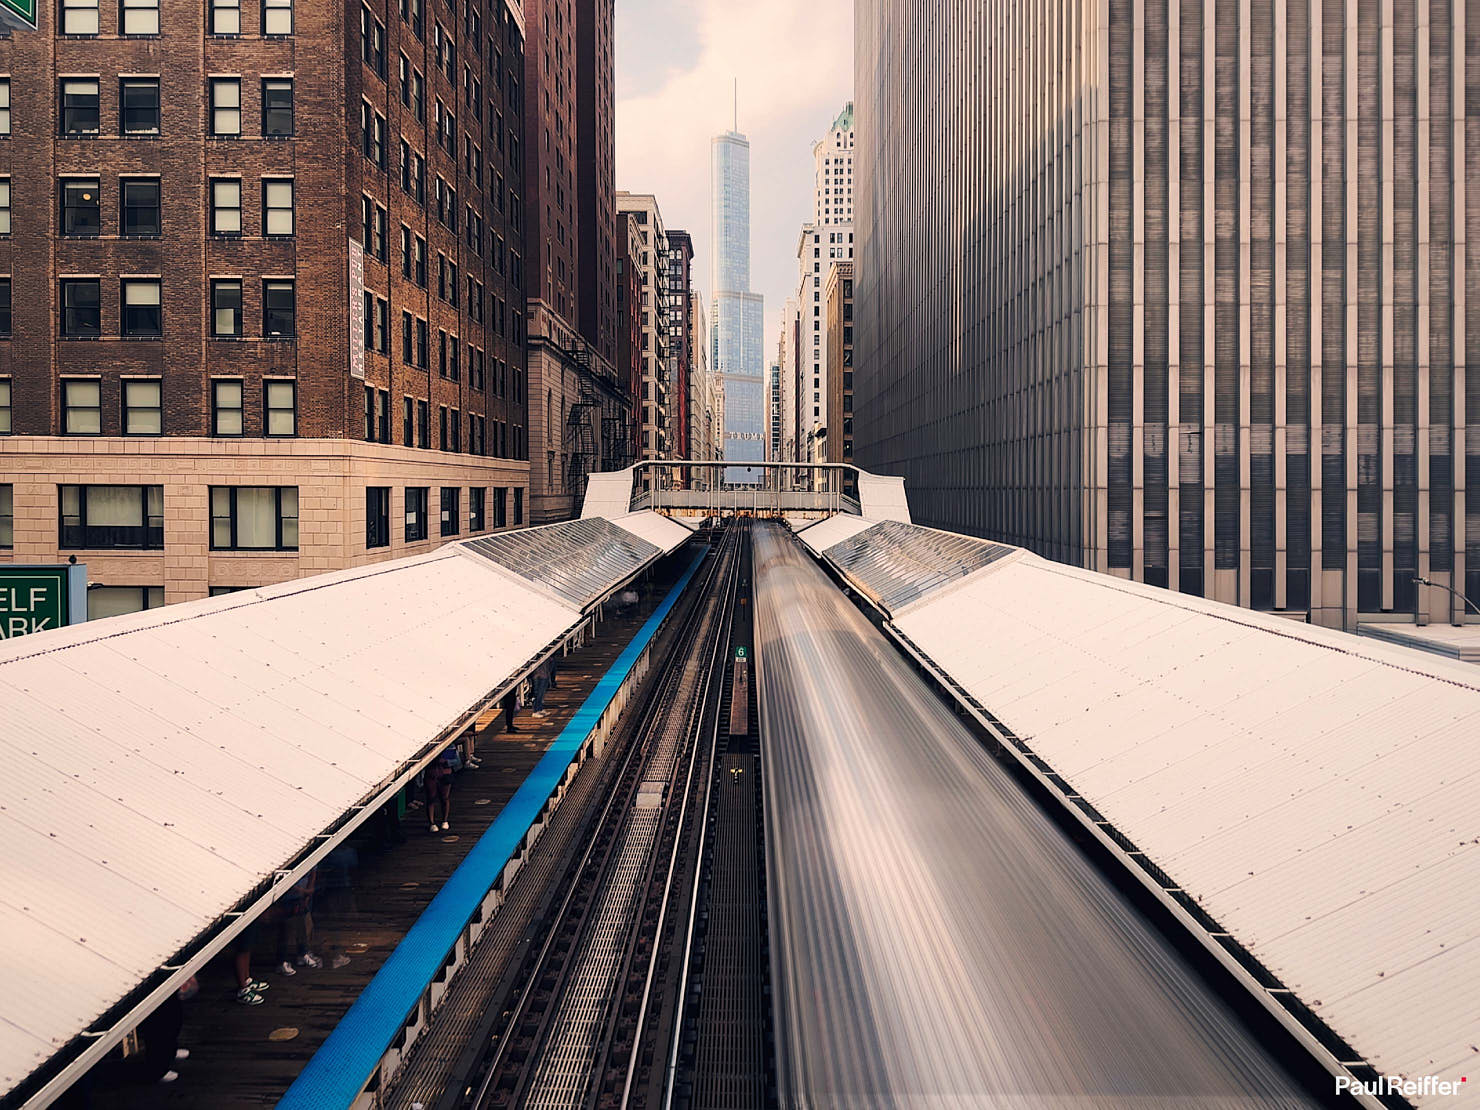
You dial in the amount of time you want to “expose” for, along with which lens you wish to use, and (in the case of Spectre) it’ll throw up a “stability monitor” for you to keep an eye on while holding relatively still for that chosen period.
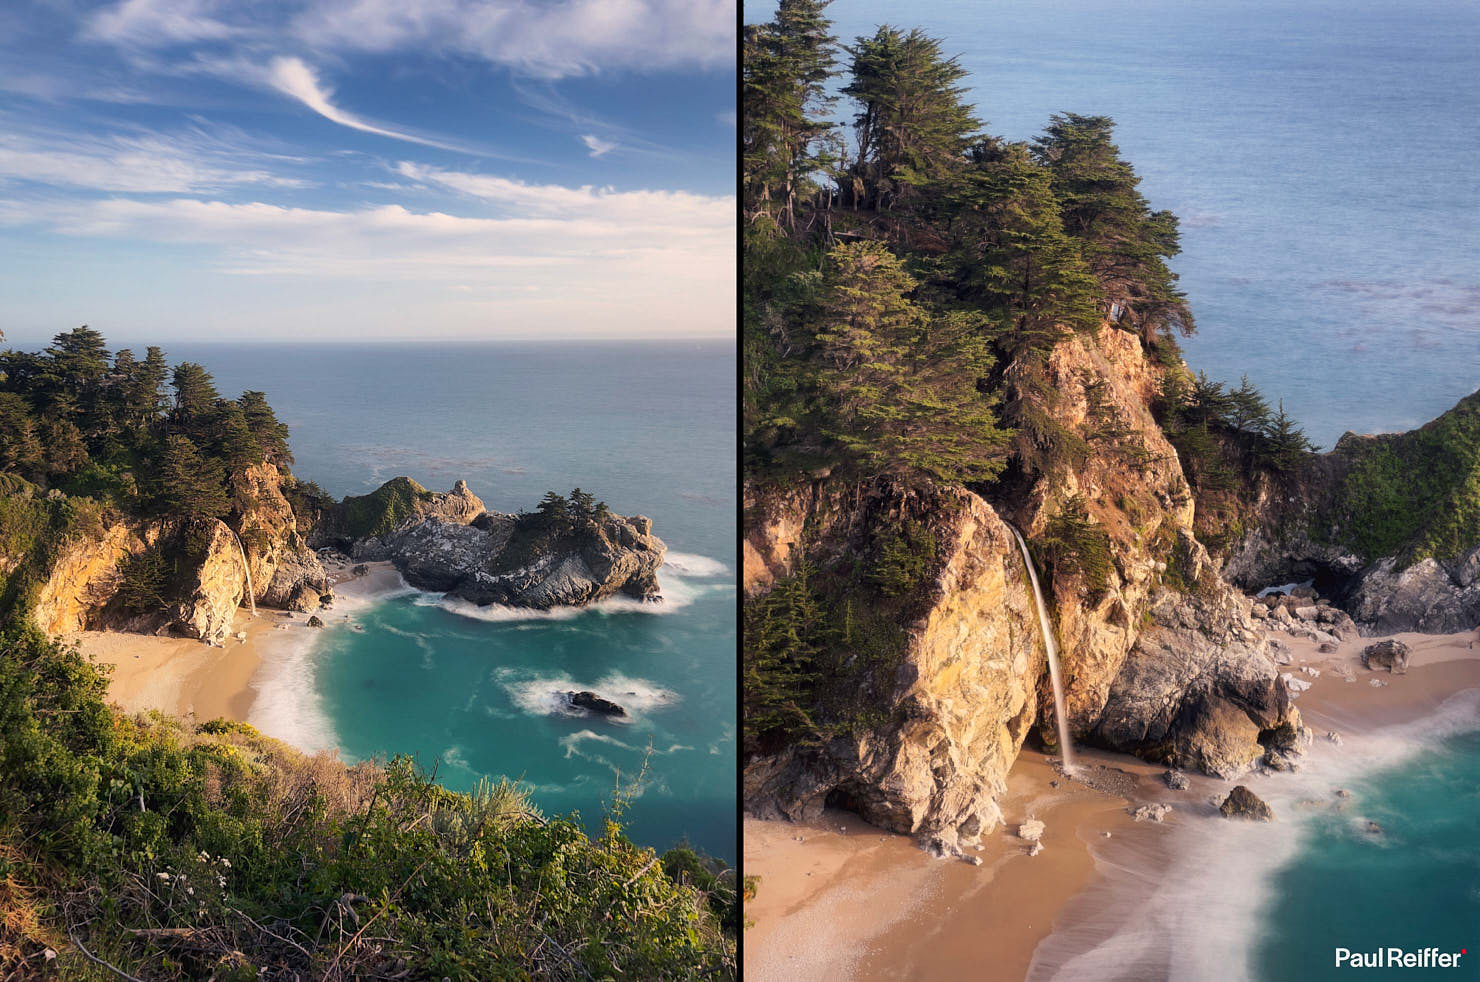
I mean, it would be rude not to shoot a waterfall with at least a bit of motion occurring, right?
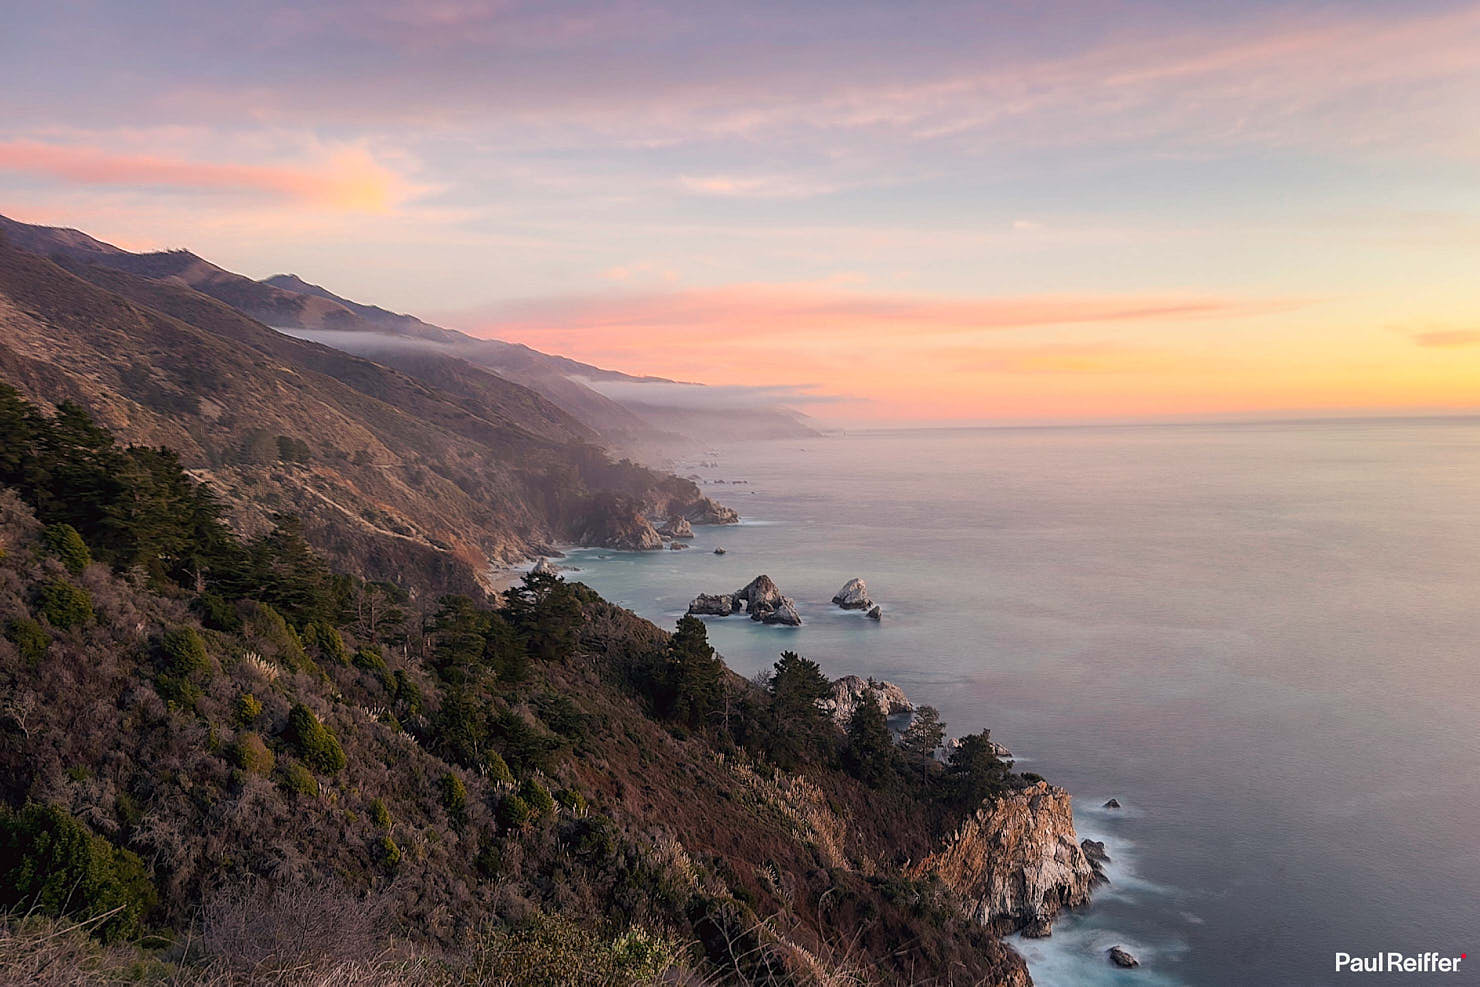
What these apps also do is help reduce noise, just as with Automated Frame Averaging in my Phase One IQ4, the pixels are “cleaned up” through the multiple shots as they’re combined to create the one “long” output.
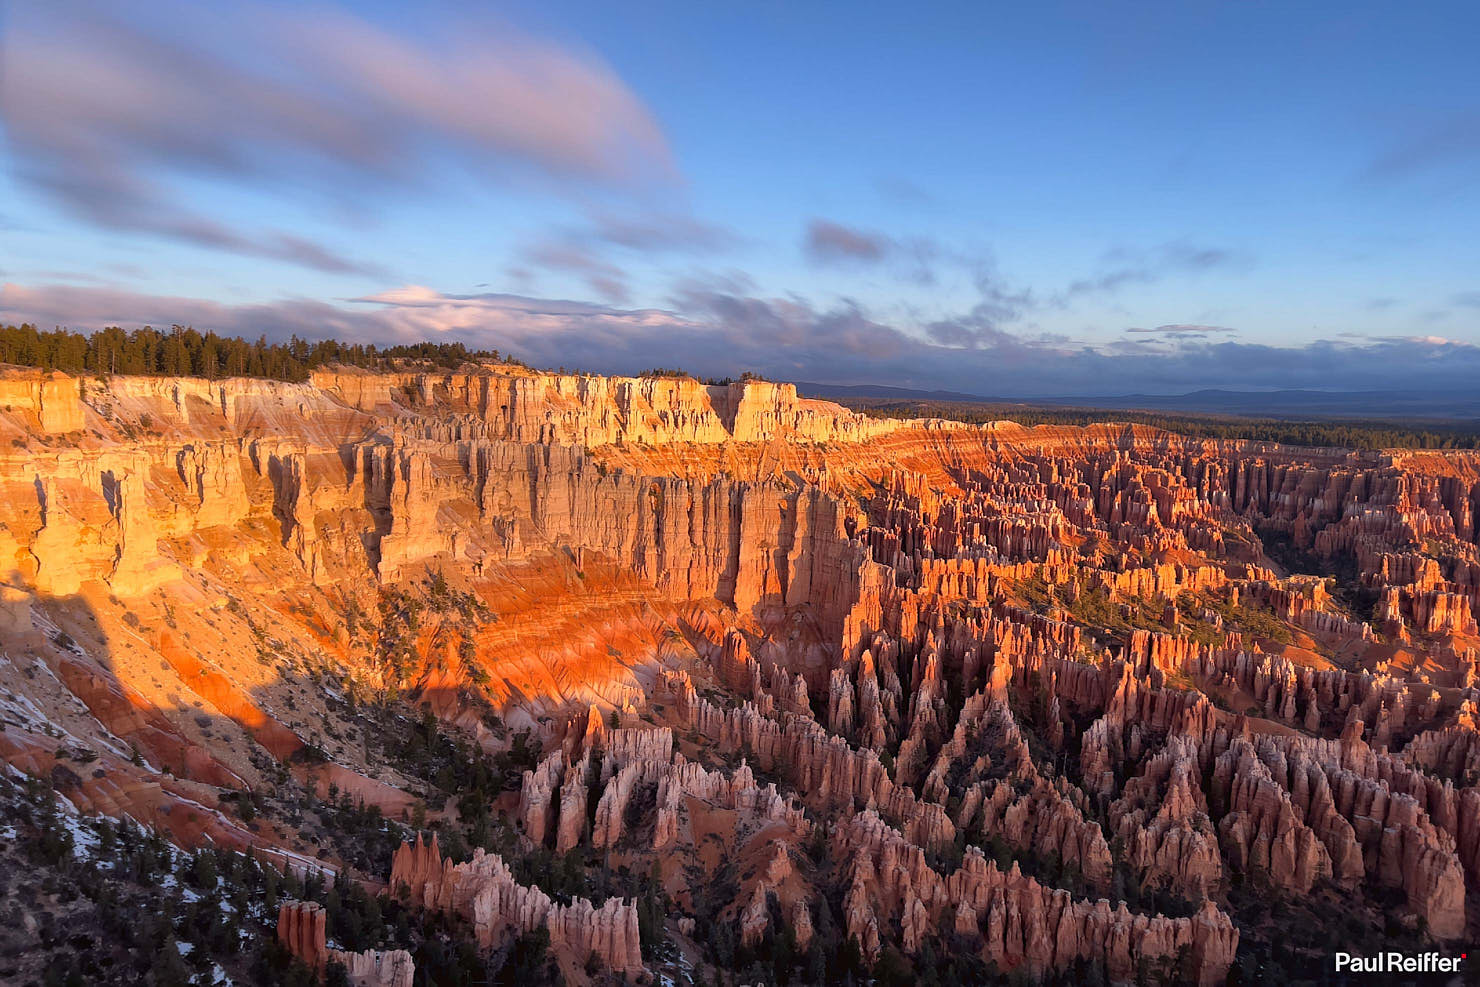
Indeed, in the case of EvenLonger, it will offer up a high resolution detailed TIF file for further editing too (but bear in mind you’ll need to fix the camera in one position throughout the chosen time).
Remember I said I use my iPhone to help give me a reference for my larger camera medium format shots?
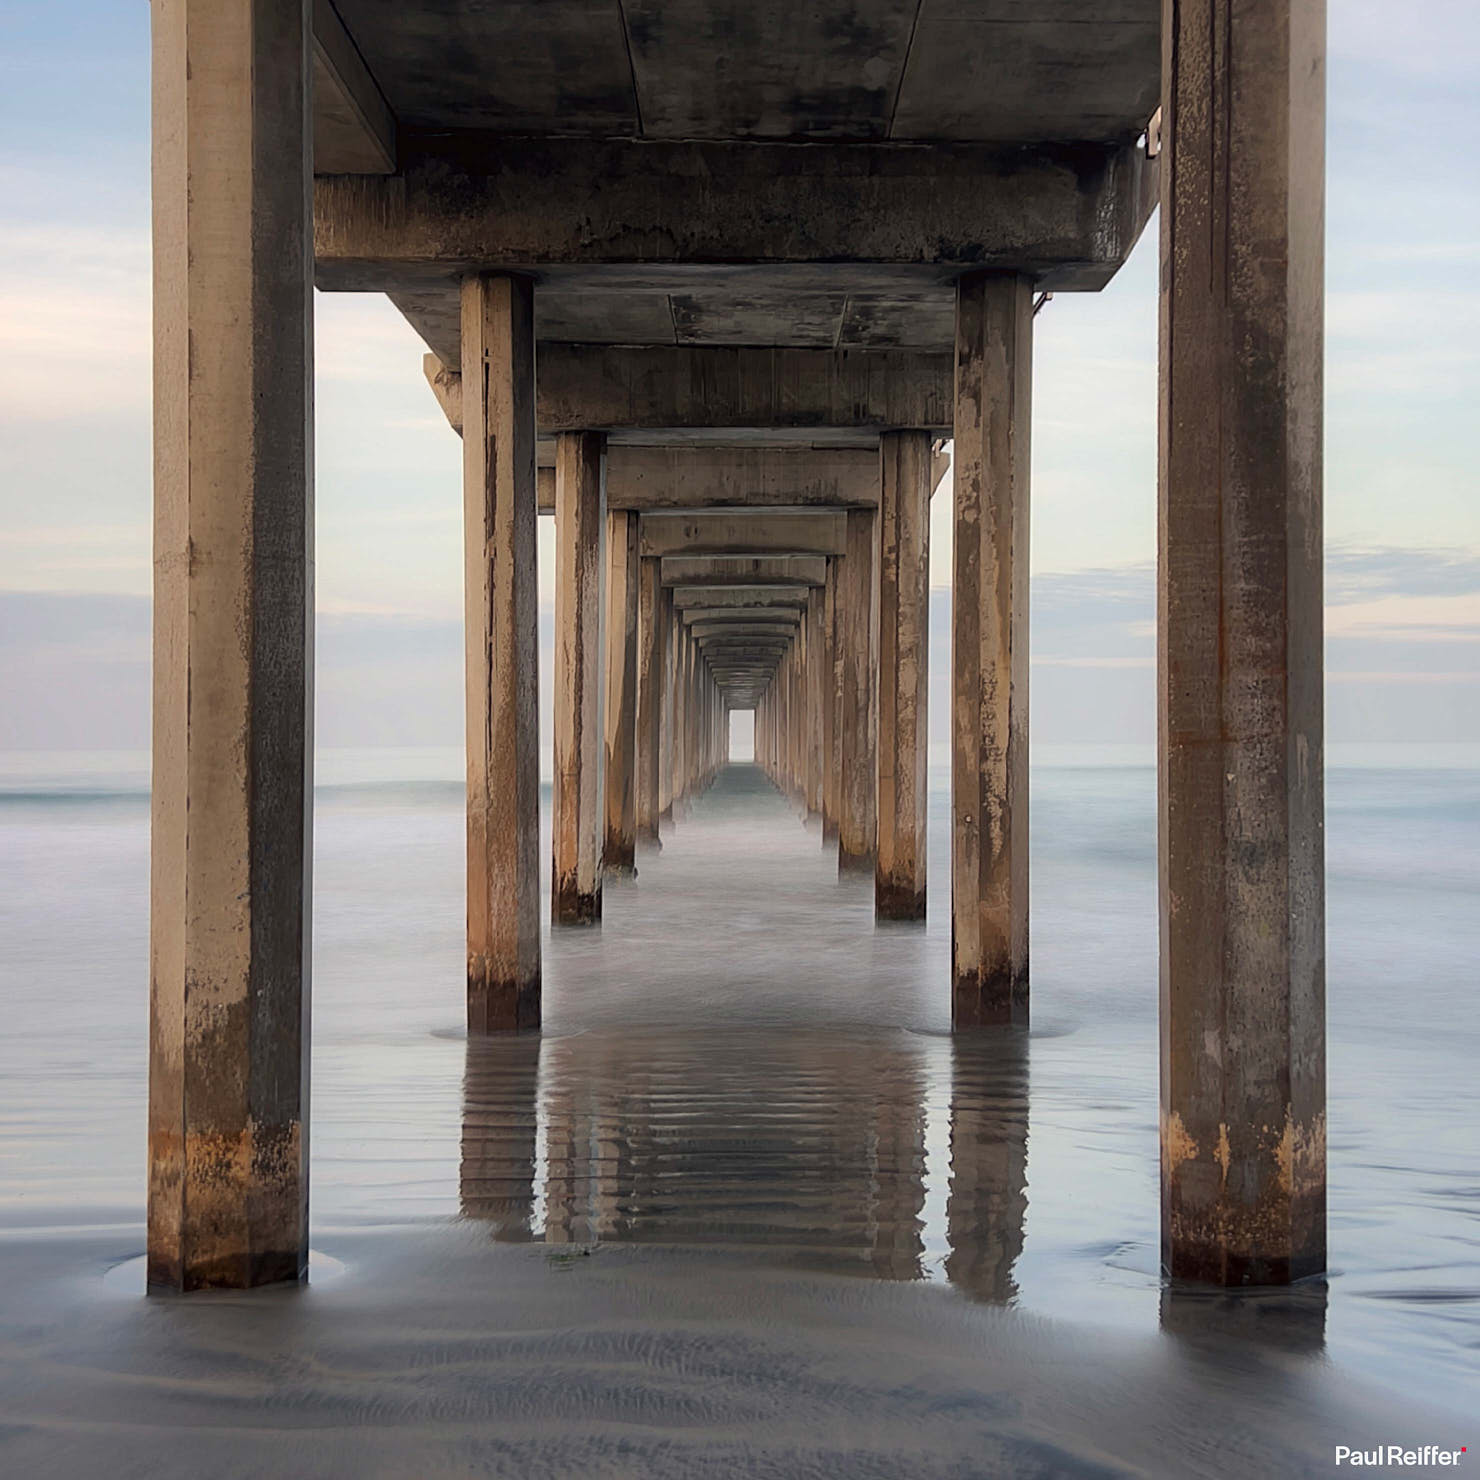
…check out “Journey’s End”!
Sometimes, it’s as simple as wanting to add something to a scene that has an otherwise too simple dynamic – maybe it’s a flat sky, or a reflection pool that’s not quite still enough.
For those situations, the ability to just click into an App to deliver more “designed” shots really is invaluable.
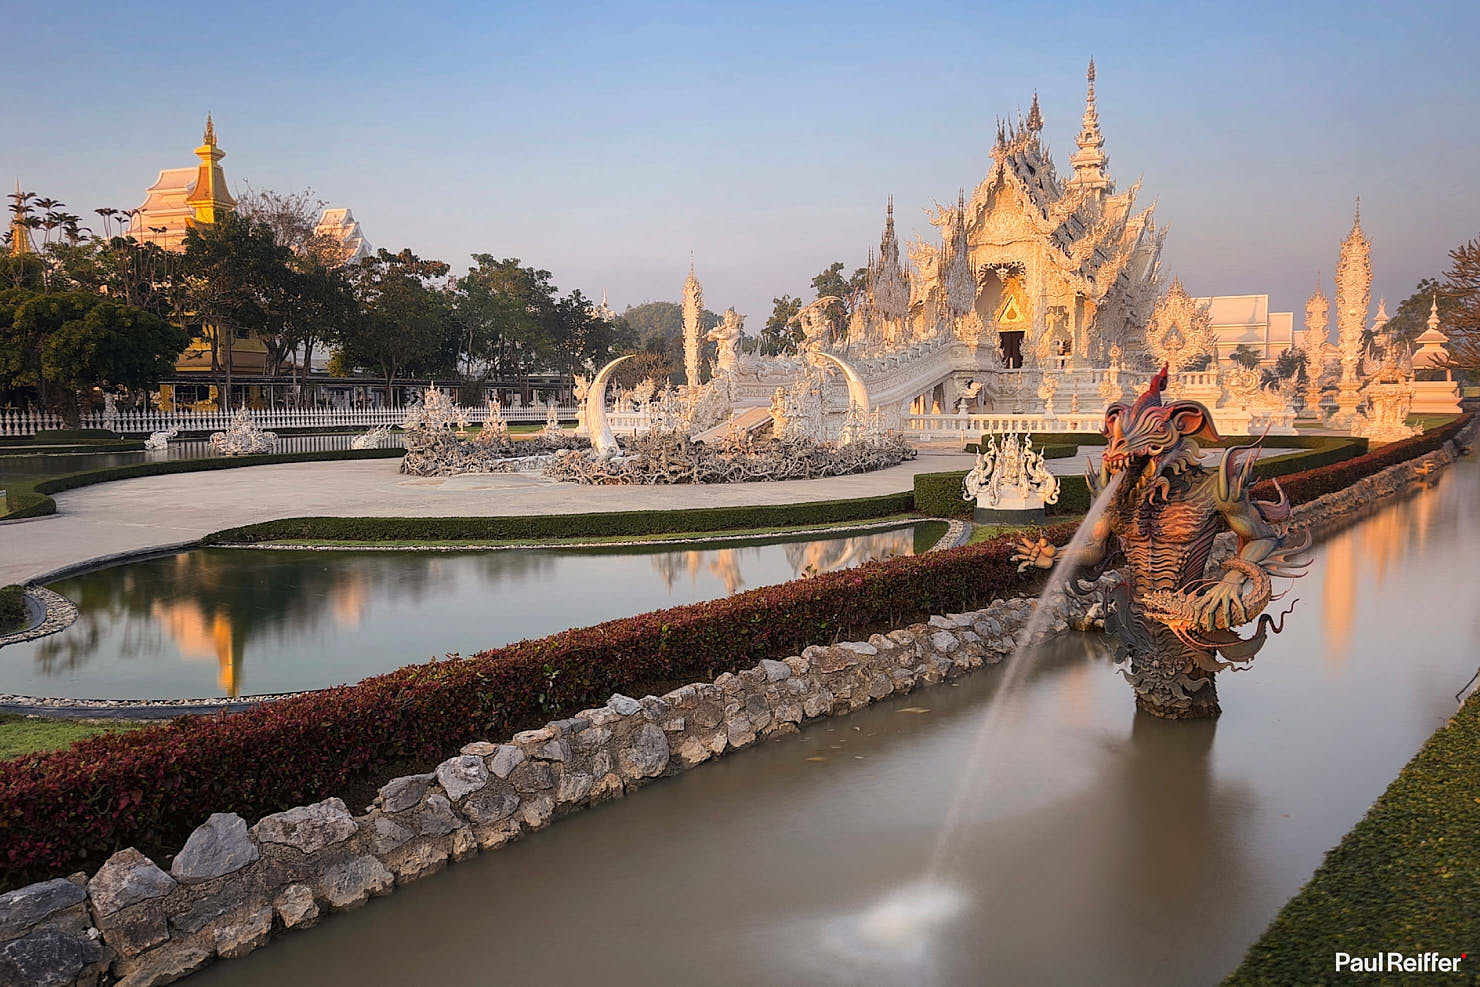
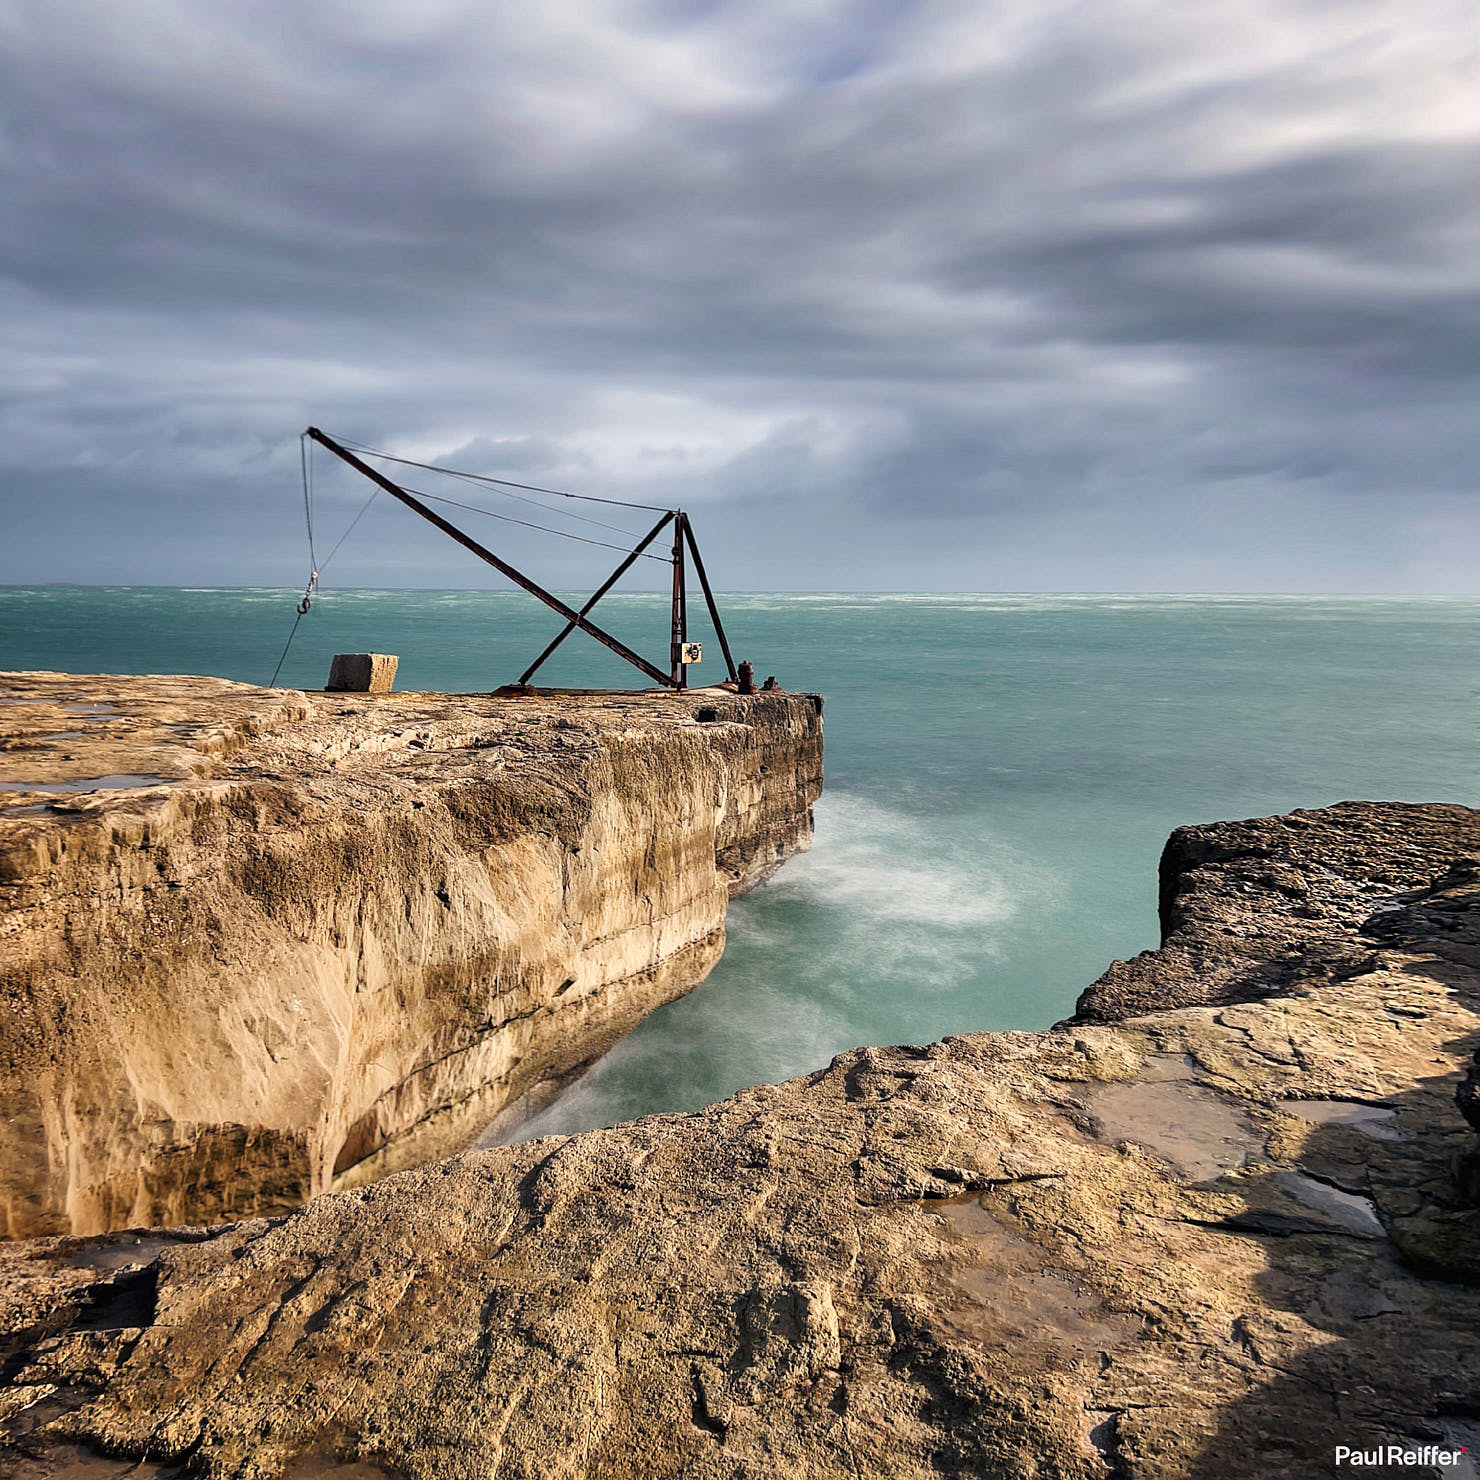
Bring those apps to the coast, especially on a stormy day, and you’ll see them come into their own in terms of what’s delivered to the viewer.
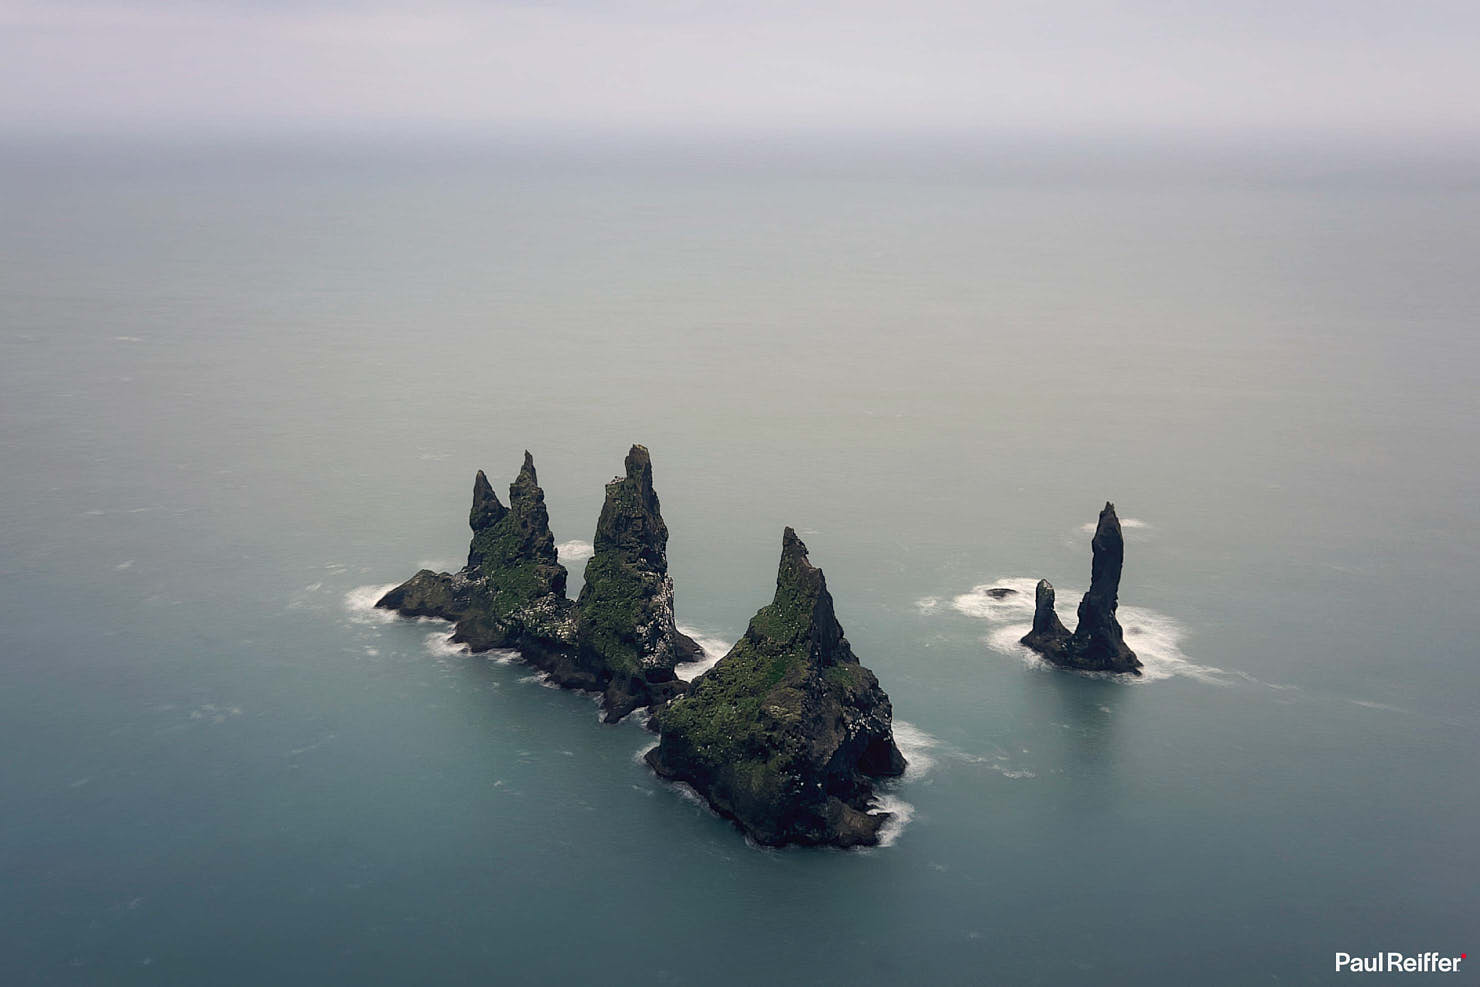
Whether it’s accentuating the motion of the water below, or smoothing a rough sea entirely out to a minimalist look on a hazy day, the “single shot” versions of those shots just don’t have quite the same appeal as their long exposure equivalents.
There’s something very cool about capturing scenes the eye can’t naturally see. How you choose to do that – native camera, third party apps, or hardware add-ons – is entirely up to you, but the latest iPhones have allowed us all to have long-exposure boom-boxes right there in our pockets!
Golden Hour Goodness
Our holy grail, in some ways, as photographers – the Golden Hour!
A bit of a silly name, really, as depending on where you are in the world that “hour” could be as little as 20 minutes or as long as 12 hours – but we all know what it is; that magical time of soft, colourful, light in the sky either side of sunrise and sunset.
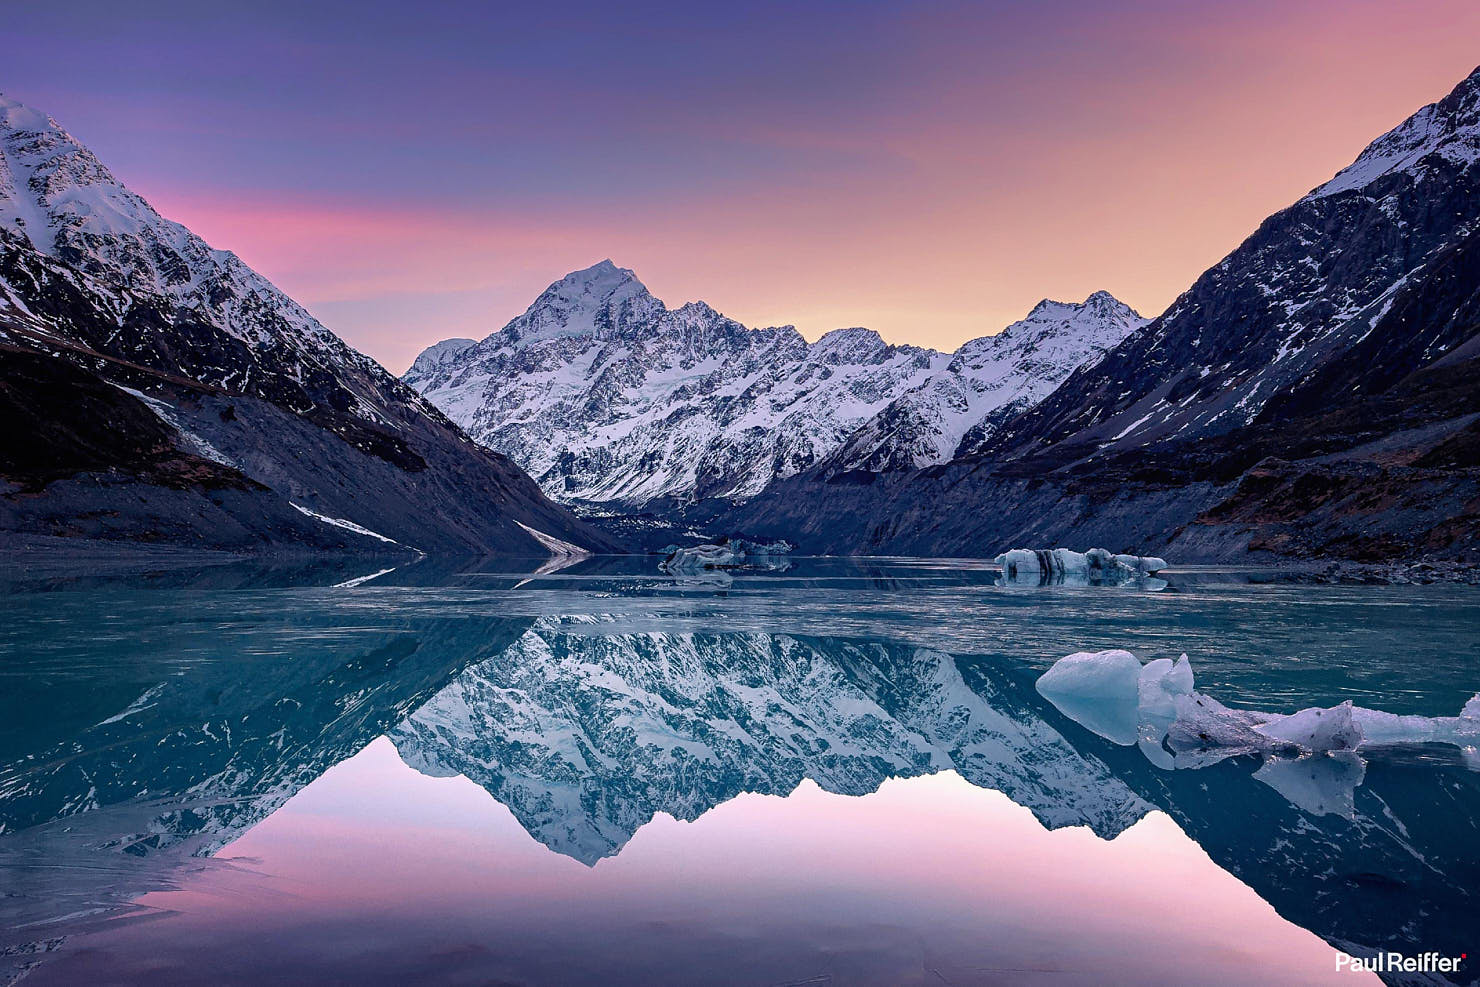
And it’s here where the iPhone’s camera (software) does seem to kick things up a notch.
To be fair, a RAW file always tends to come out of the camera a little “flat”, but with that computational HDR approach that iPhone offers, combined with (I’m sure) some previous learning of how images tend to be edited – my shots taken during golden hour tend to need very little “tweaking”, if any, to get the result I was looking for.
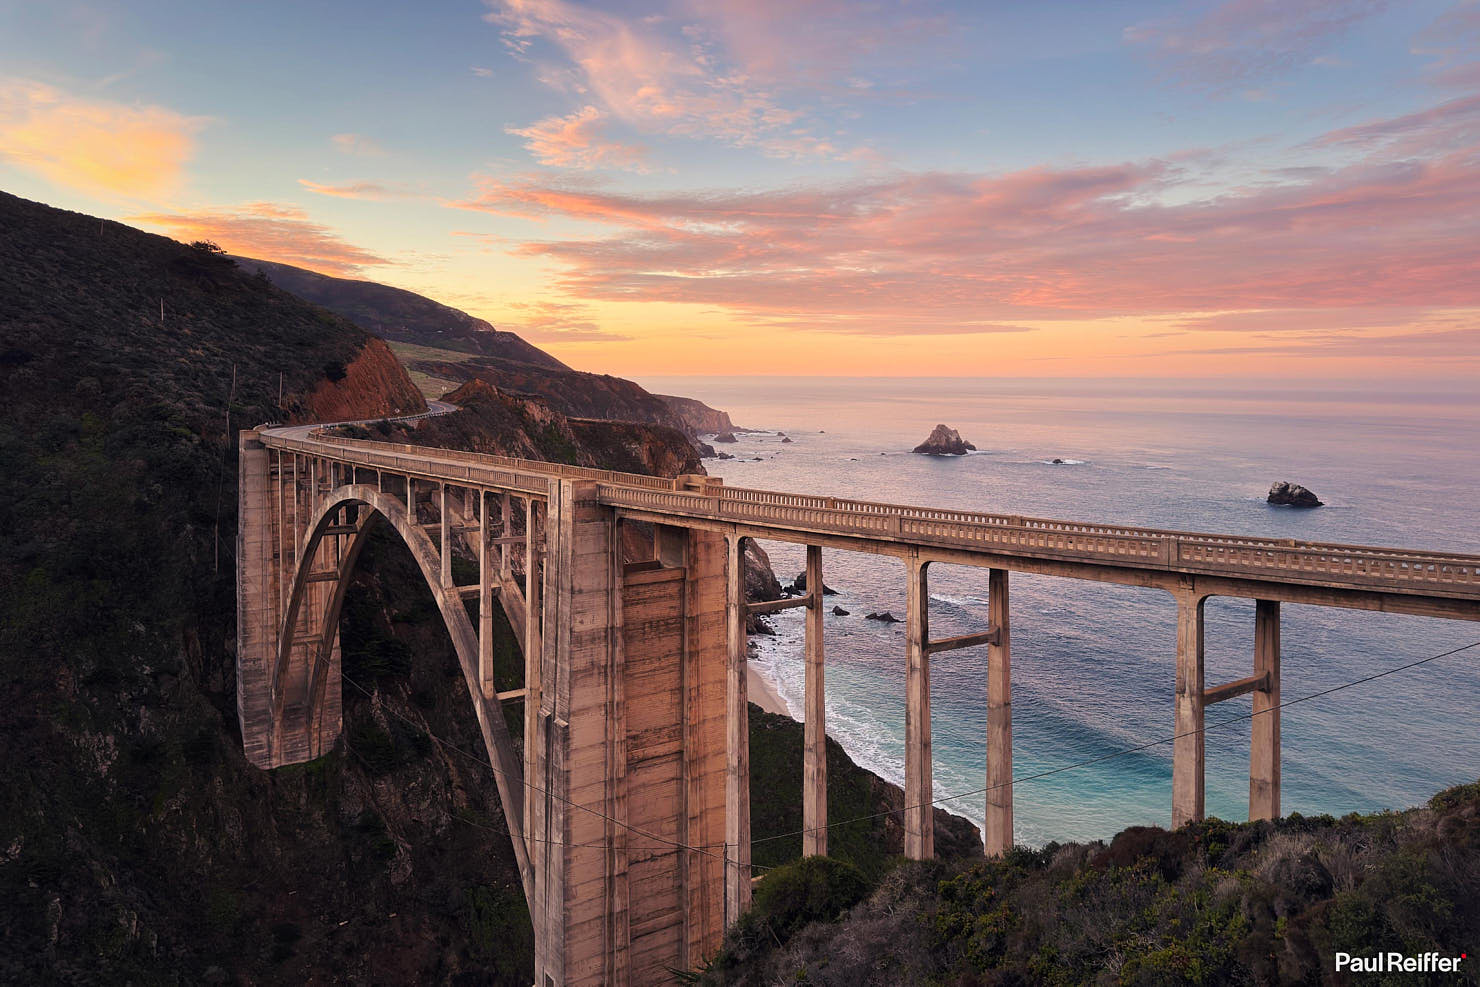
I do notice a slight “blocking” when it comes to over-exposed clouds, especially when they’re hit by early morning sun in an otherwise darker scene – perhaps where iPhone is trying to balance the (extreme) highlights against shadow recovery at twilight. In general, however, the golden hour shots I’ve captured have been streets ahead of, and much more authentic than, other devices and phone camera platforms out there.
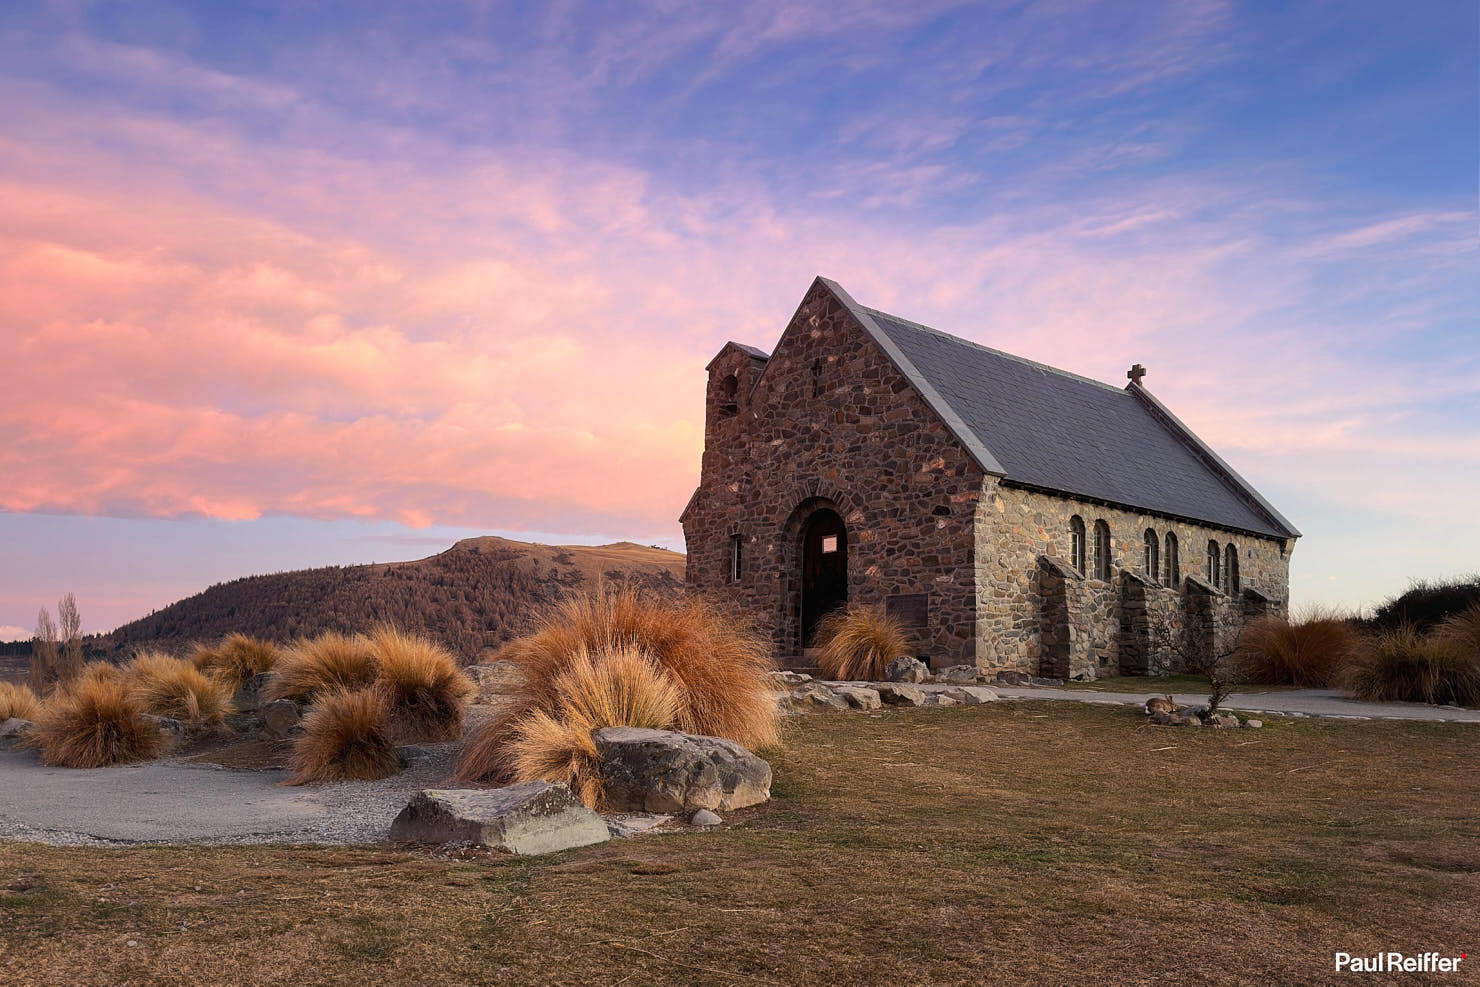
In each case, I now find myself in the same situation: My reference image matches my memory of the place, the scene, that moment in time – and I have to edit my “big camera” RAW files to get back to that.
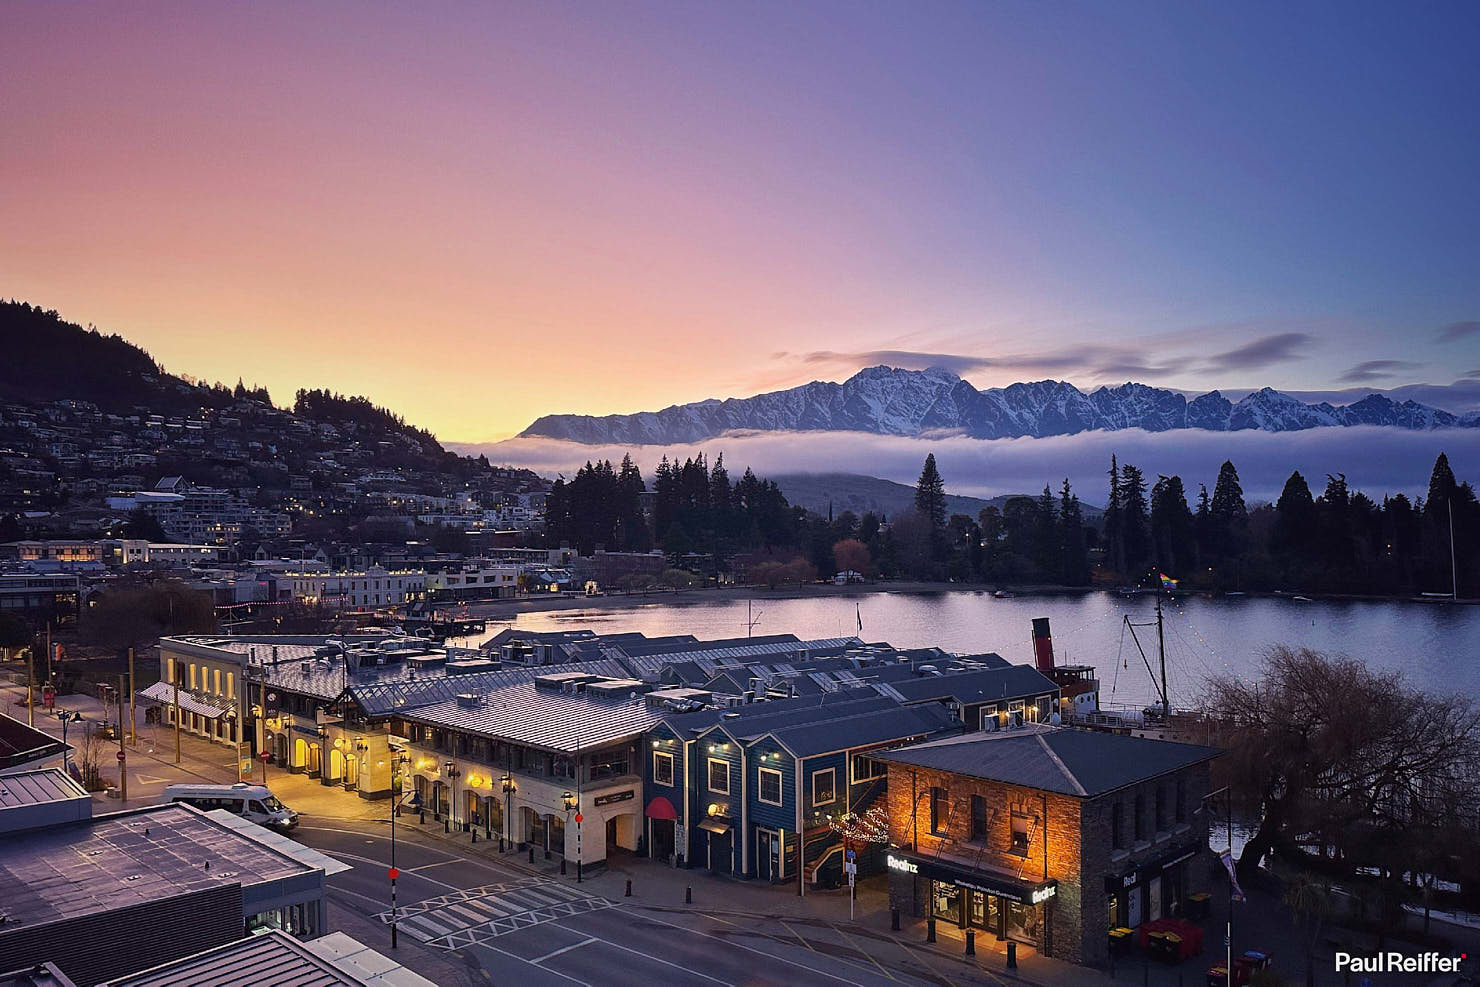
Or, perhaps, over time – my eyes, brain, memory have all slowly adjusted to expect to see what my iPhone does. Who knows? But I like the result.
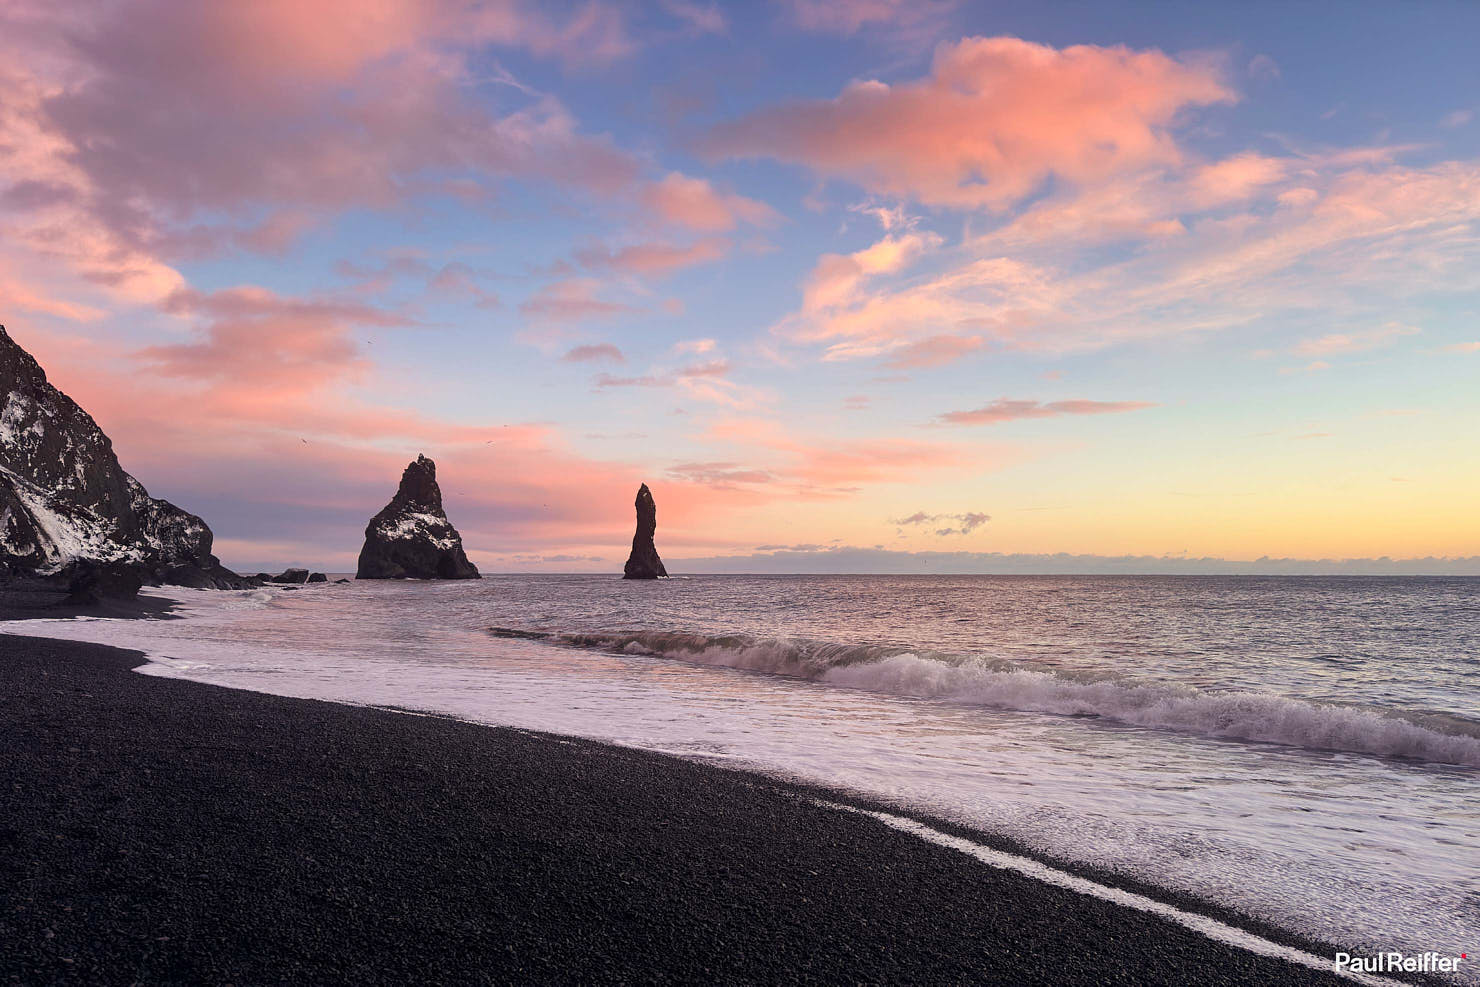
What’s hugely interesting to me, is the ability to seemingly “mix” White Balance values in the same scene.
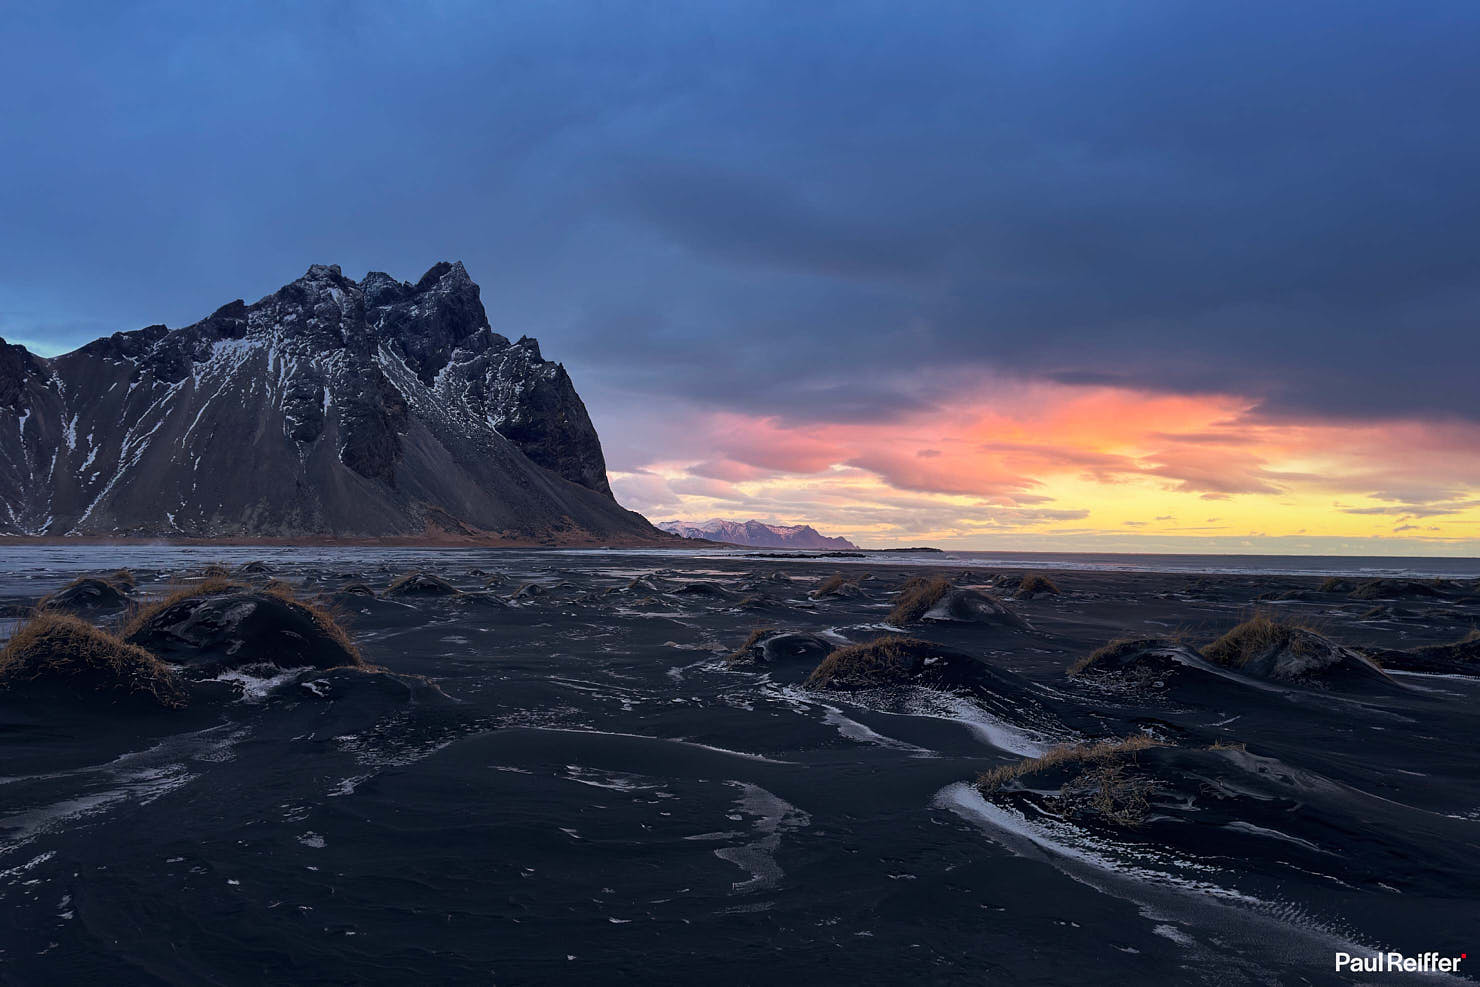
Typically, the scene above would result in less saturated clouds to adjust to those, or an overly blue storm as the camera attempts to neutralise the warm sunrise. In the case of my iPhone, however, it seems to be able to offer both – in the same scene, with one click.
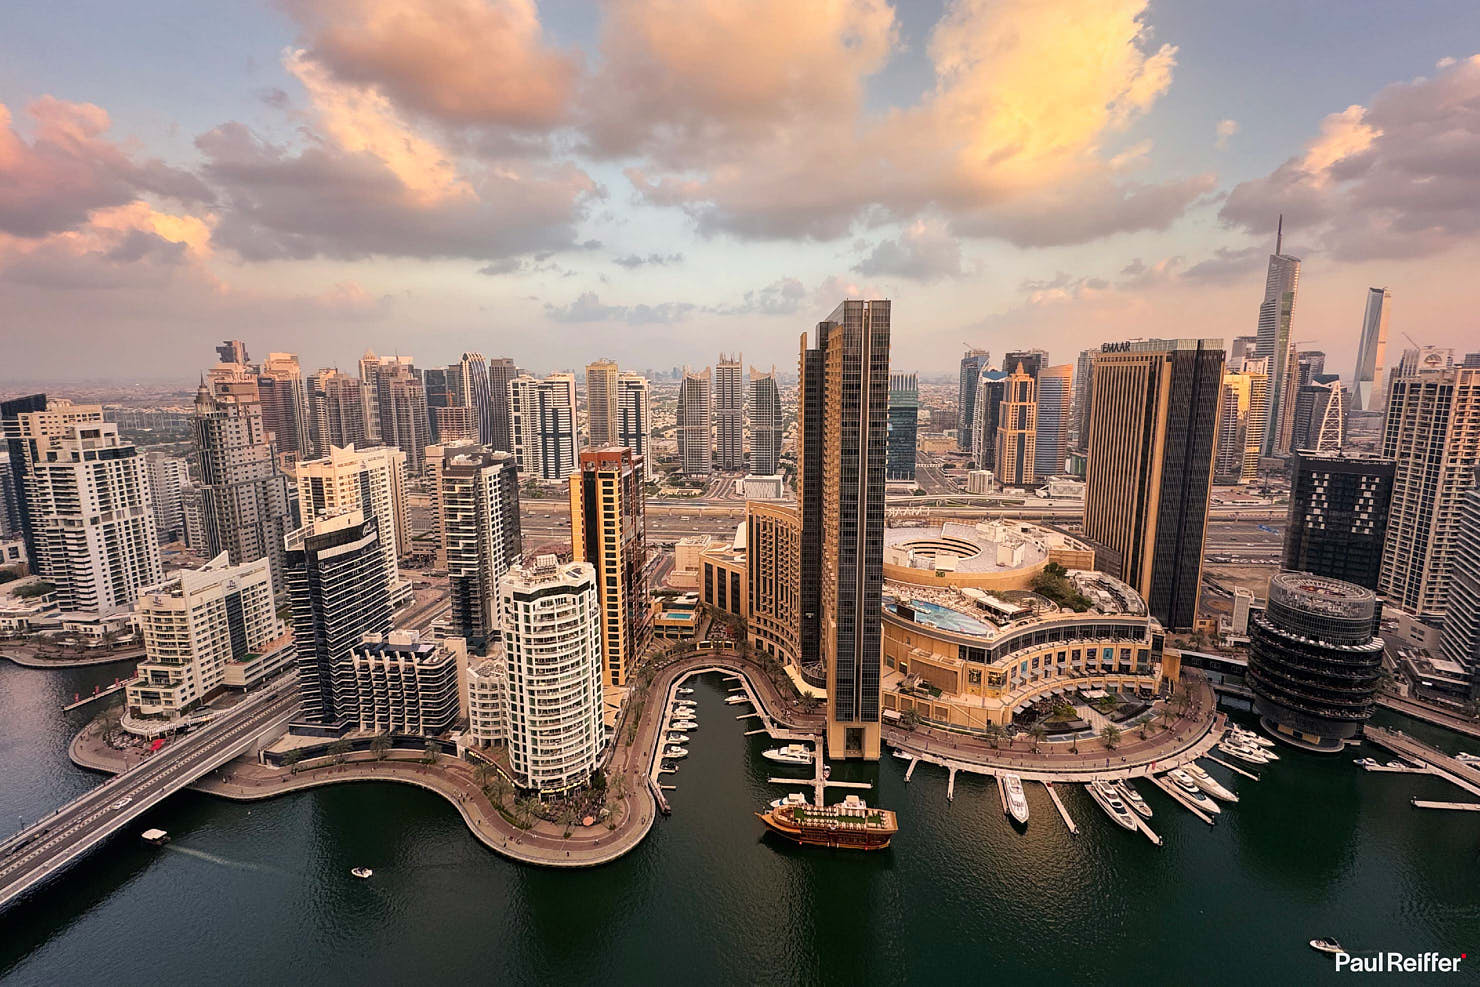
Sometimes I’ll see that challenge with cloud saturation/exposure appear when they pick up a bold colour from the sun – a yellow (as above) or a bright orange – that’s presumably out of range of the colour space. But it’s rare, and with a small manual exposure control on-screen, easily accommodated.
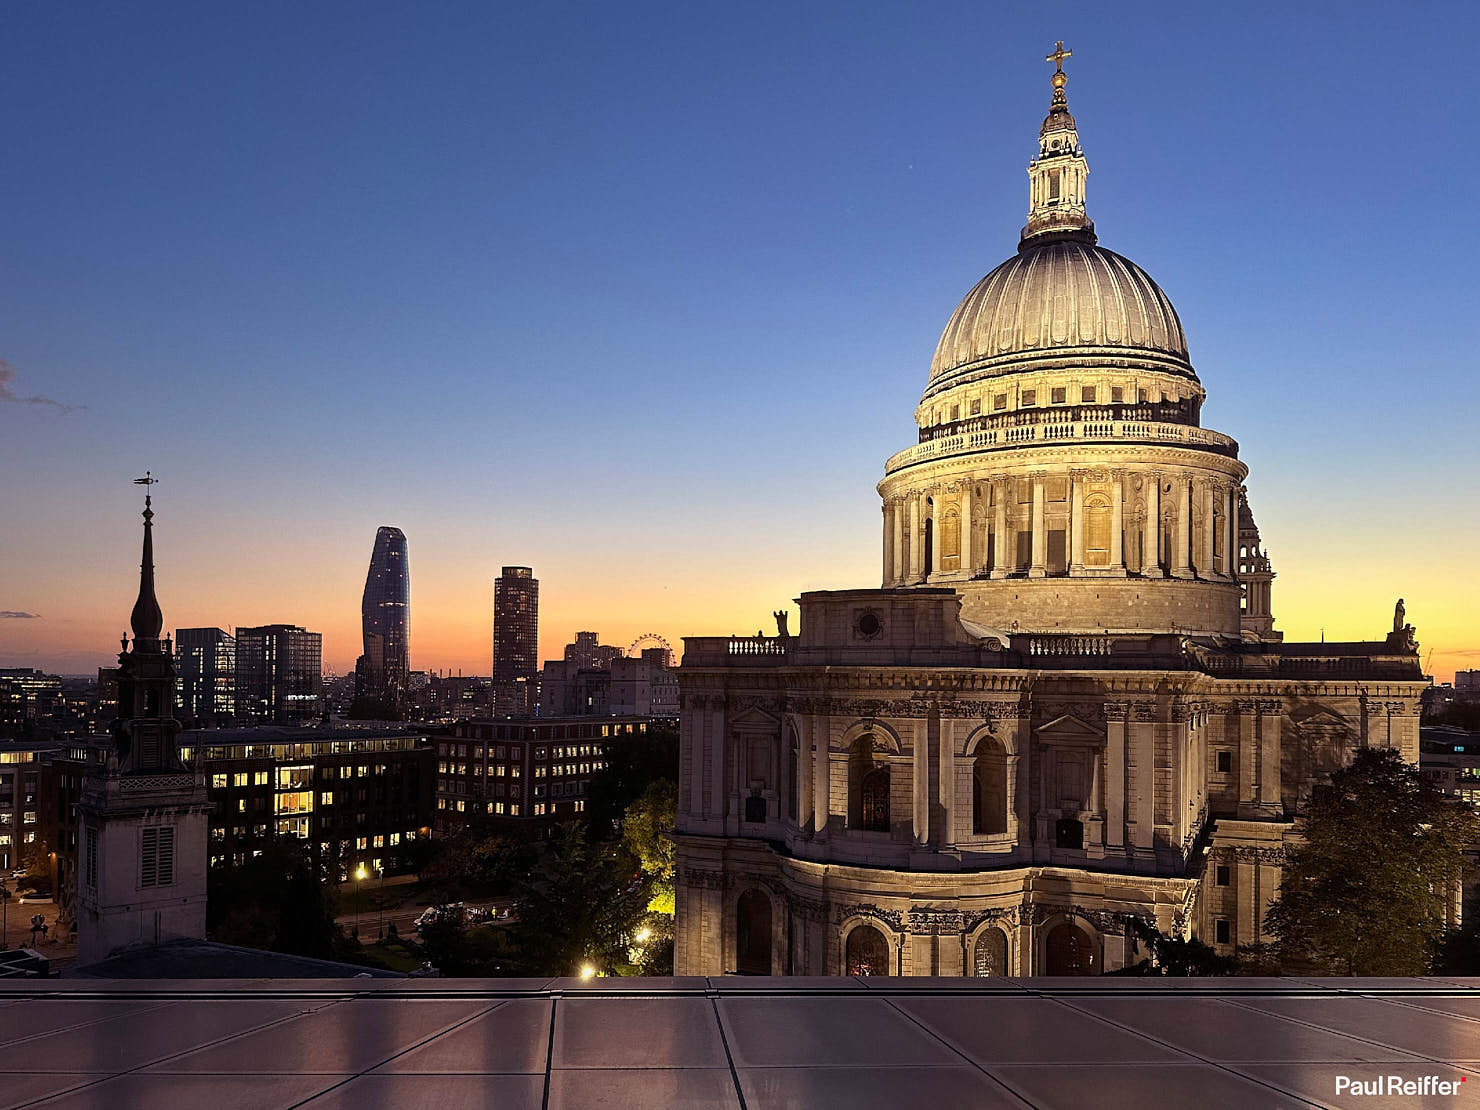
But again, it’s the versatility that is king here.
Sitting with a drink in the bar at One New Change, it’s a lot easier to “pop across” (and past the security guard) to snap a picture of St Paul’s Cathedral with your iPhone in the evening than it is to meet friends with your full 50 litre camera bag and tripod…
Capturing The Moment
And it’s that spontaneity that wins – almost every time.
The inclusion of a “5x” (120mm equivalent) lens in the latest series has delivered some fantastic results when I was out in Mahali Mzuri in Kenya’s Masai Mara – but the fact I can switch to 24mm at 48MP also means I got shots like this, which my “main camera” wasn’t set up for in lens selection:
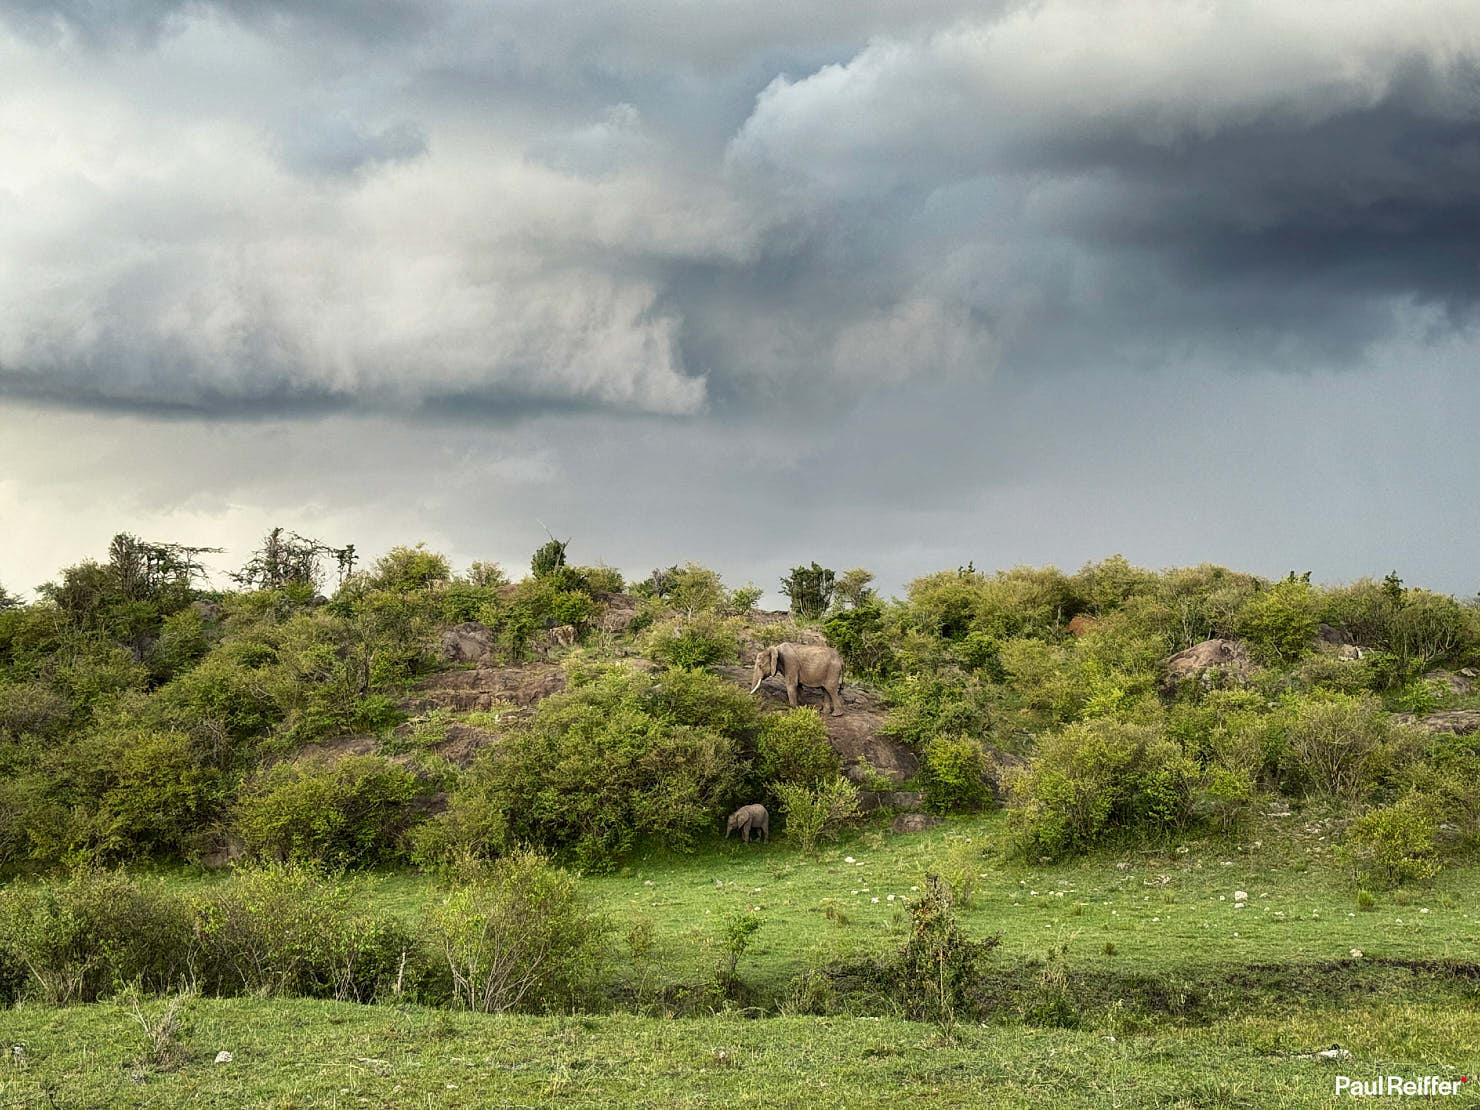
Plus, of course, there are (thankfully, in some ways) places in the world where Tripods (and some “big cameras”) are banned. With the level of detail captured, even on a smoggy day, by that 48MP sensor – I don’t think I can complain, and the lack of “proper photographers” setting up in each vista actually made the experience a whole lot better.
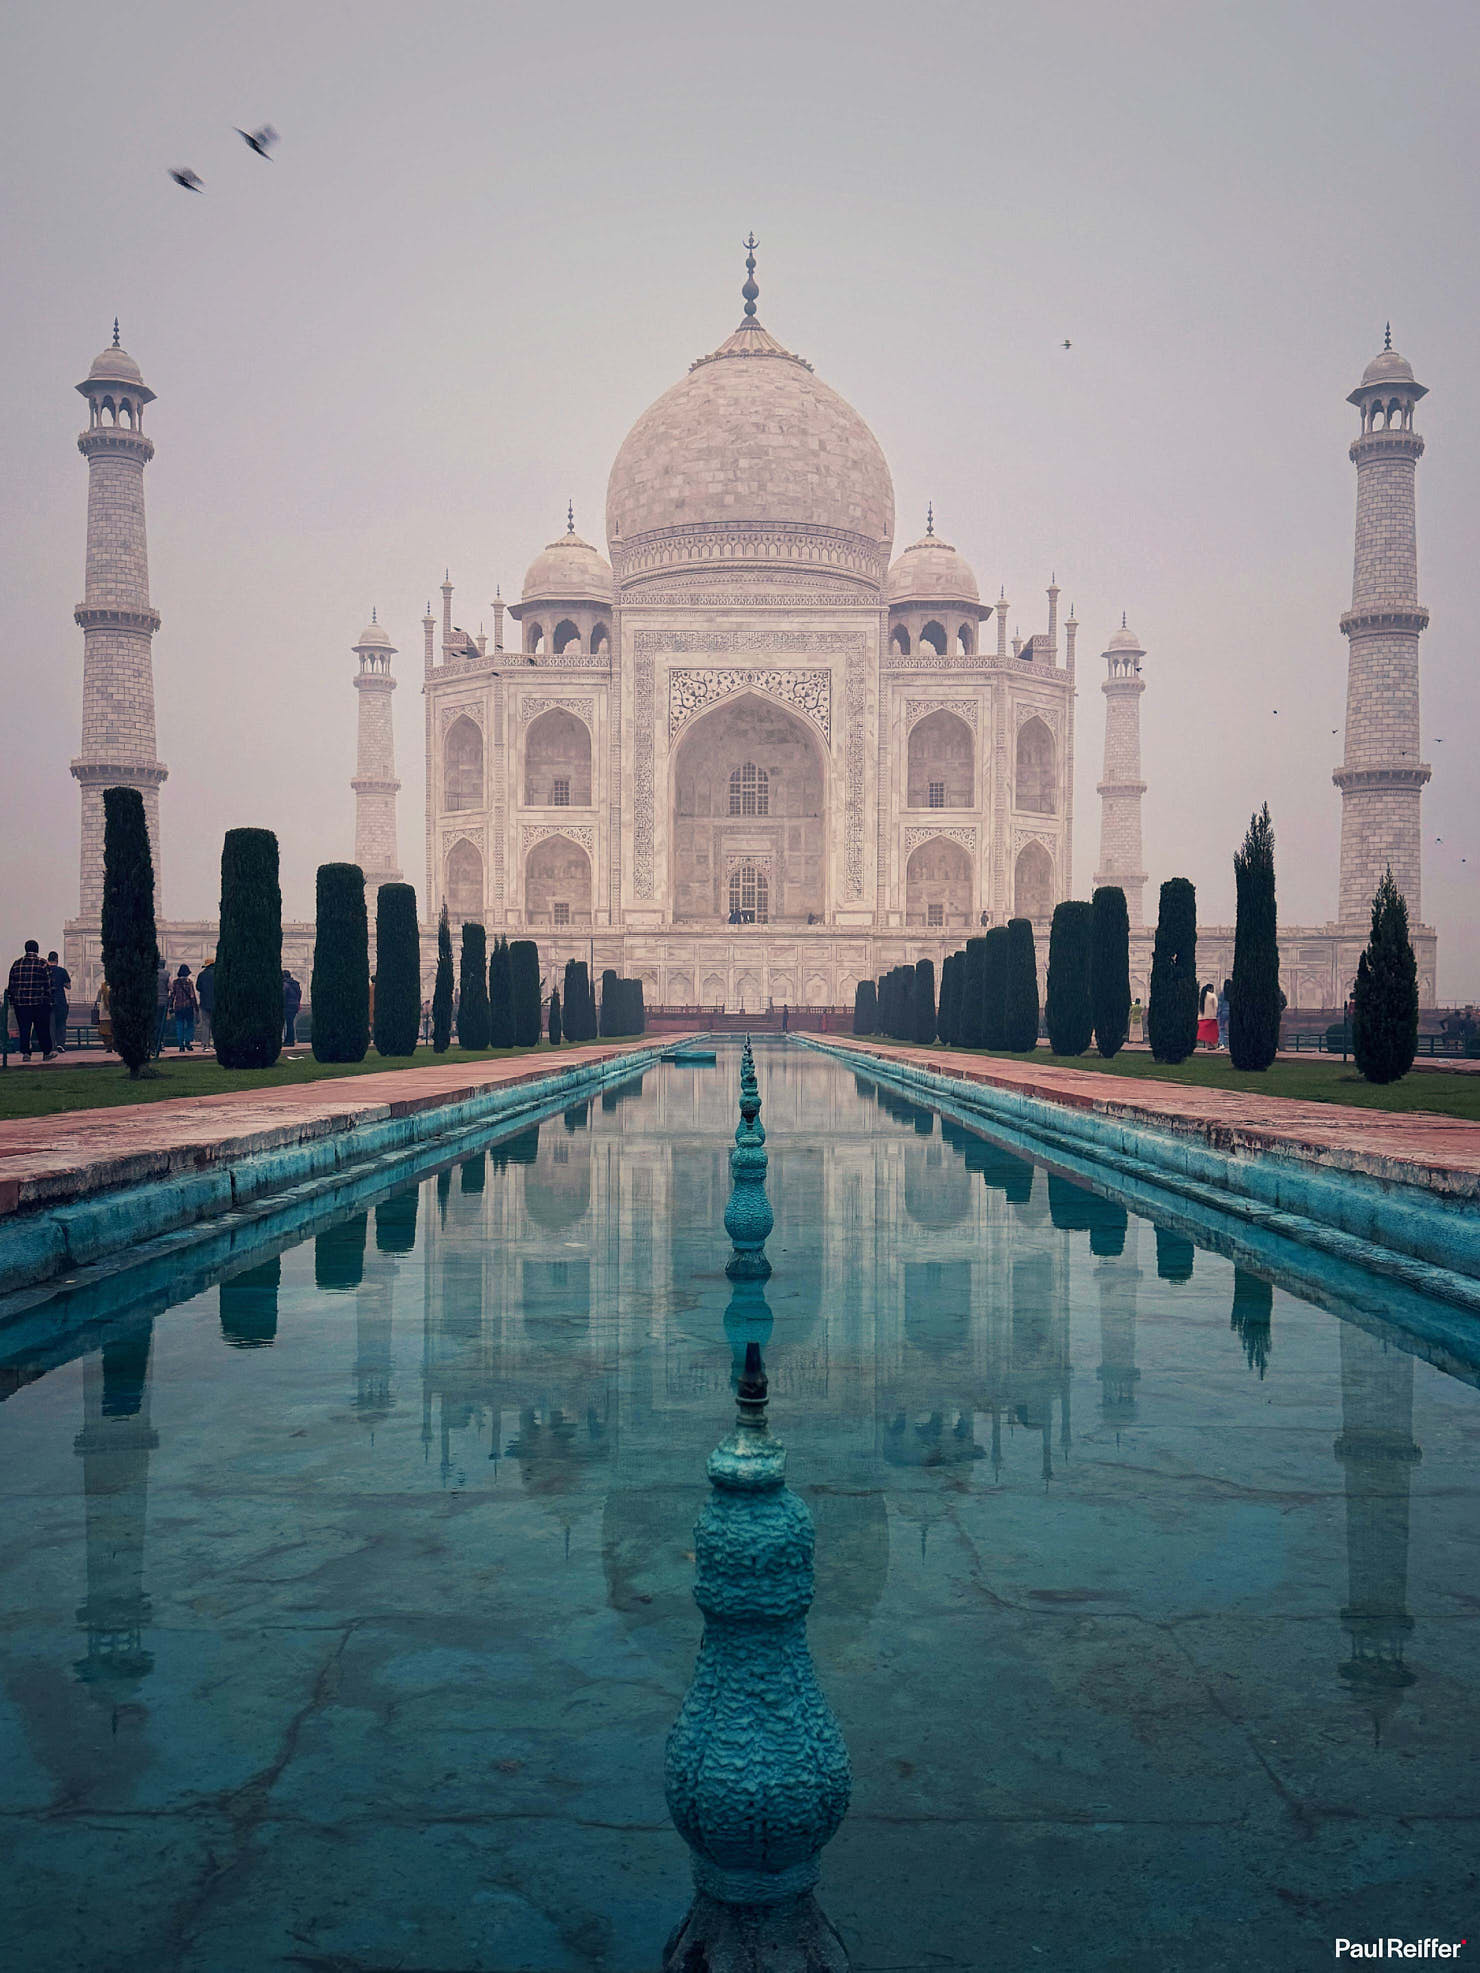
(No, the irony is not lost on me).
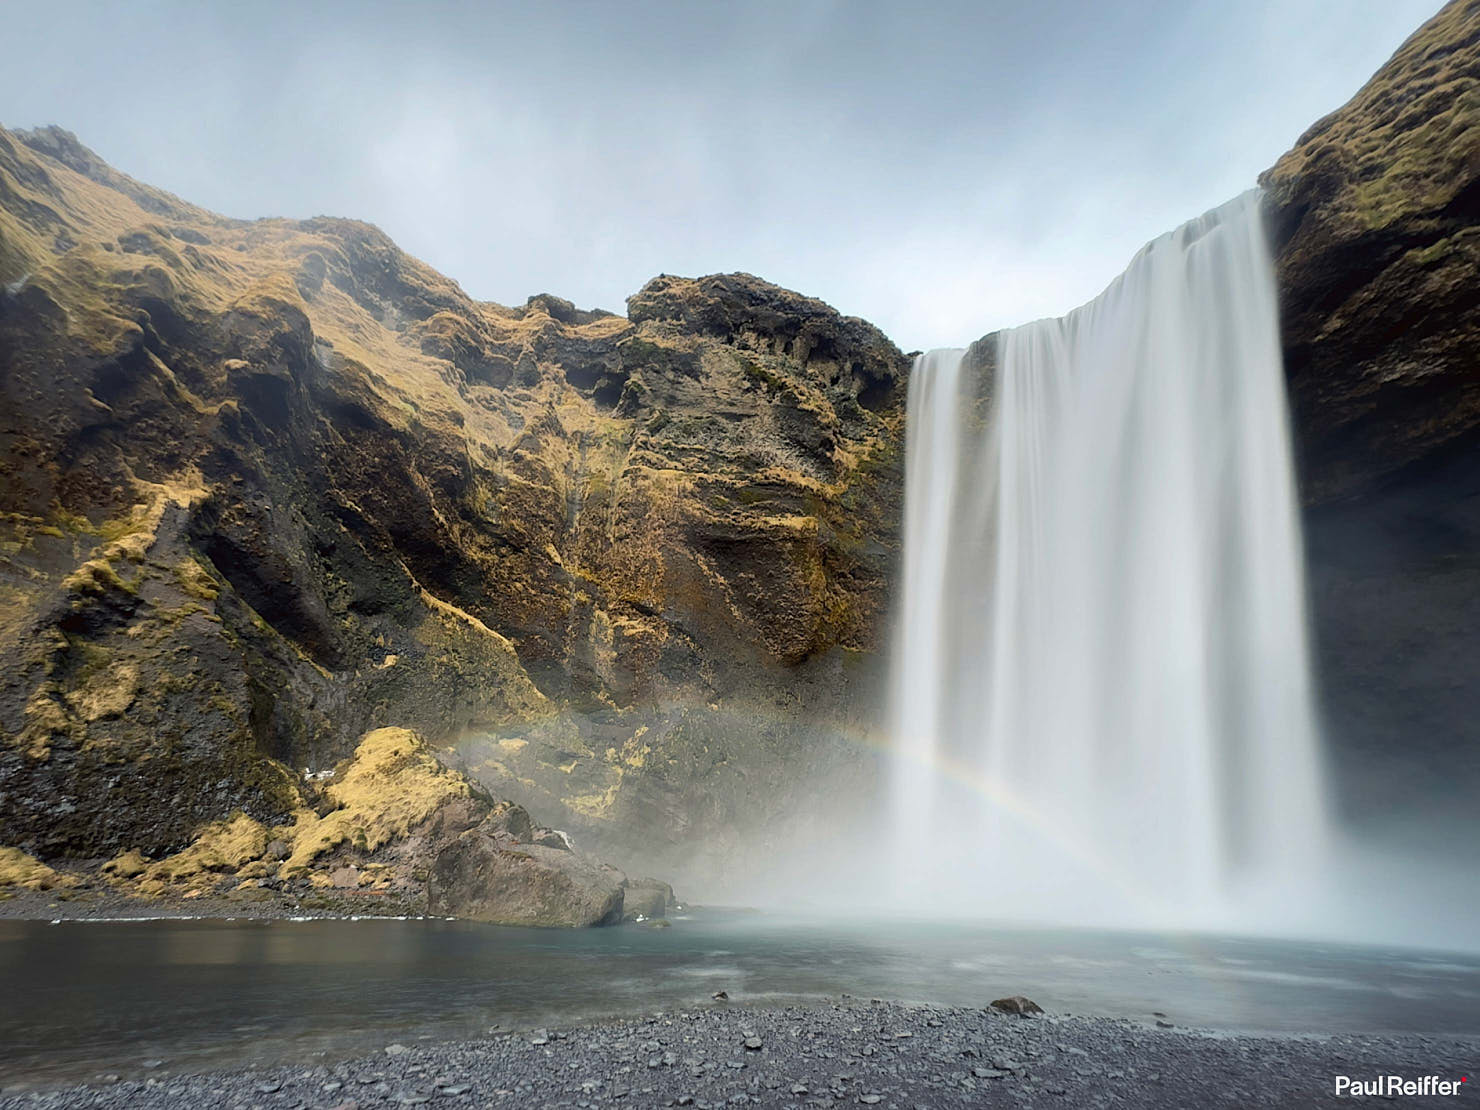
Then there are the scenes where I either don’t want to, or can’t risk, getting my kit too wet. Like standing in the pool of mist whenever you’re within 100m of Skógafoss‘ drop…
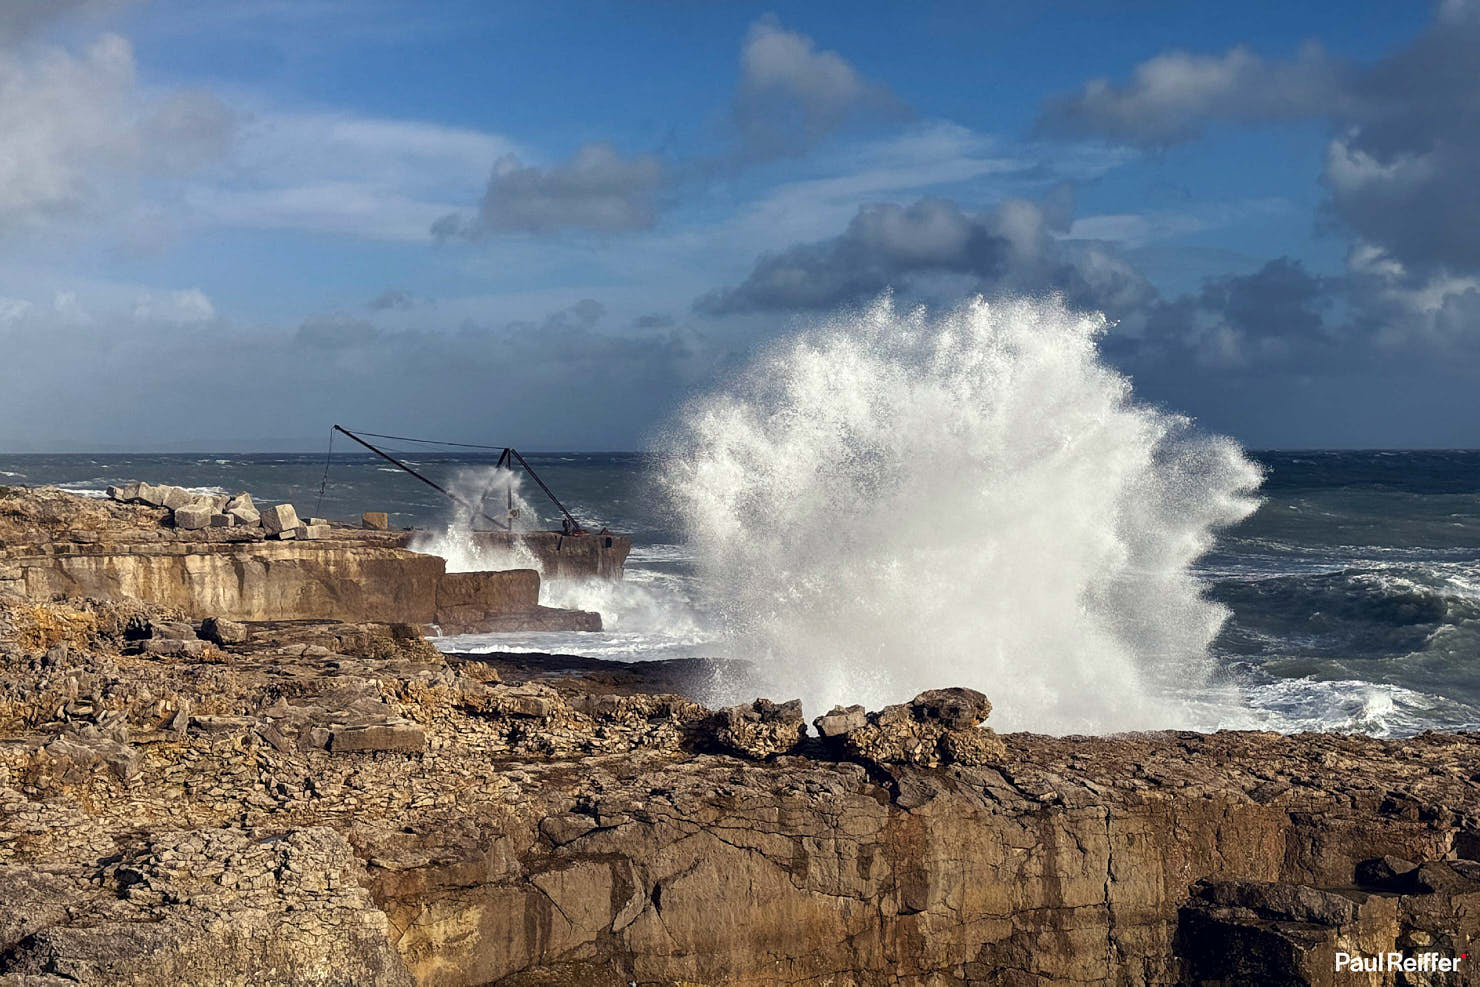
Or out on the coastline of Portland Bill in 60-70mph winds and rough seas.
But it’s that ability to capture the moment in a split second – with no setup time, no bits and pieces to screw together, no hardware choices to make – just take it from your pocket, frame and click. That’s the winner.
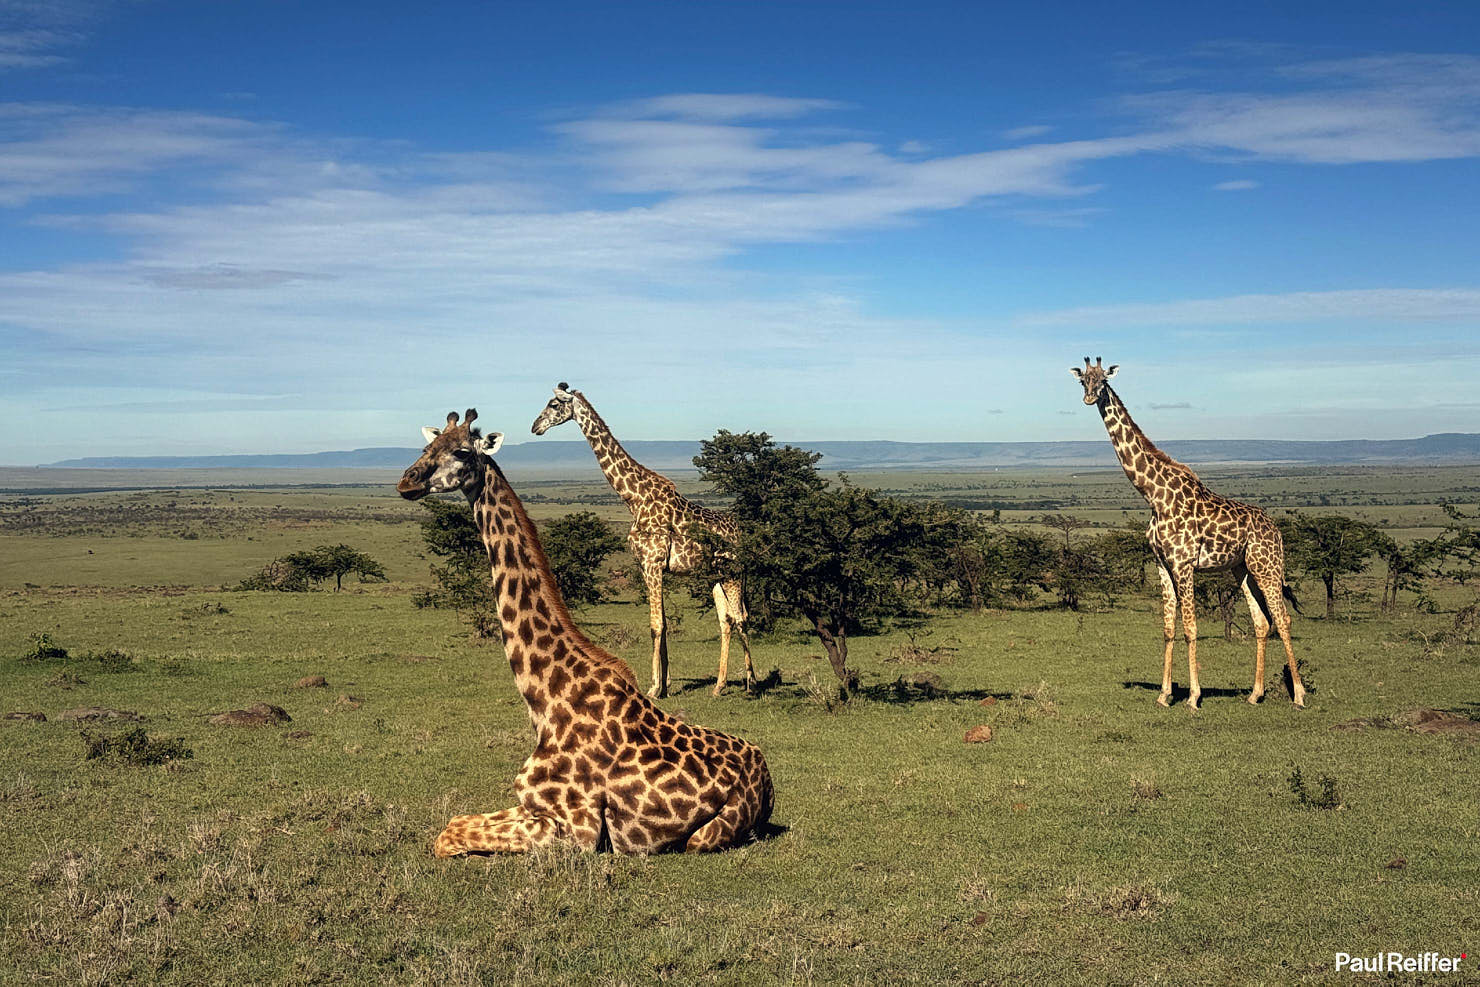
(Plus, it’s a lot quieter too…!)
It can be less about a subject realising you’re there, and more about you not missing a fleeting moment of light – as in the image below.
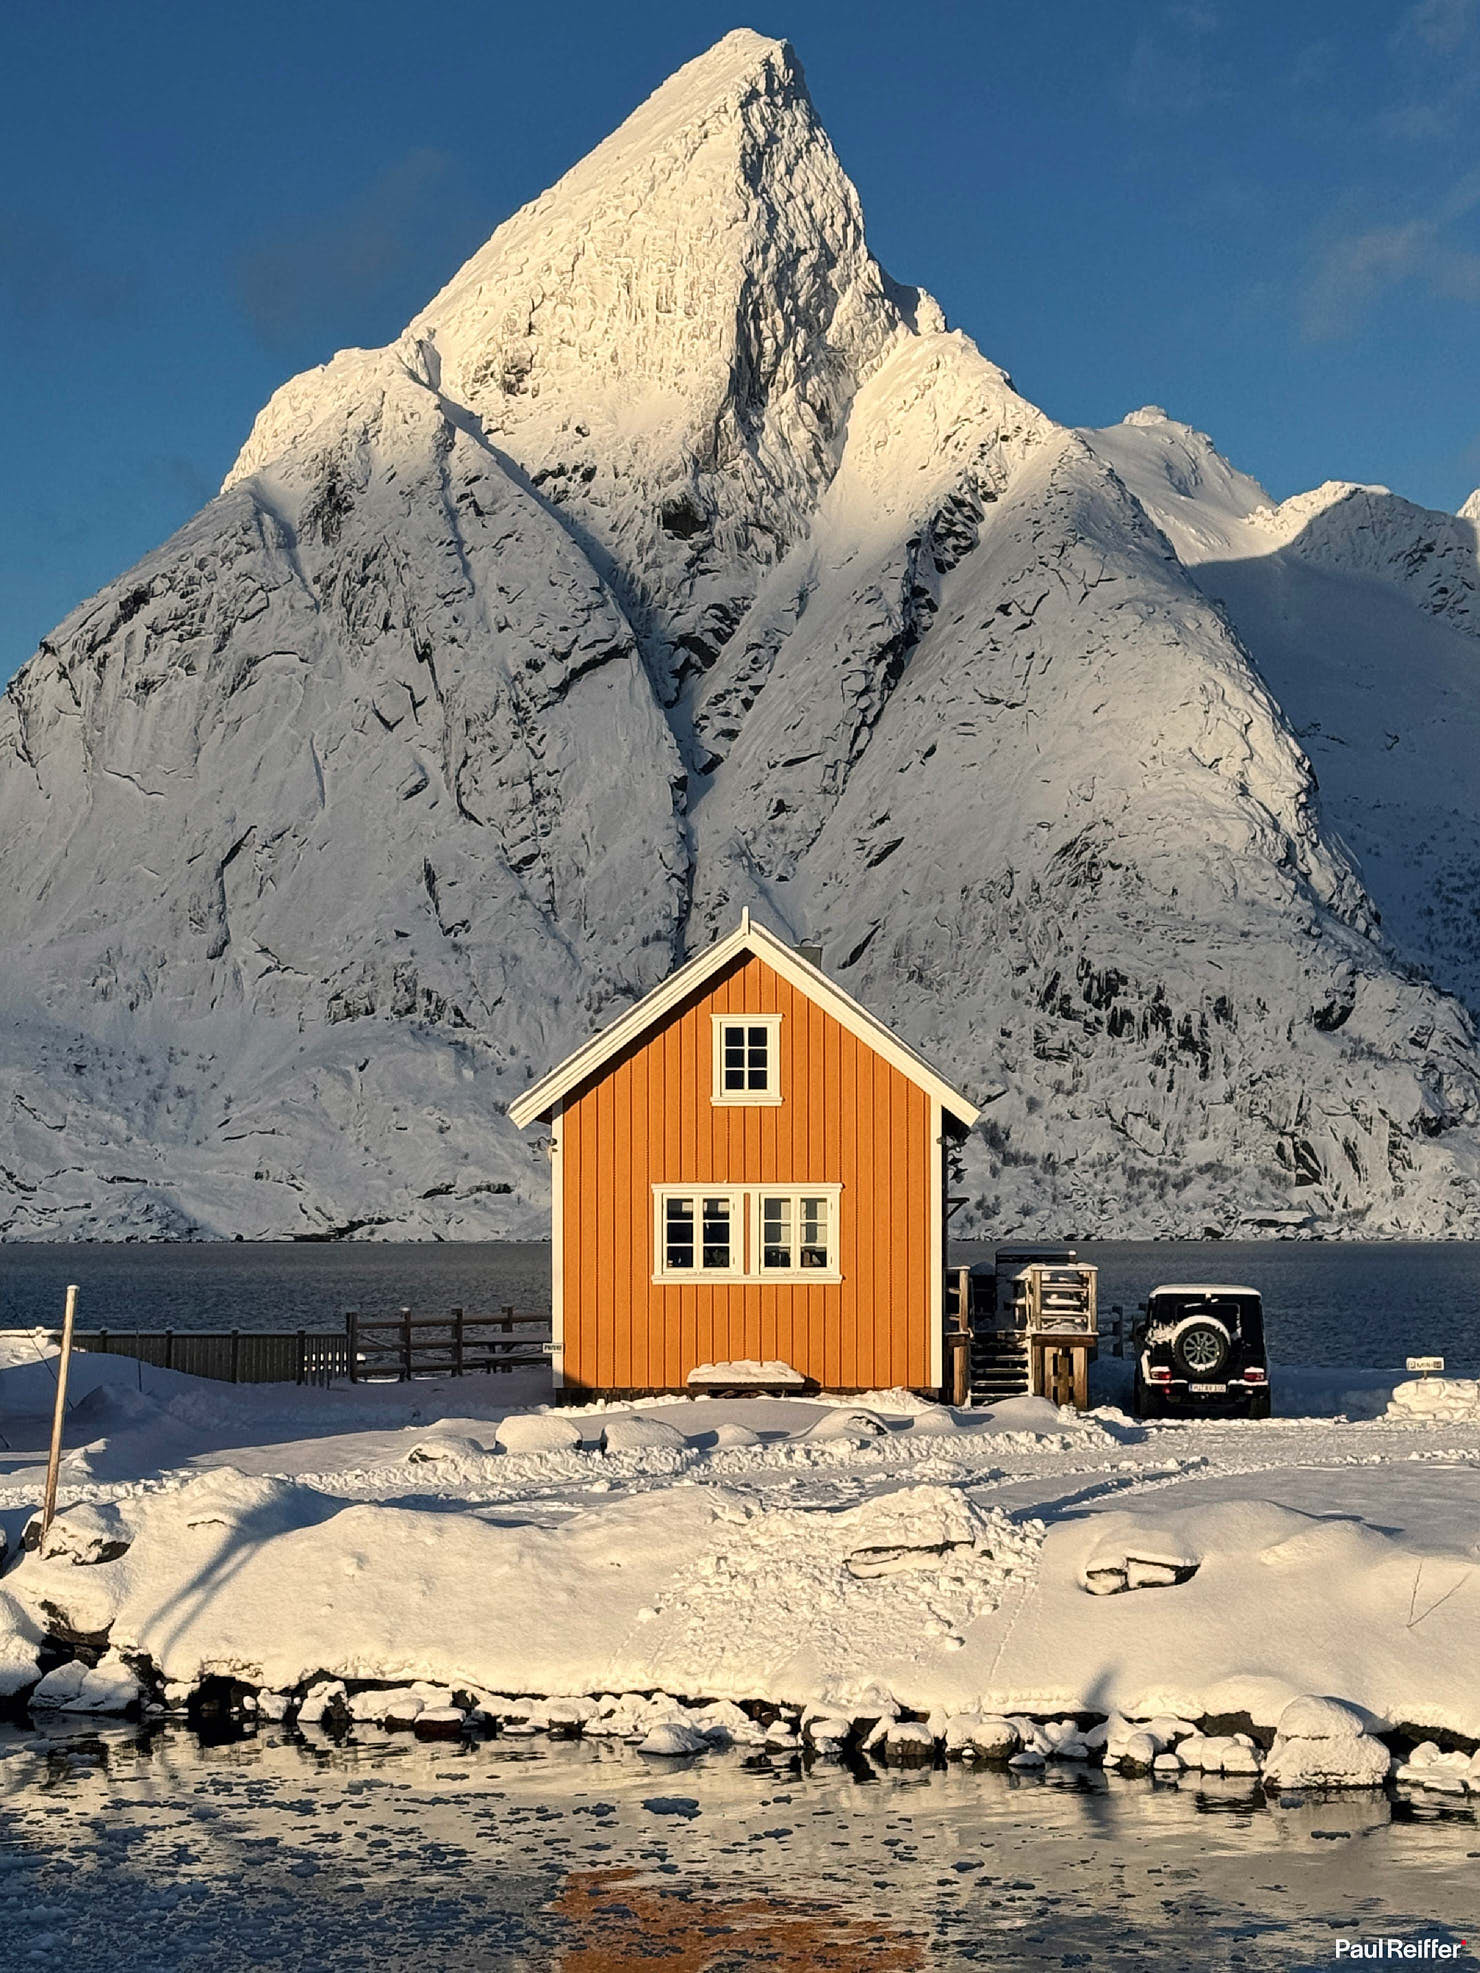
For a few seconds, the sun popped out from a cloudy sky behind us, still diffused, but then fell perfectly on this little cabin in Lofoten. By the time many of the photographers around me had even placed their camera on the tripod they were hurrying to set up, the light had gone. Click – nothing.
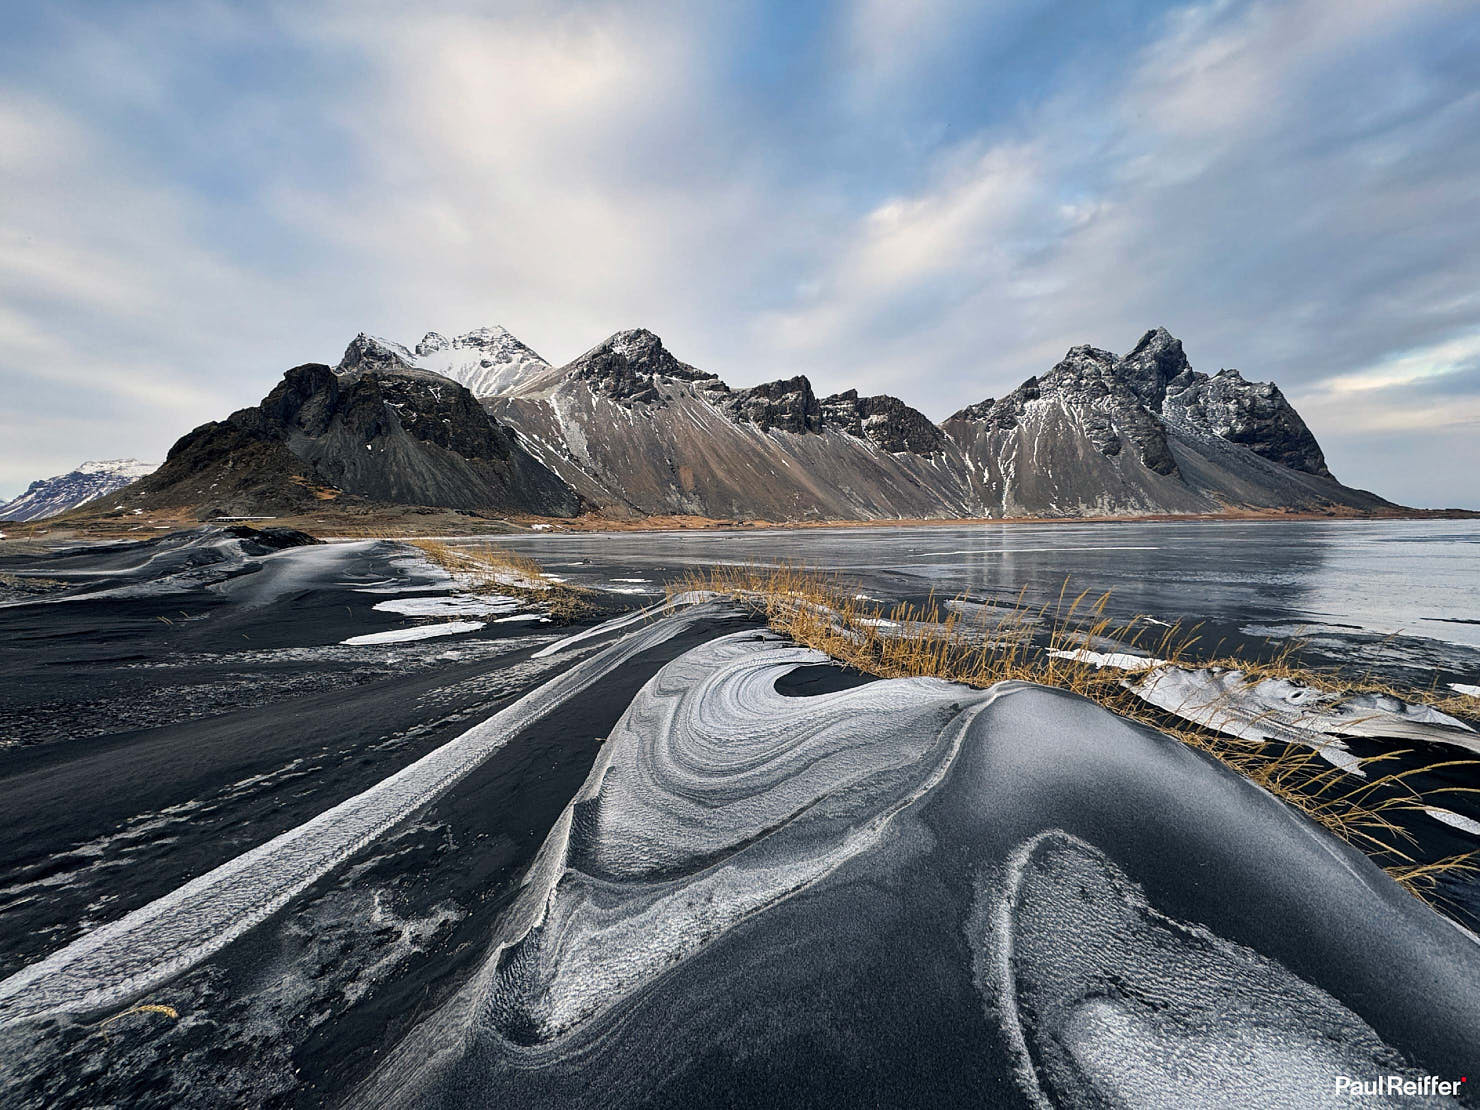
Then there’s those conditions where we have absolutely no control over, or even time to think.
Trying to stand at Vestrahorn (above) during strong winds and you may find yourself unable to open your eyes, let alone your camera bag. Shield them for long enough, however, and grab your phone – it only takes a few seconds to capture the incredible patterns of snow left by the circling air over that black sand.
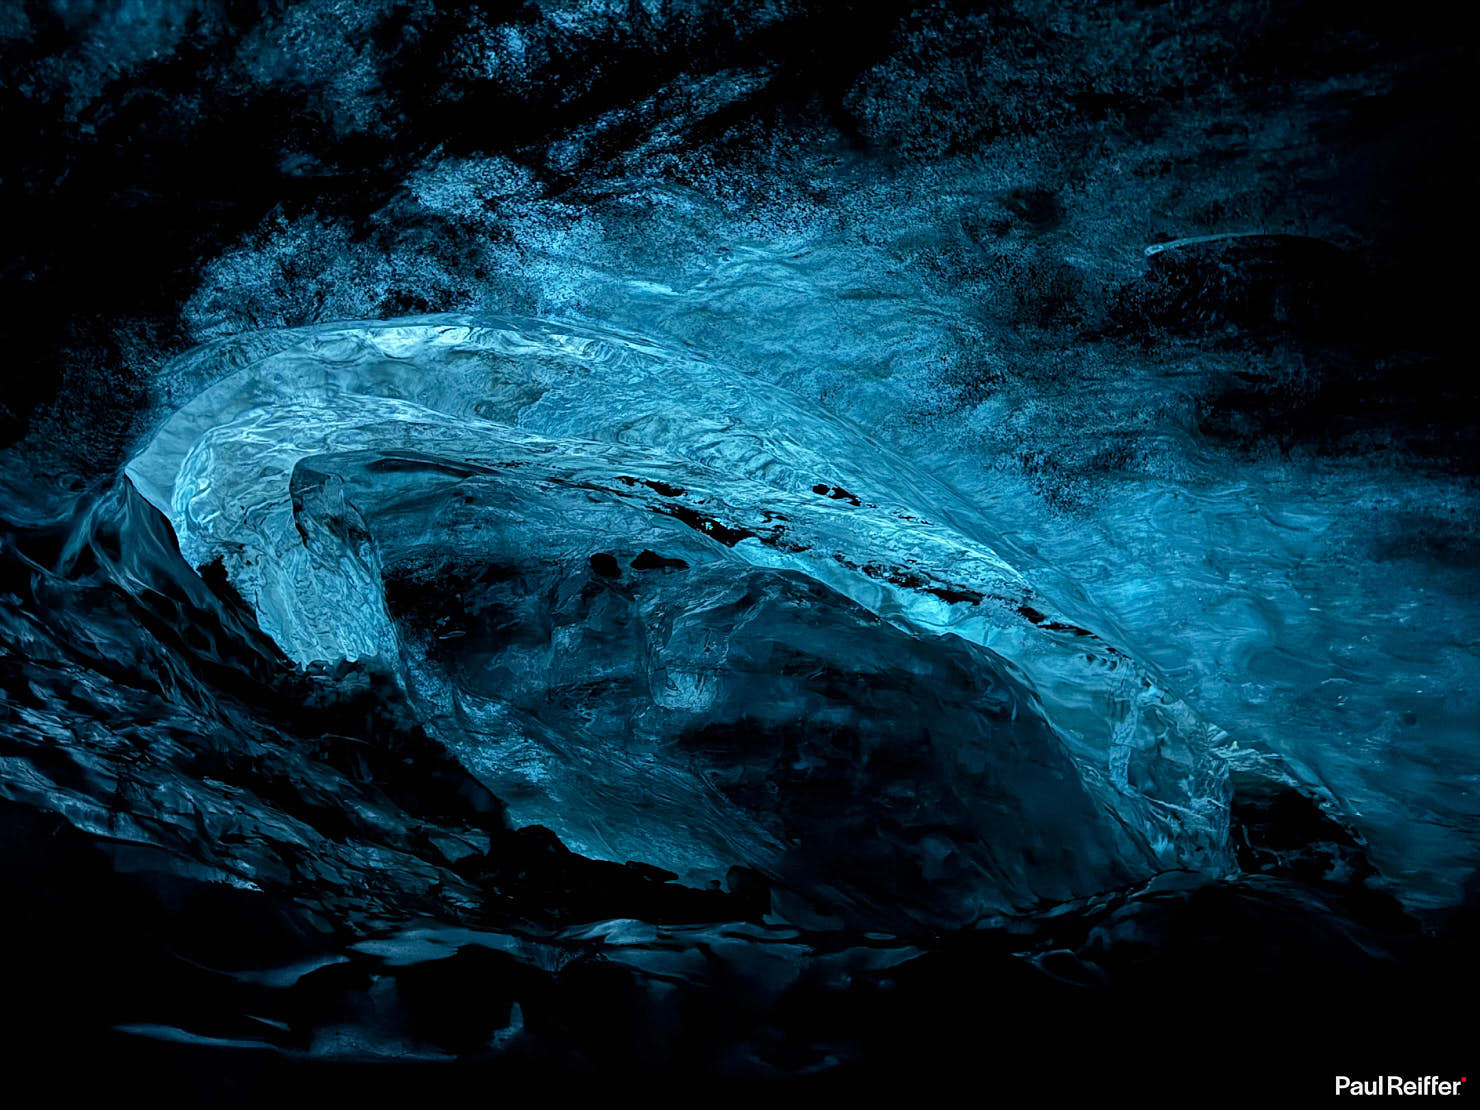
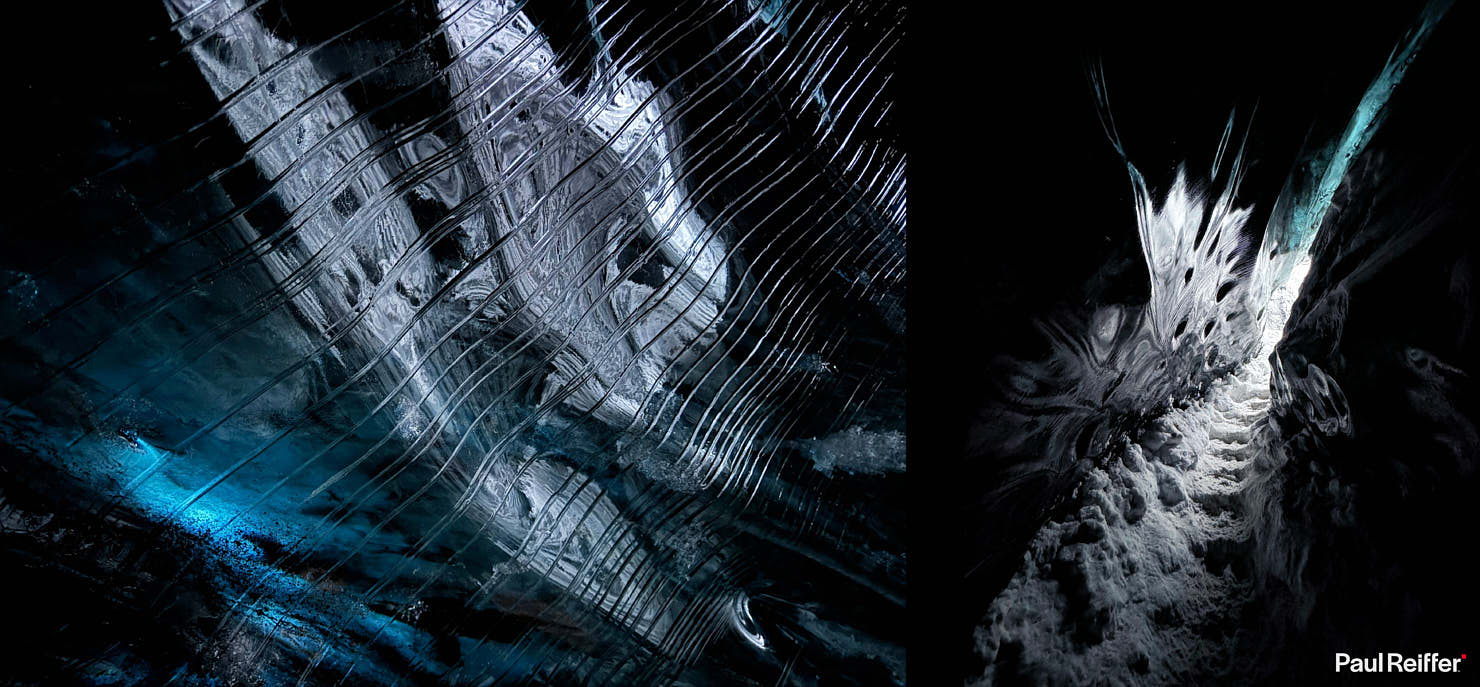
Or venturing into an ice-cave, even the “private” tours will cross paths with each other – in cramped conditions with little available light.
In the same way iPhone has moved on leaps and bounds in terms of capturing the night sky, the same can be said for its ability to capture colours and light channels within dark caves (as long as you can hold still for a second or two…)
And then, there’s the avid journalist in all of us – that desire to show the world what’s happening right now.
Like when the latest eruption in Iceland occurred while I was waiting in the IcelandAir lounge at Reykjavik and again as we took off.
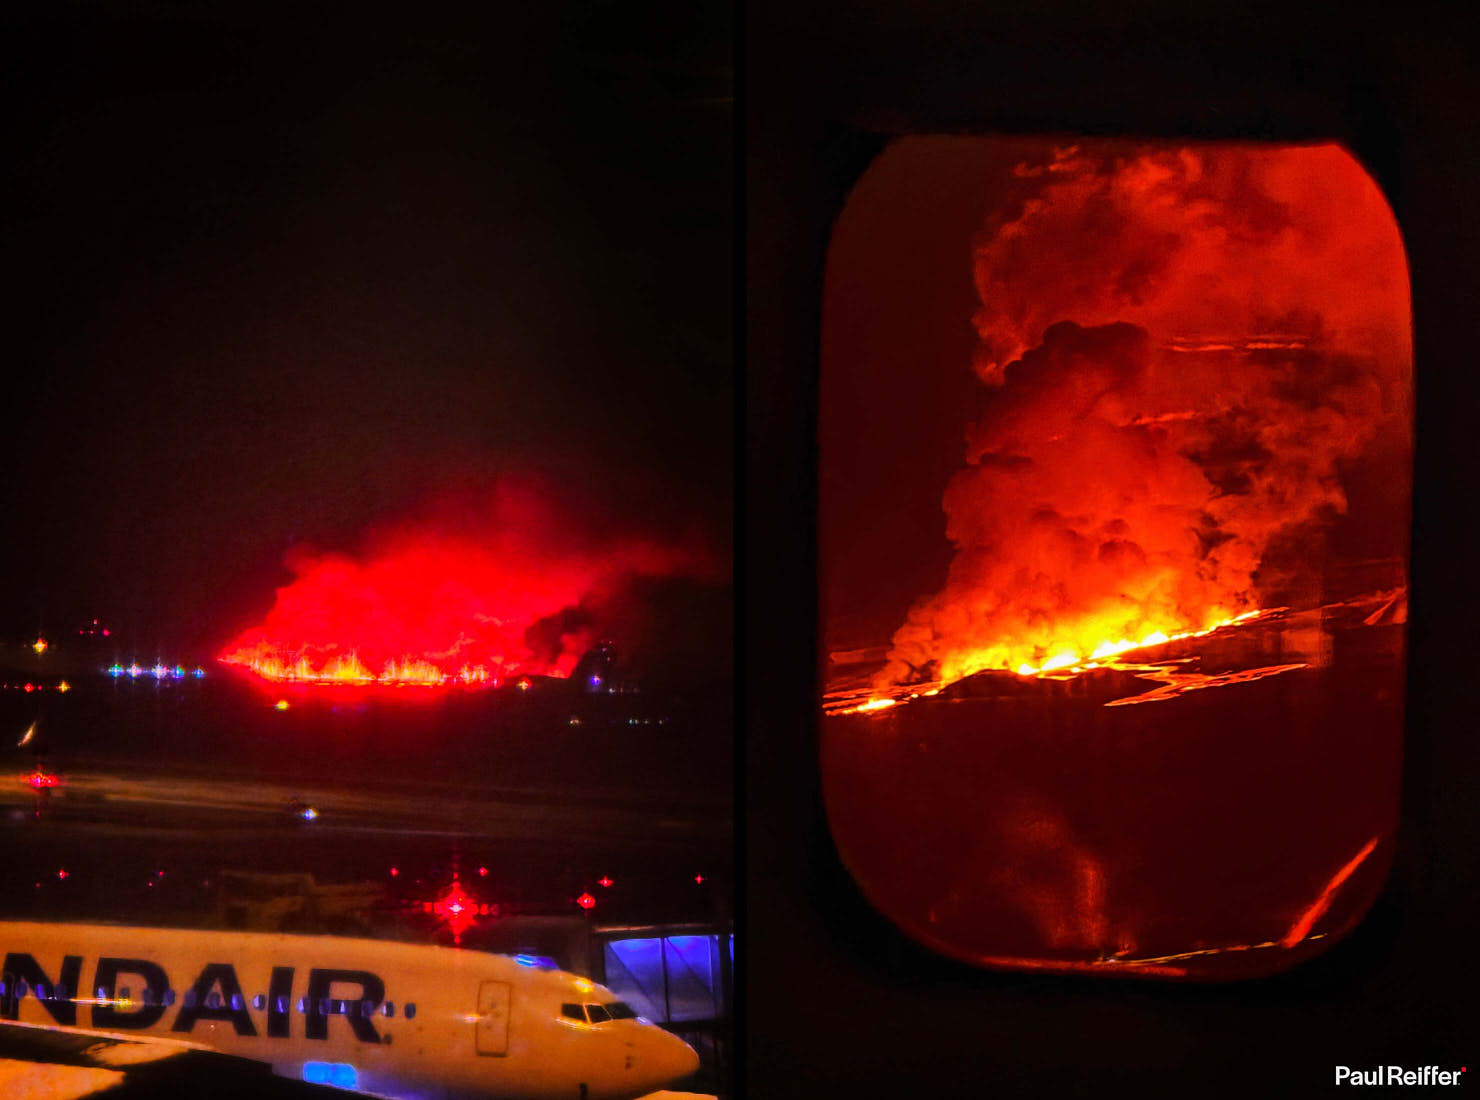
Hurried, imperfect, unplanned – the perfect subject for an iPhone to take advantage of.
Ultra-Wide Fun
The inclusion of ultra-wide cameras since the iPhone 11 has opened up entirely new scenarios for shooting styles from our pockets.
While to many of us, “ultra wide” means a wide view, it can also be used to deliver alternative views of familiar scenes, removing our ability to perceive depth and size as a result.
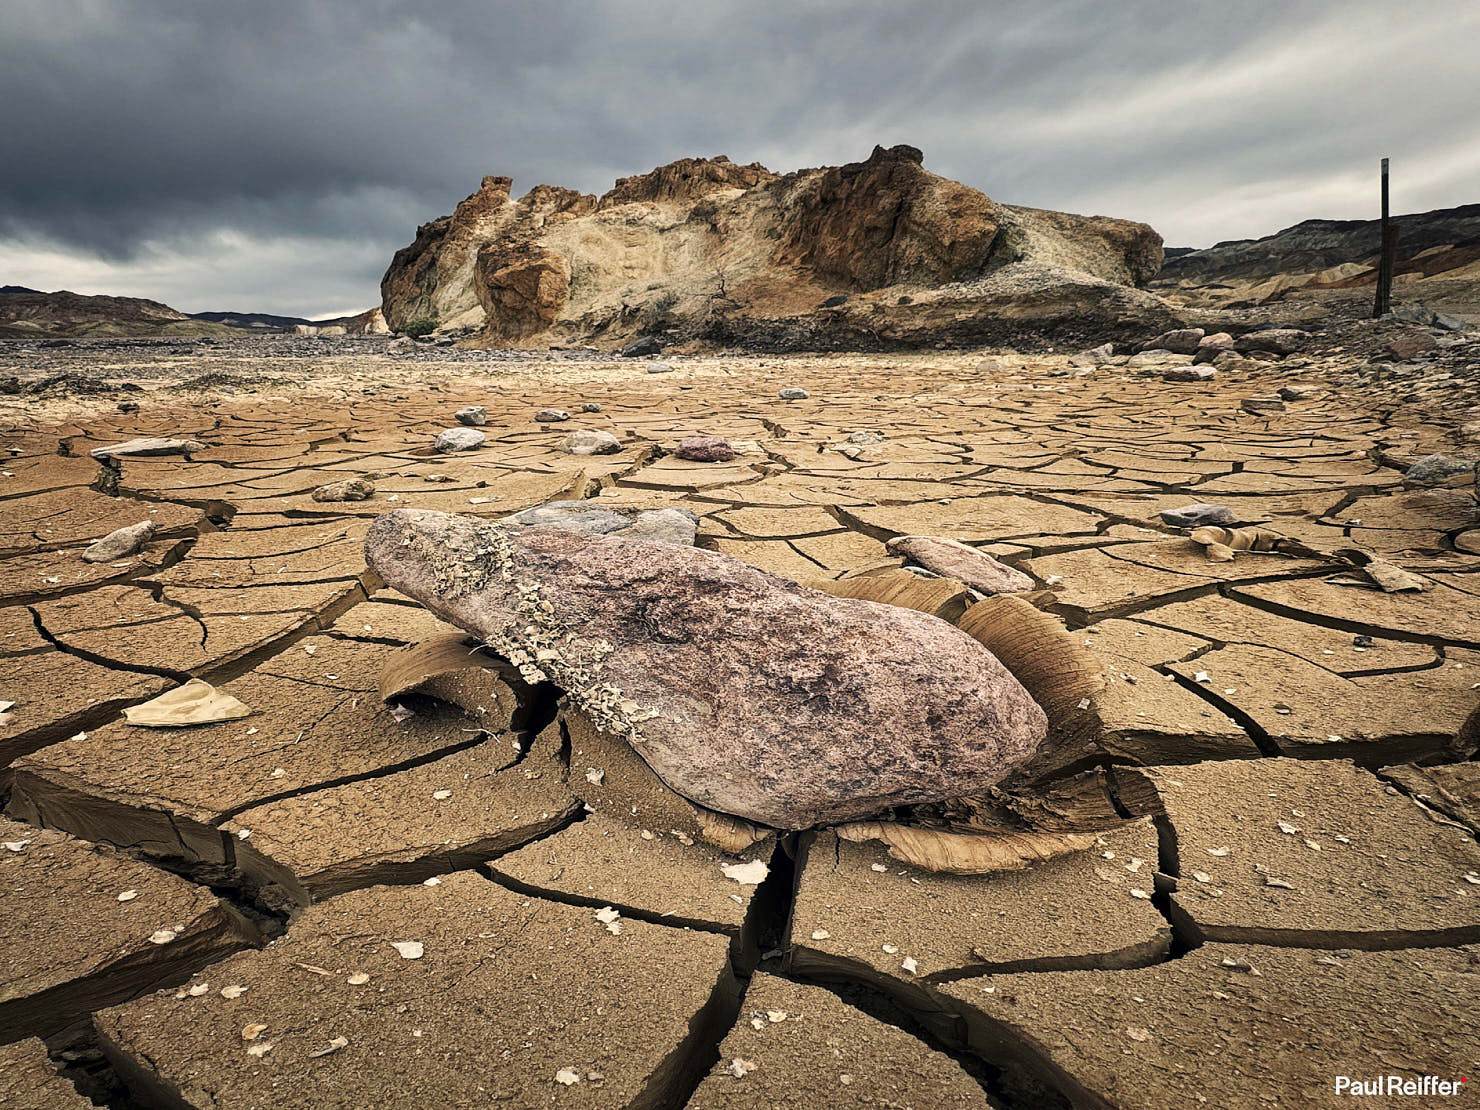
How big do we think this “boulder” in the Death Valley mud flats is, for example…?
(Hint: a lot smaller than the giant rock formation behind it, I can tell you that)
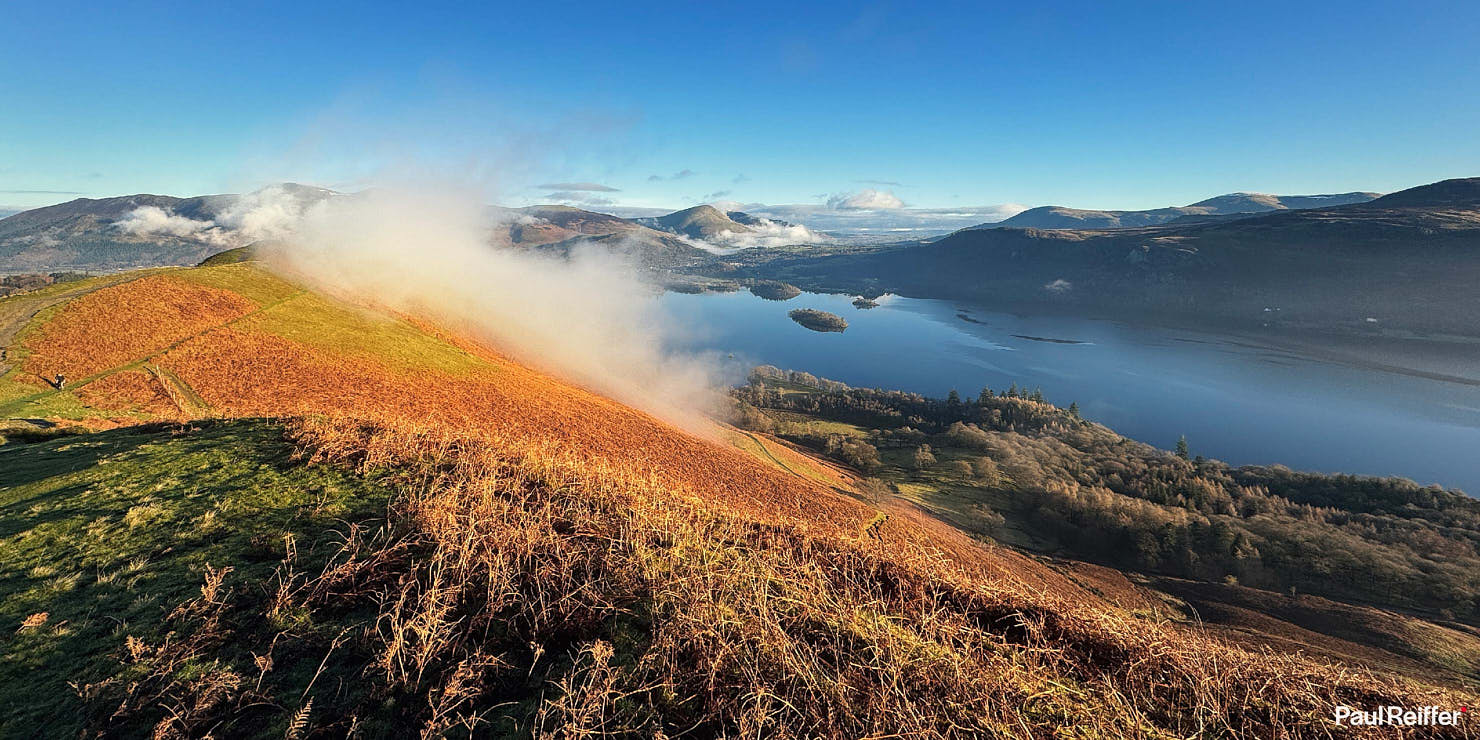
Naturally, the ultra-wide lens does lend itself to ultra-wide scenery (and at 13mm equivalent, it’s wider than a human’s standard view) – giving a fresh, open, perspective on views such as this from the Lake District at sunrise.
Or in giving us the ability to capture abstract scenery in nature where a standard lens wouldn’t do it justice:
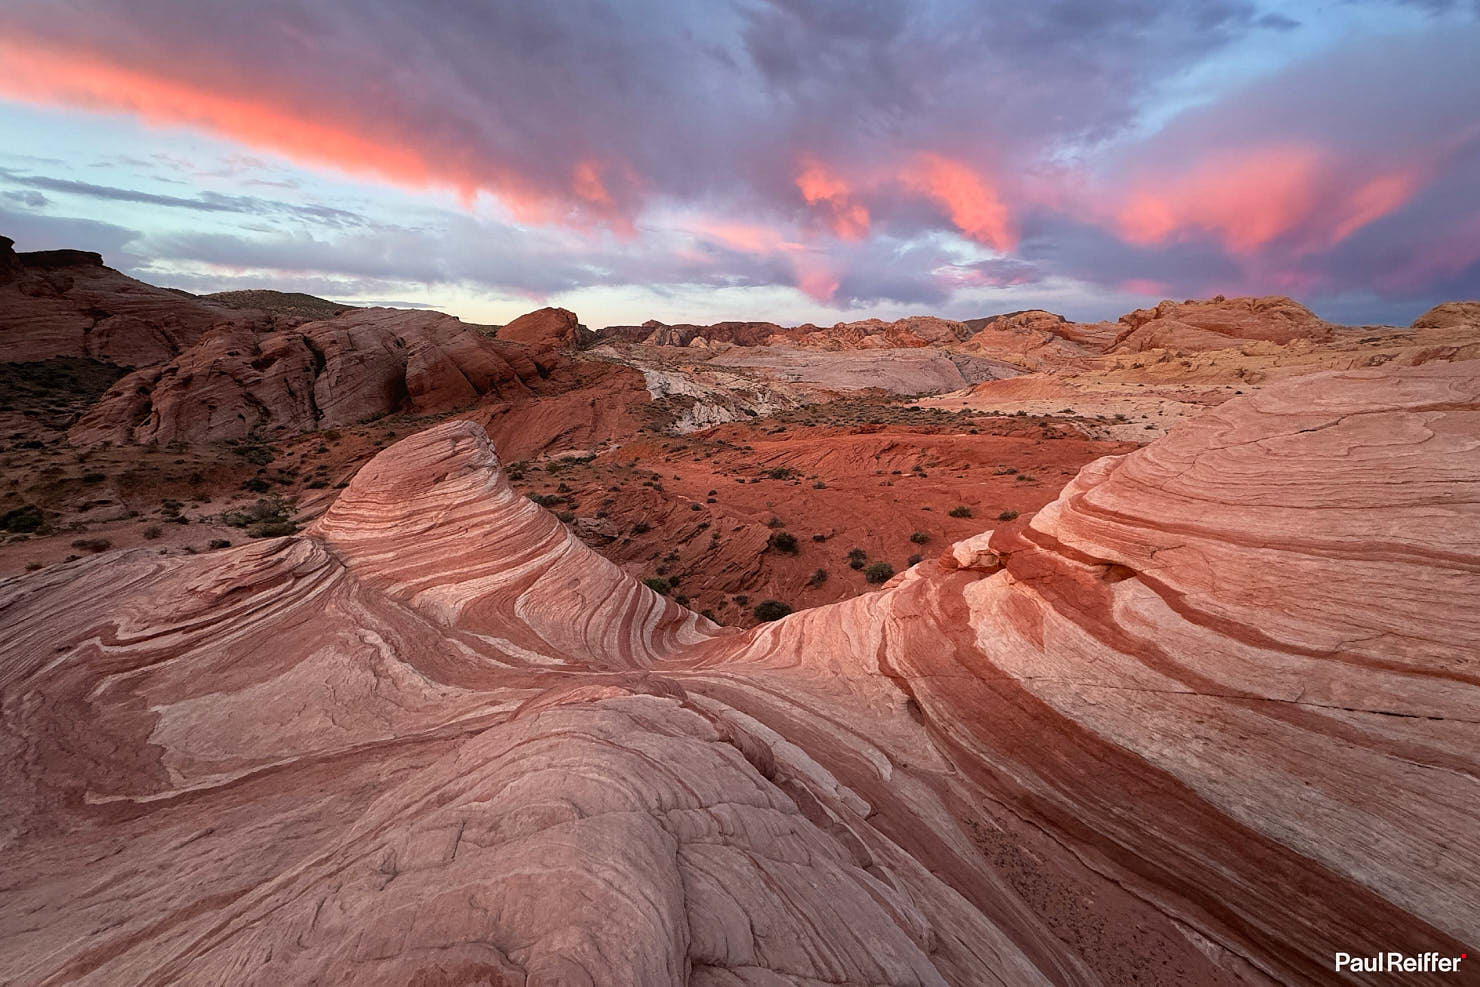
We’re not just restricted to landscapes, either – cities and their geometric forms and shapes can deliver wonders with an ultra-wide lens when played with up-close.
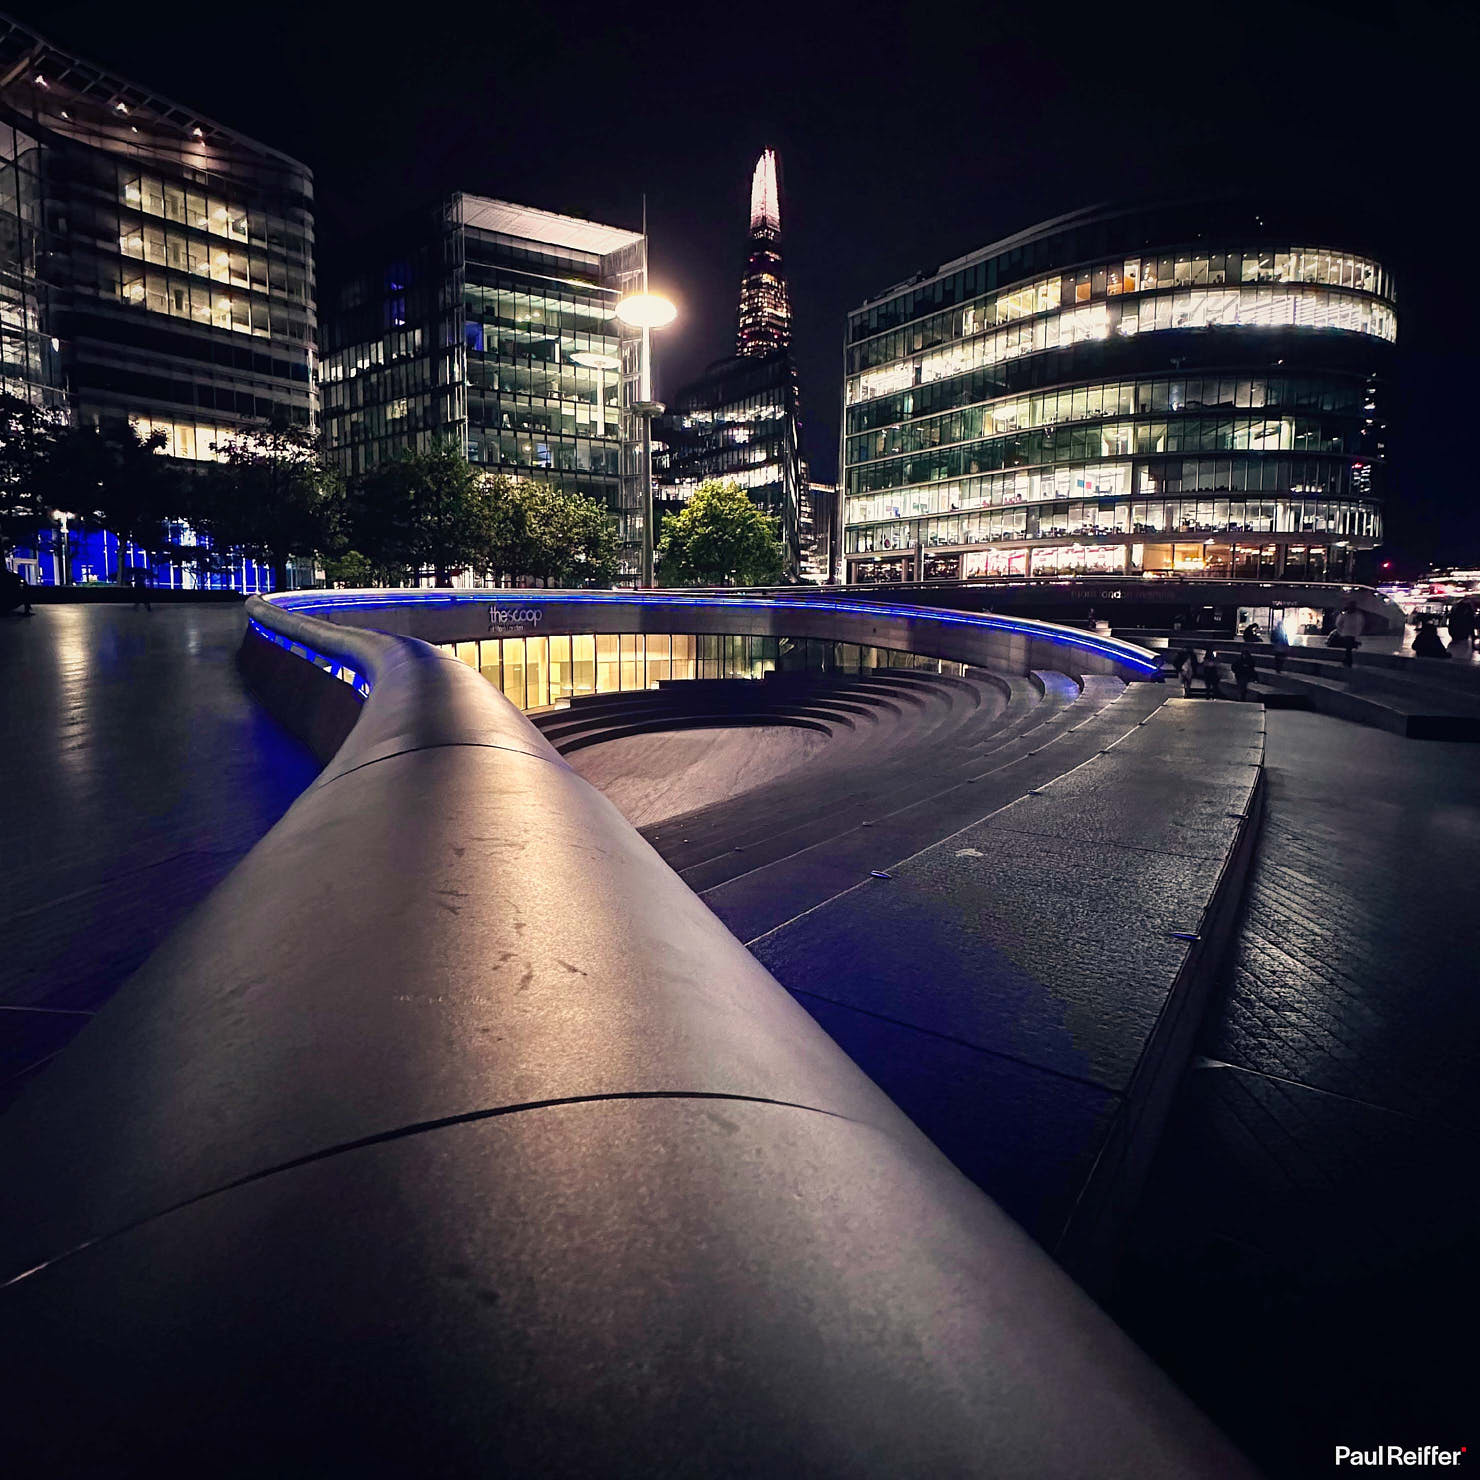
It can also give us an added dimension of a warped perspective – showing the huge scale of a wider landscape set against the intricate detail of a feature that sits right at your feet.
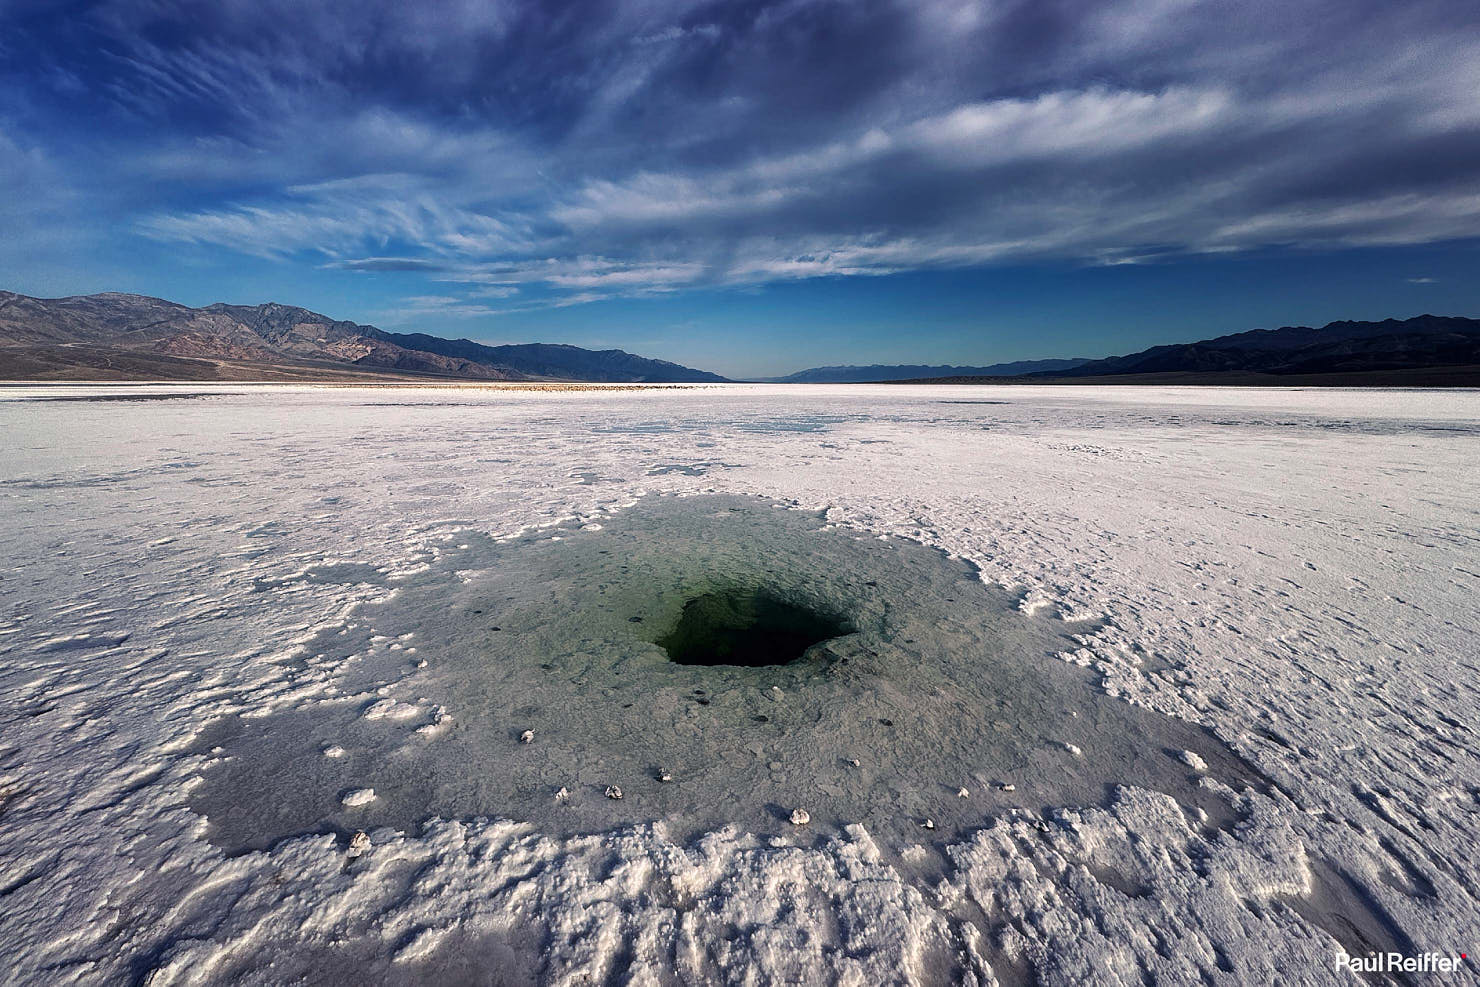
And no, I have no idea how deep that hole goes, but I couldn’t see the bottom…
Panoramic Views
Panorama functions on camera phones have been widely used, documented, and played with for years – often to generate fun “effects” with people.
With each edition of iPhone, I’ve seen the Pano function get better and better at avoiding vignette smears, false joins, wonky horizons and much more besides – to the point where it’s now a super-reliable capture device for landscape scenes that capture an entire location.

Personally, I really love the fact it also gives me a 4x, 5x, 6x wider full frame of the scene before me – with all the detail of the main camera, just continually flowing from left to right of our field of view – even when wanting to capture 180º.

Mix that with the spontaneity of it being in my pocket – and times such as when the fog rolled into Zabriske Point are never lost or missed, for the sake of “not having the right lens” or “not being set up in time”.

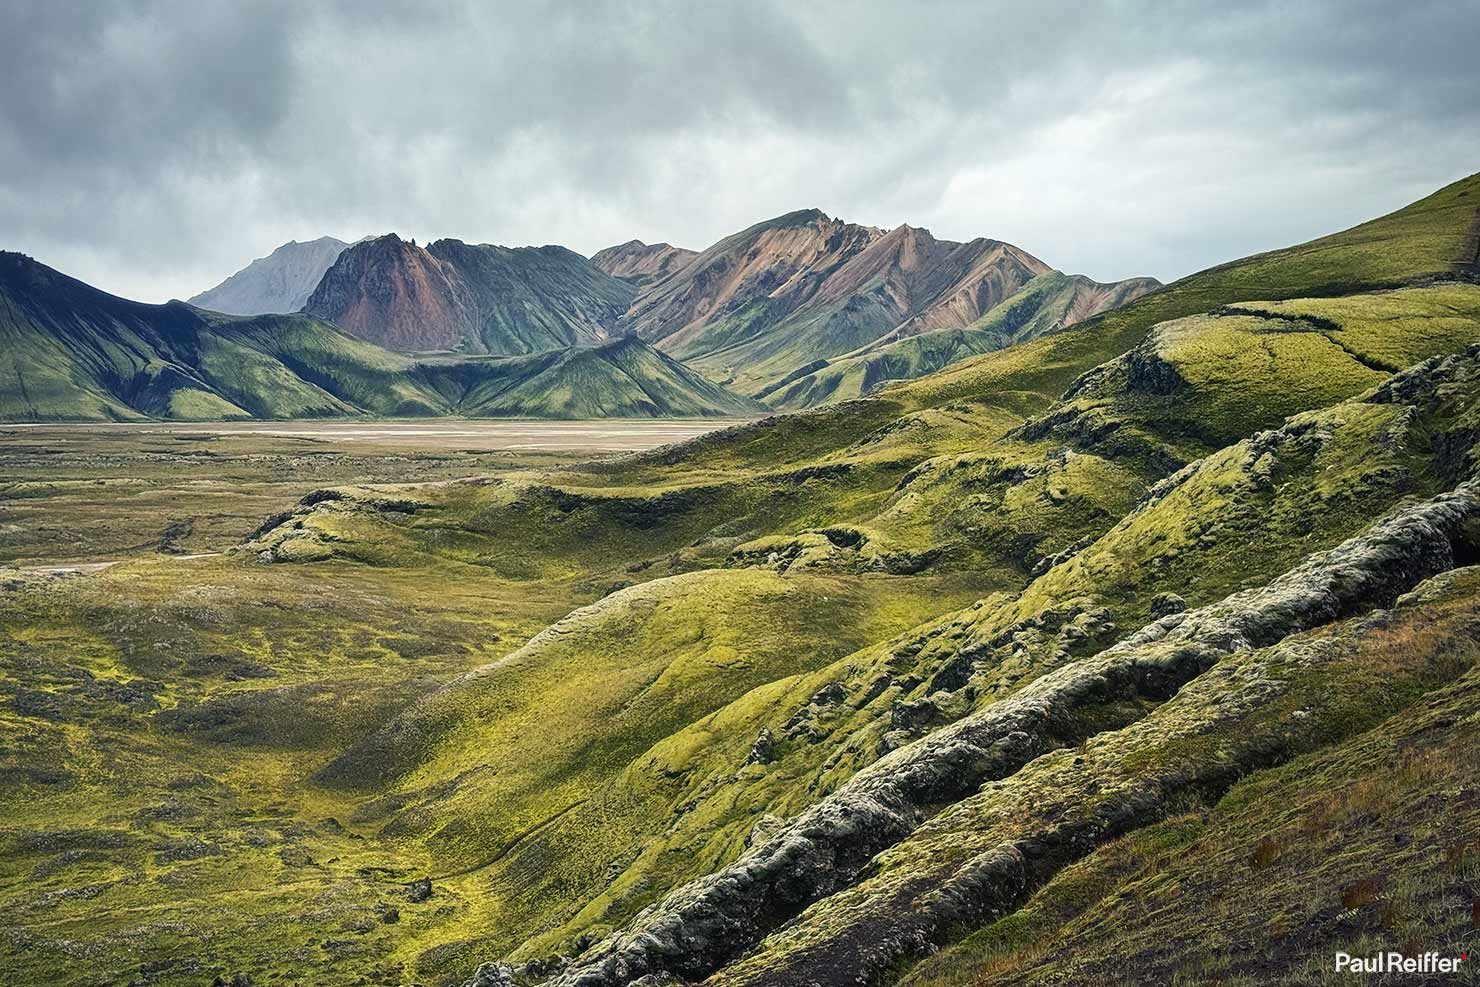
There are those vistas where the scene is literally just too wide for even the ultra-wide camera – much of Iceland can feel like that at times. For this, a “pano” can be the only way to go.

But it’s that detail element, the fact that while it’s an ultra-wide image, I still have it captured at full height resolution, means I can crop in and pull out details I like, while also having access to the entire scene.
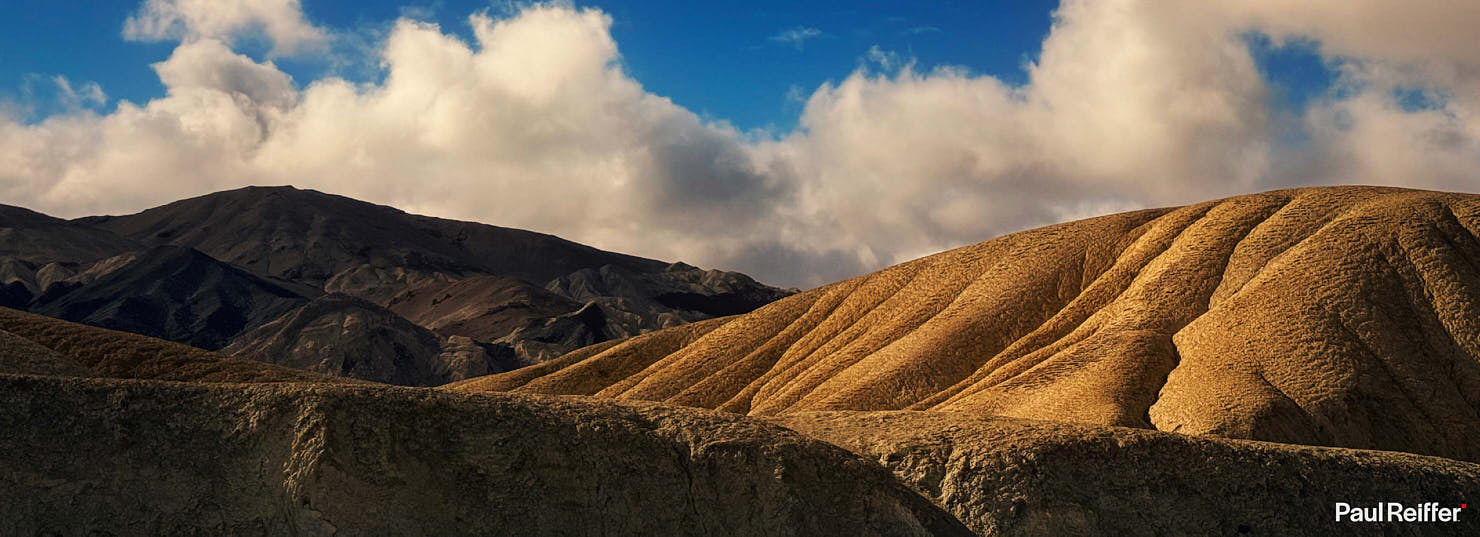
And don’t forget – Pano isn’t limited to the main camera. Do, absolutely, use it on both Ultra-Wide (0.5x) and Telephoto (5x) lenses for an altogether different result.
Details & Textures
All that talk of details and textures in a panoramic image is all well and good, but let’s face it, if you’re a texture junkie you need to be getting close-up and personal with the things you’re capturing.

It’s one of the biggest improvements in the latest lens setup – the precision of capture and amount of texture the iPhone can record.
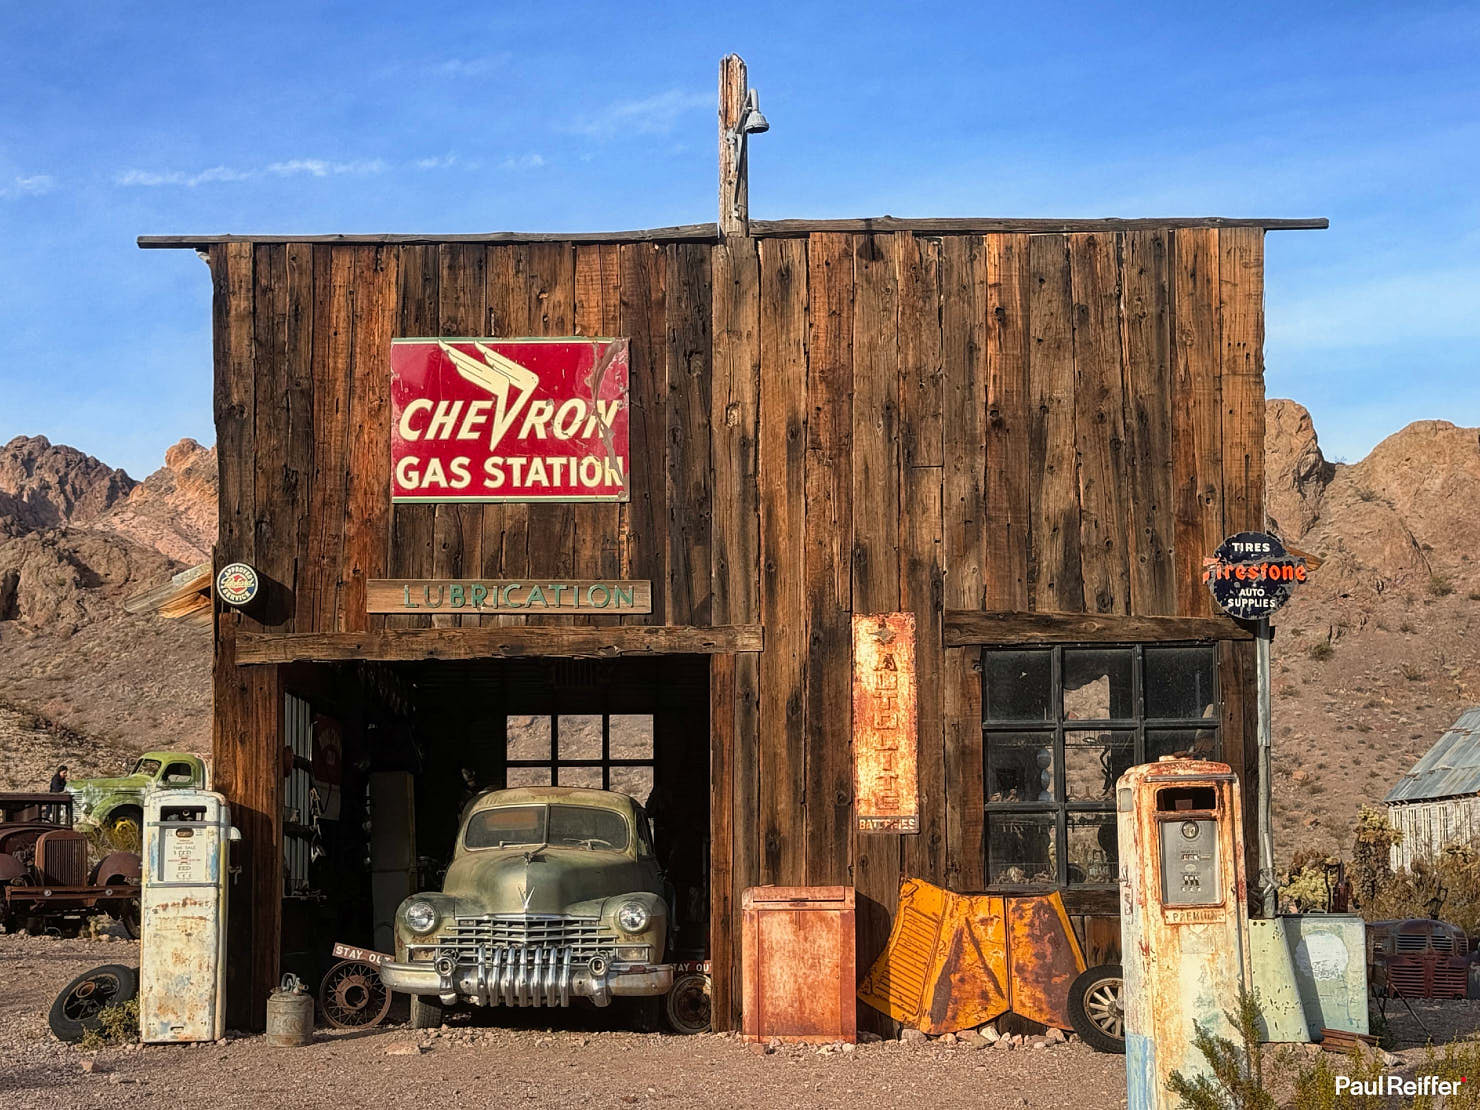
While somewhat “staged” (well, completely staged, let’s be honest!), places like Nelson in Nevada offer a playground of details and surfaces – old patinas, aged wood, dust-covered objects – for those who love that style.
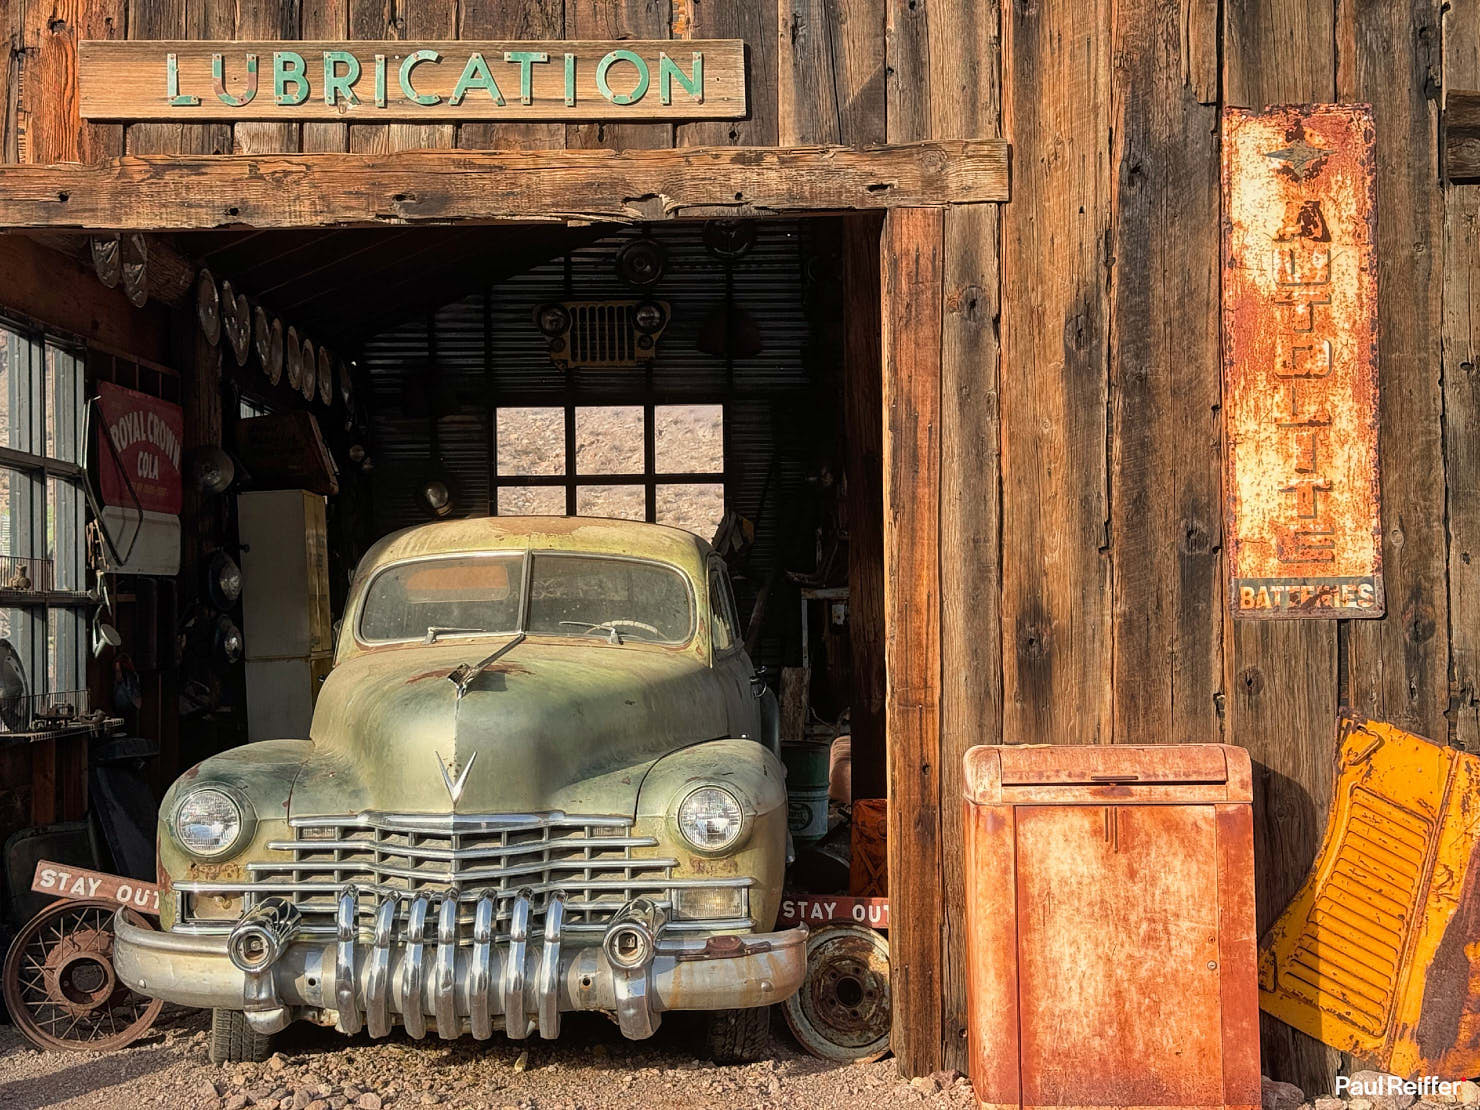
And the key here with the new cameras is that they’re consistently sharp as a pin – no fuzziness, no blocking, no smudging – just full frames of vibrant, detailed, accurate textures.

While the12MP shots are great, by making use of the main 48MP camera and shooting ProRAW – these suddenly viable print material too.
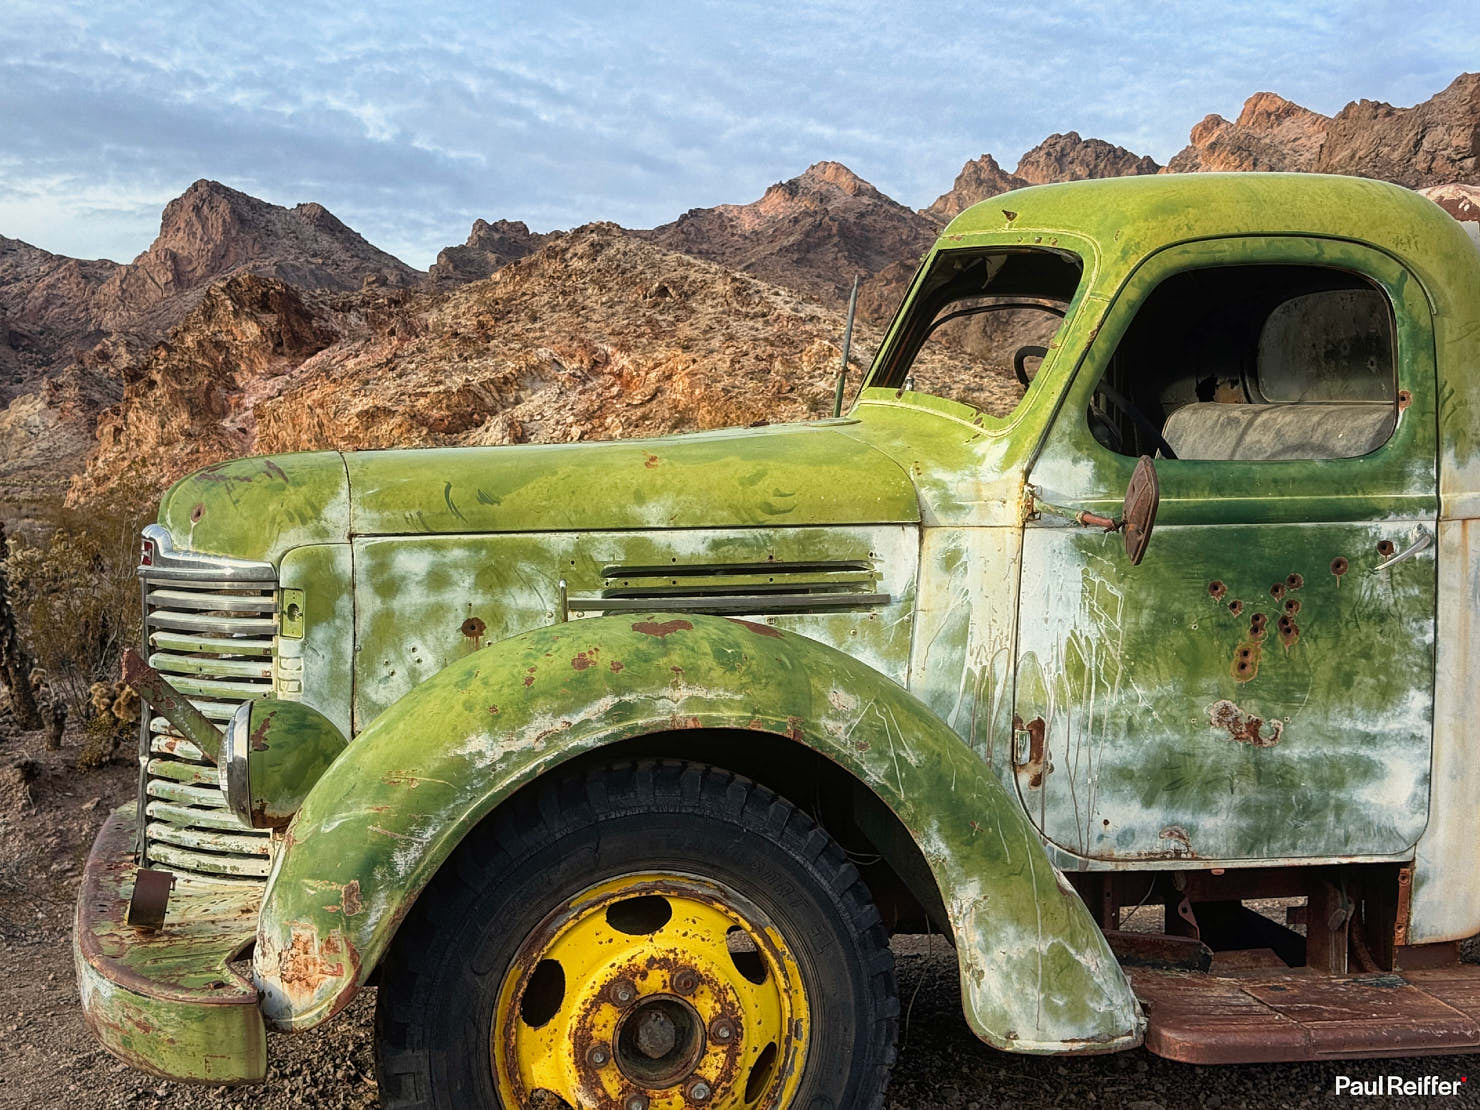
Plus, let’s not limit texture and detail talk to the realm of the up-close shot – the lenses (and sensor) inside the iPhone 15 Pro Max is quite the superstar at vistas with shape and structure in too.
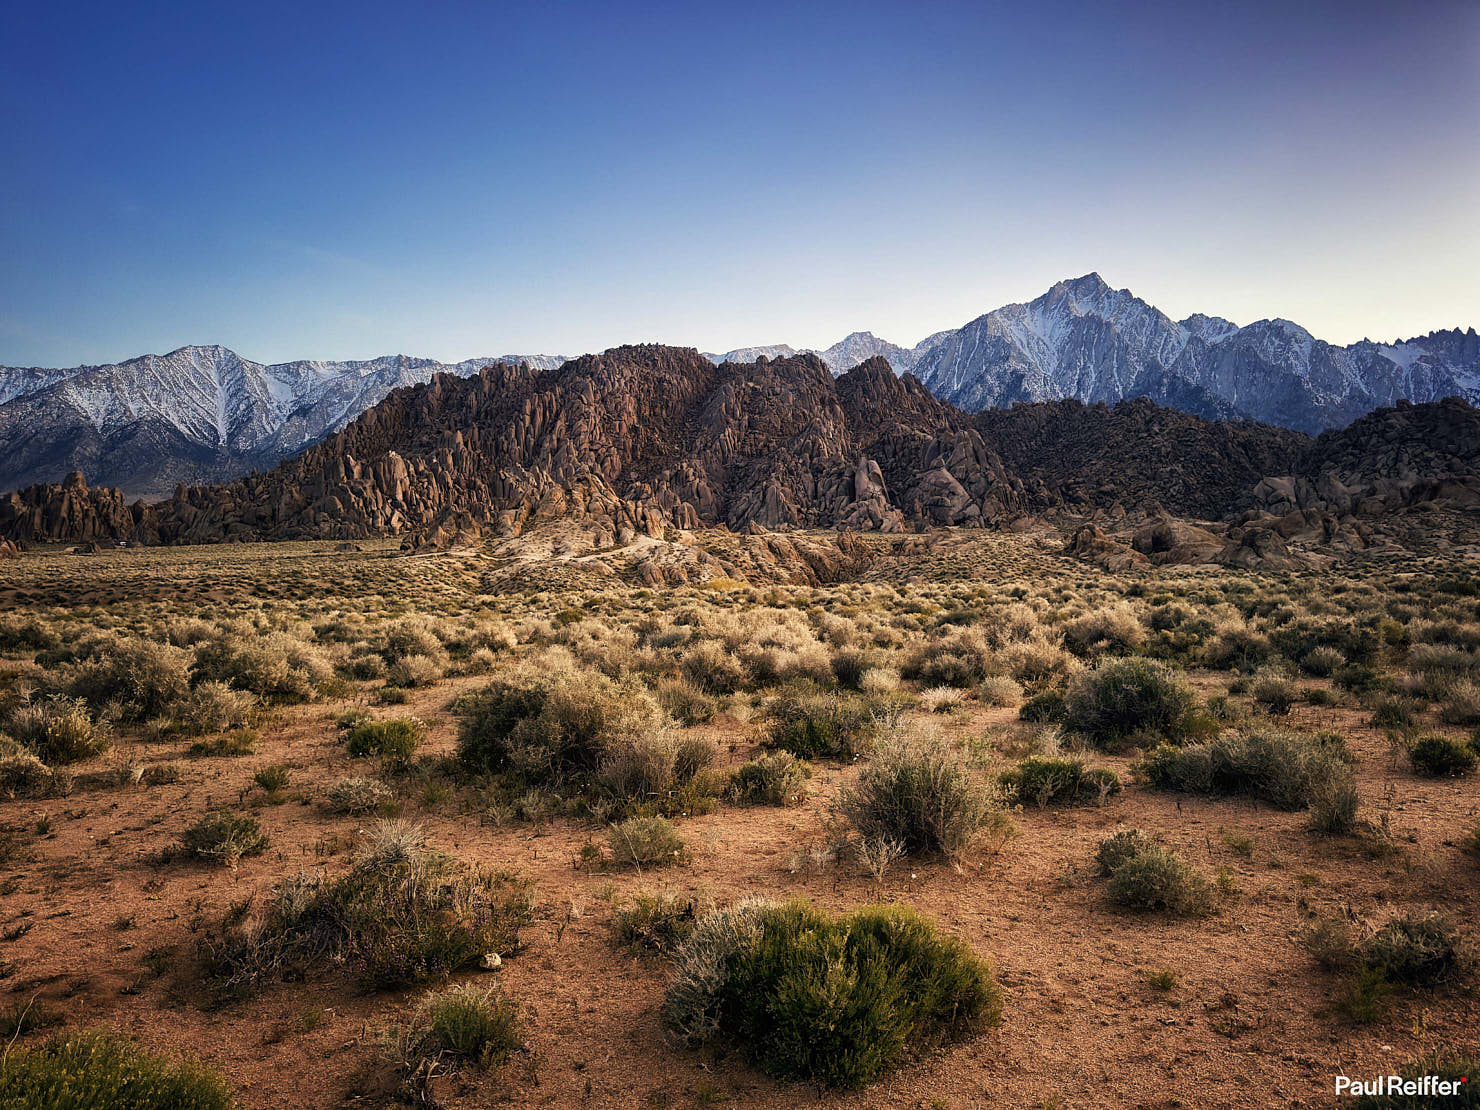
Whether that’s the “bumps” of the Alabama Hills, or the salt-encrusted peaks of Devil’s Golf Course in Death Valley, the images that come out of my pocket device never fail to impress when I check them back on a “big screen”.
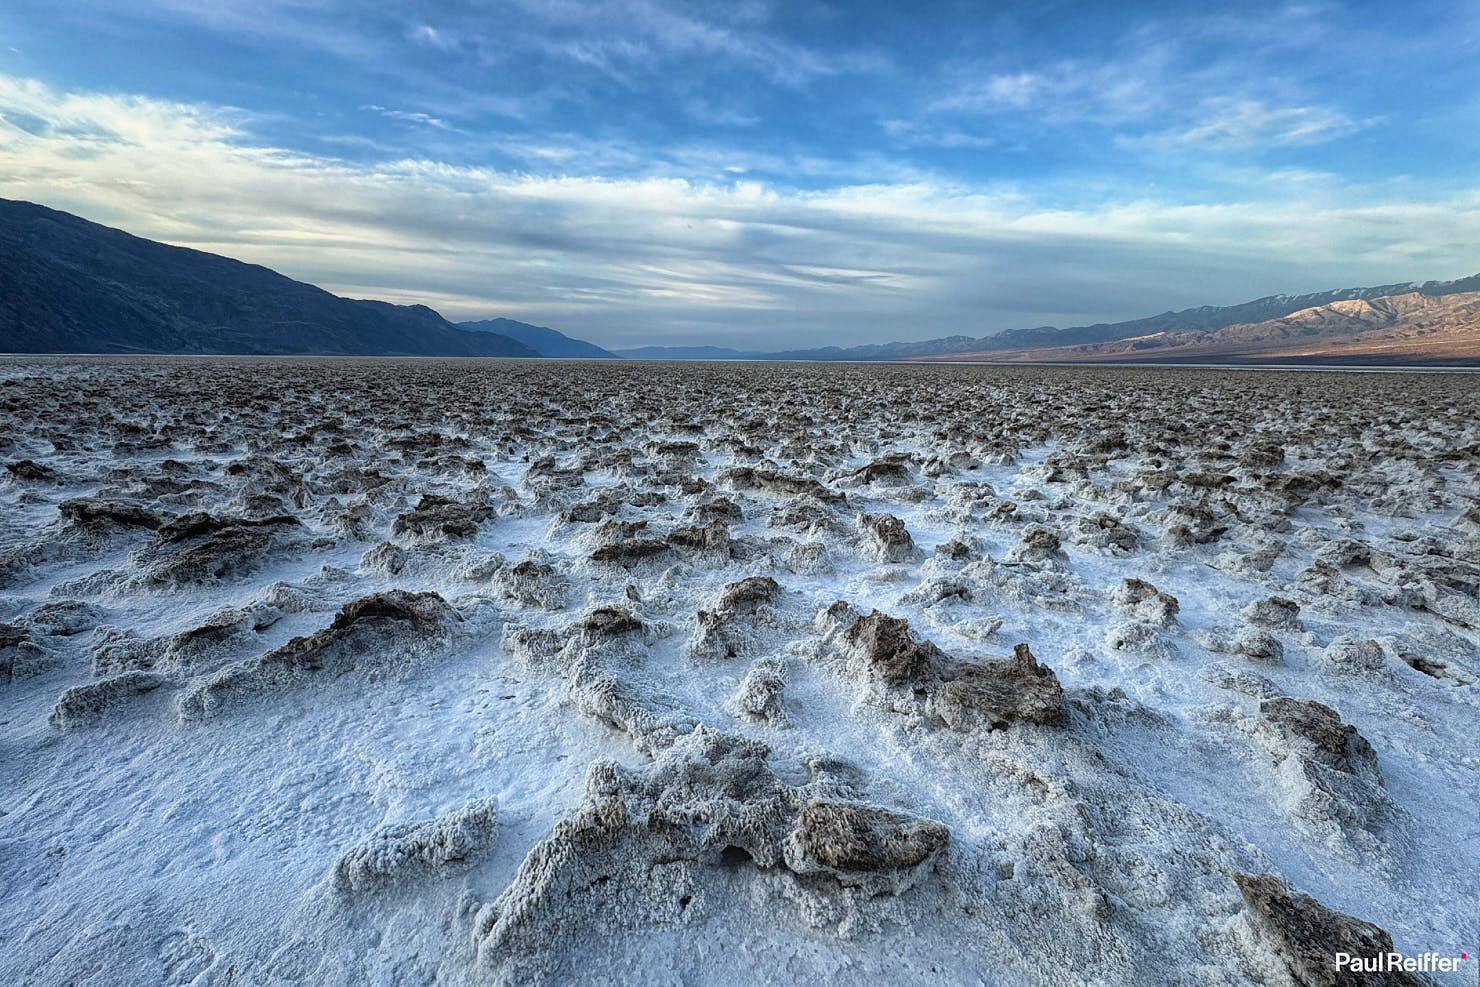
As Chase Jarvis always used to say – “The best camera is the one you have with you”.
Macro & Close-Up
While I’m saying the details in Devil’s Golf Course look fantastic on iPhone, even when far away – of course, that’s not the only trick up its sleeve (and hasn’t been for a few editions now).
Those salt structures in Devil’s Golf Course?

Not so threatening now, hey? – They’re more like cotton wool when captured with the Macro function on the iPhone 15 Pro Max’s lenses.
It’s automatically applied when an object is close enough (or you to it), and can be enabled/disabled with a tap of the yellow icon – but for those of us wanting to see the world from a different perspective, this has to be a game changer to have in your pocket?

And for those who like tiny flowers (I don’t – but it’s a fair example), remember it’s not all about macro, you can still be close enough to capture detail without needing to be right between the petals to see every individual lump of pollen…!
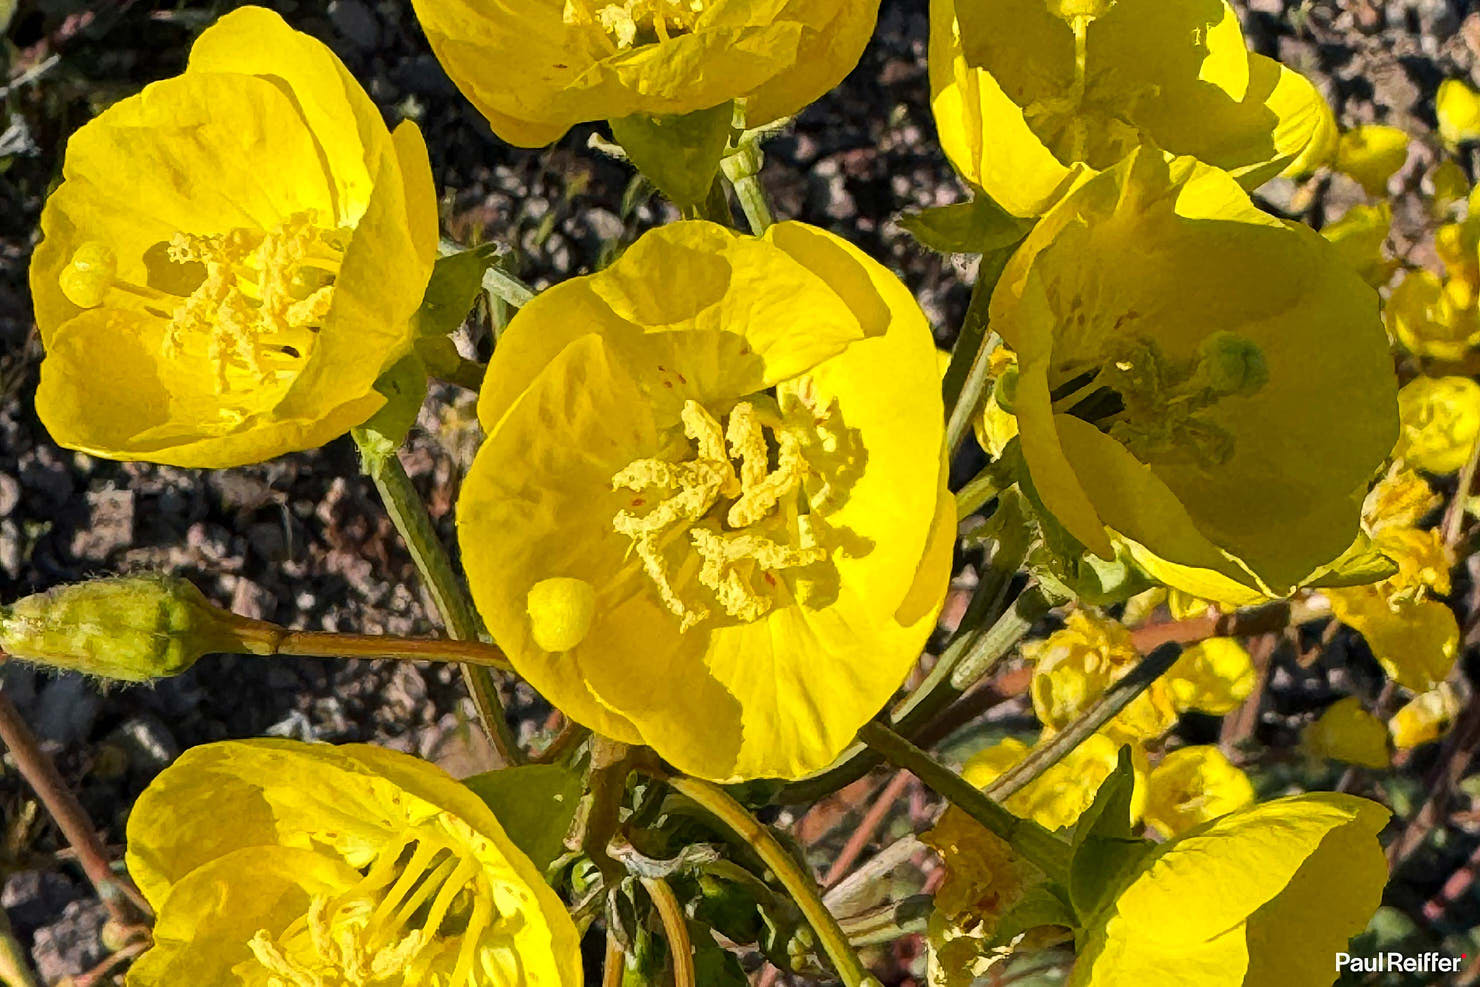
Just, as above, be careful with those plane windows – sometimes they have a sneaky habit of convincing your camera to think they’re the star of the (macro) show, when it’s what’s outside the window that you want to capture.
Dynamic Range Challenges
I mentioned earlier that the improvements to dynamic range have been really, really, welcome over the years – but it’s fair to say it’s still not quite “up there” with the best of the big kit.
Sure, during pre-dawn colours, iPhone does a great job (again, in that “Night Mode”) of capturing shadow detail while protecting the highlights of the sky before the sun hits the horizon…
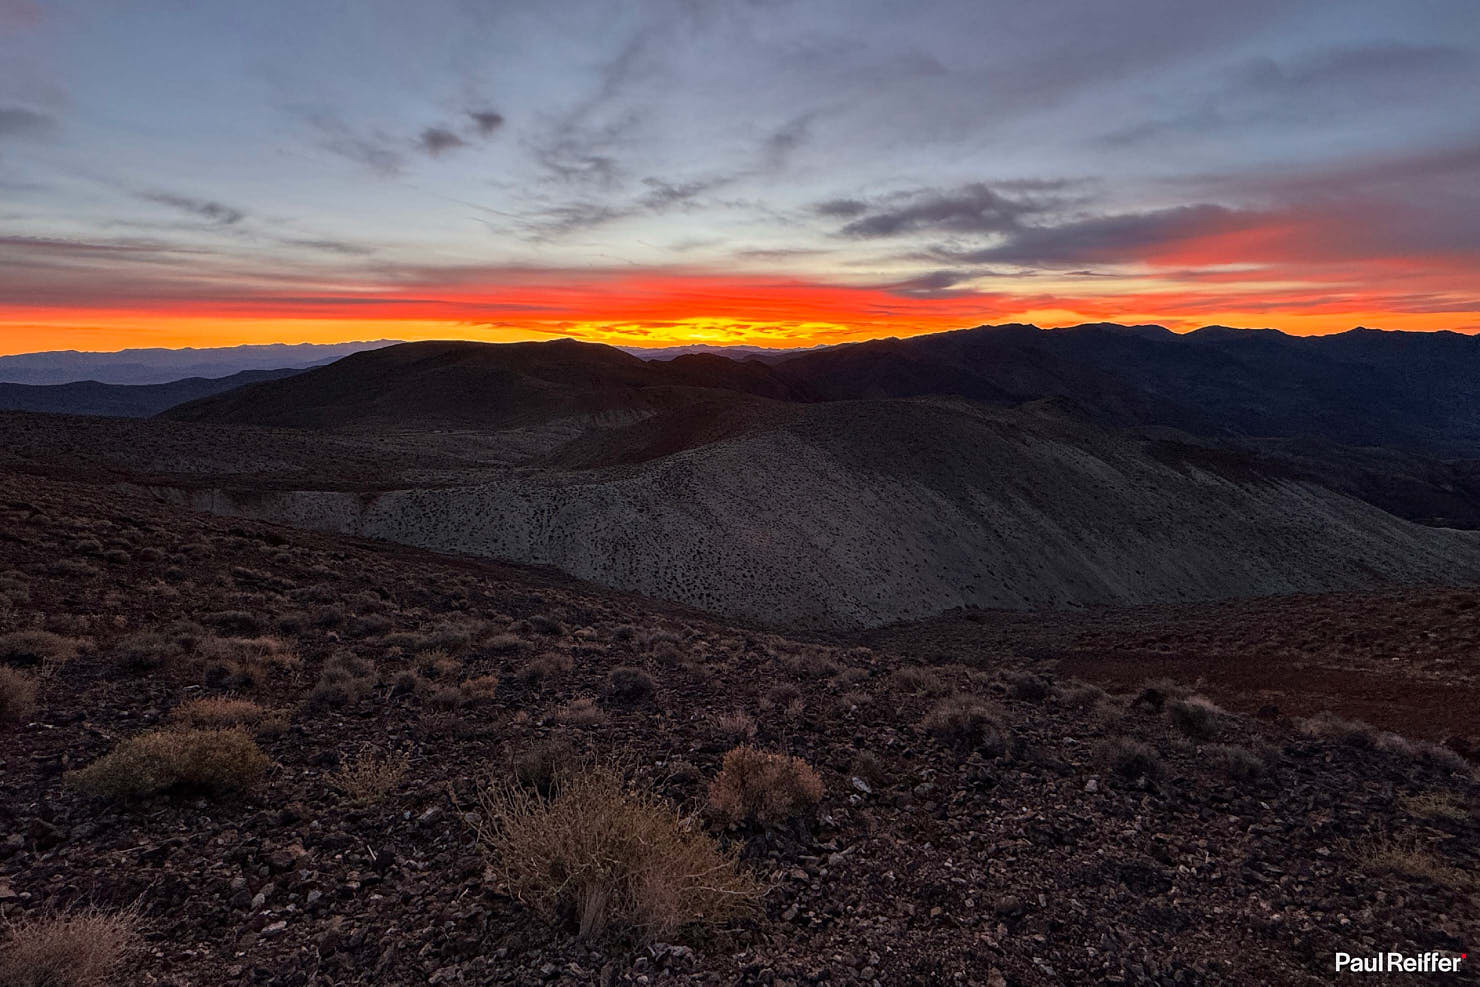
…but the second it does – we’re blown.
Granted, most cameras would equally struggle here – but not all. Tricks such as DualExposure+ on my Phase One IQ4 150MP would be able to deliver a filter-free view of the colours in the sky along with low noise shadow detail in one shot.
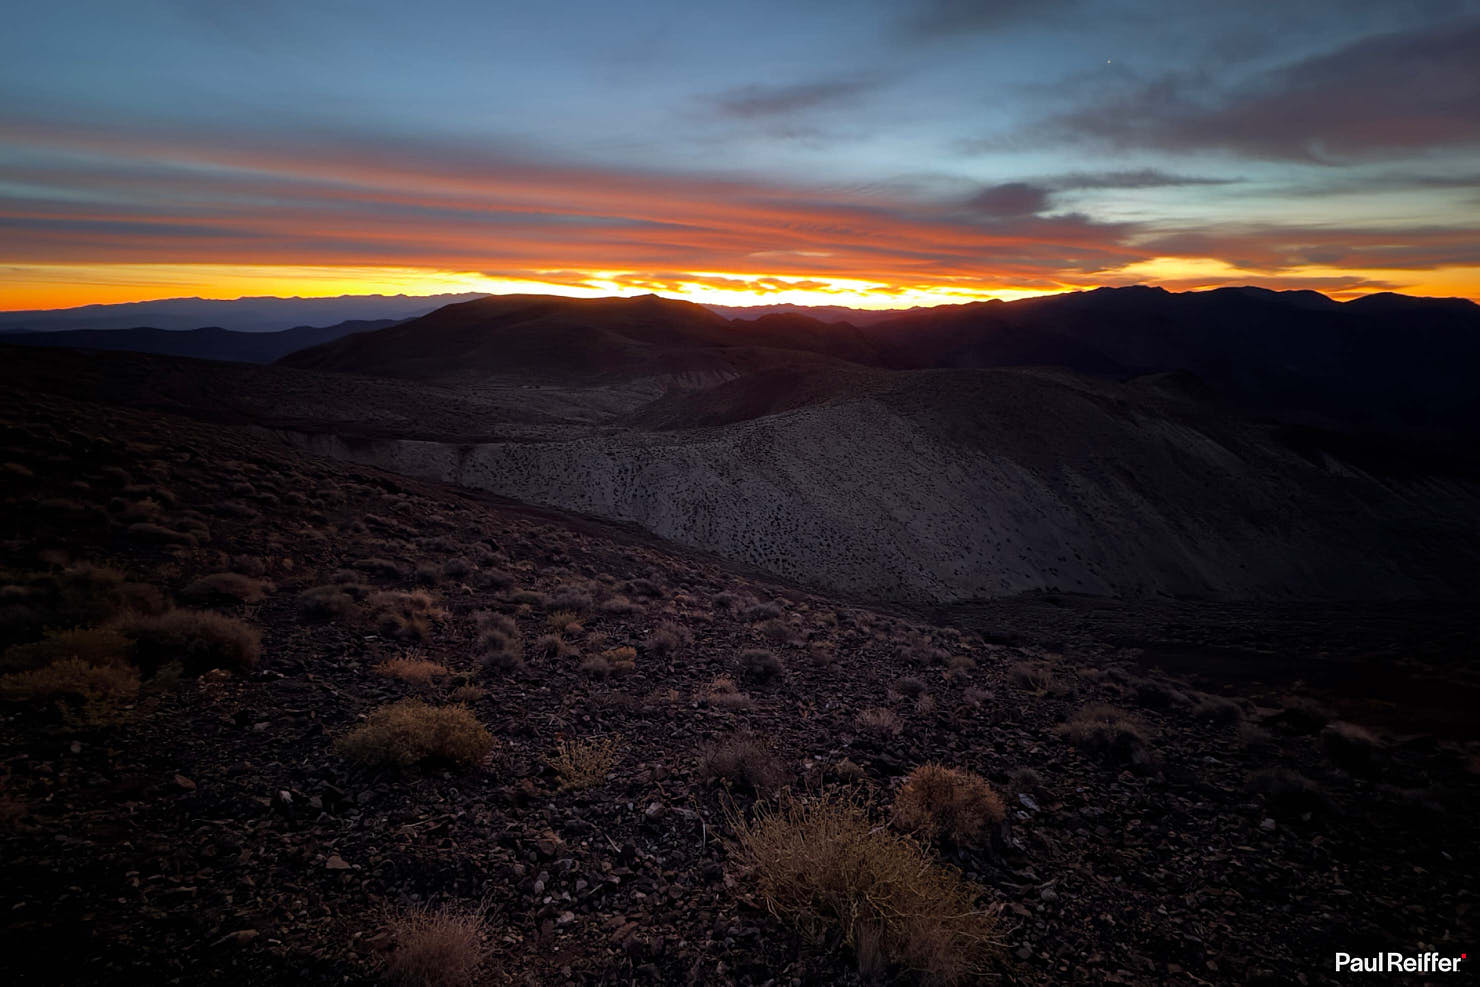
Even attempting to pull back those highlights in ProRAW doesn’t quite get there – but in fairness, it gets a lot closer than it used to, and I’m sure it’s only a matter of time before it does.
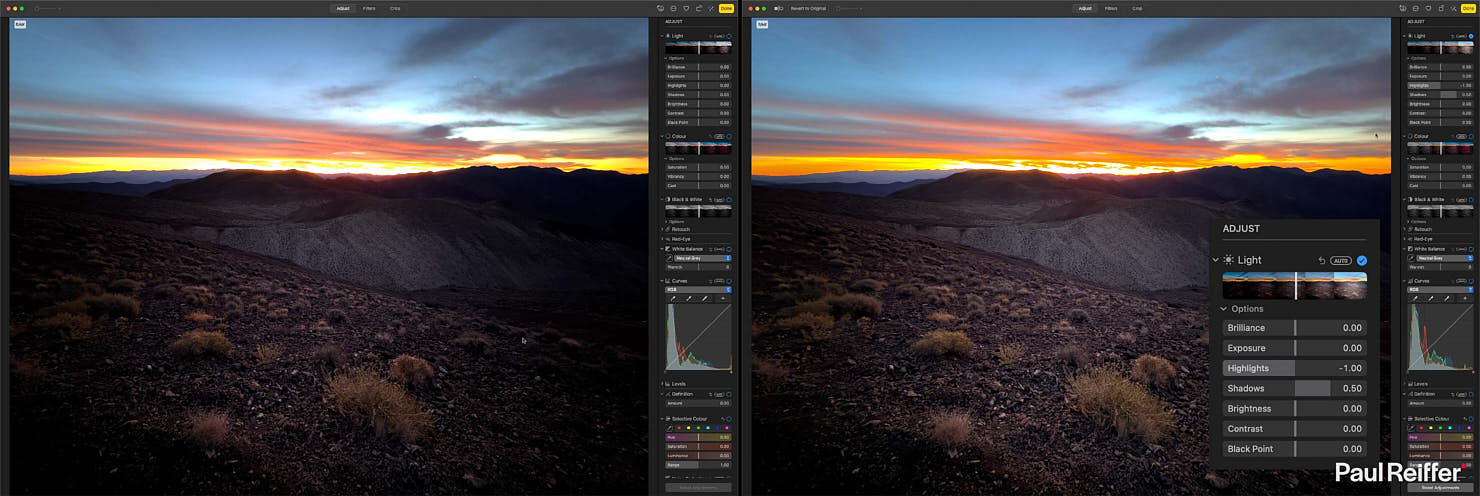
And when it does – we’re moving into a whole new game of photography where filters really do become redundant. (In fairness, I very rarely use mine any longer on my Phase One kit.)
Capturing Bold Colours
I mentioned earlier, in reference to Golden Hour shooting – the challenges that sometimes iPhone faces when capturing really bold colours, especially at twilight.
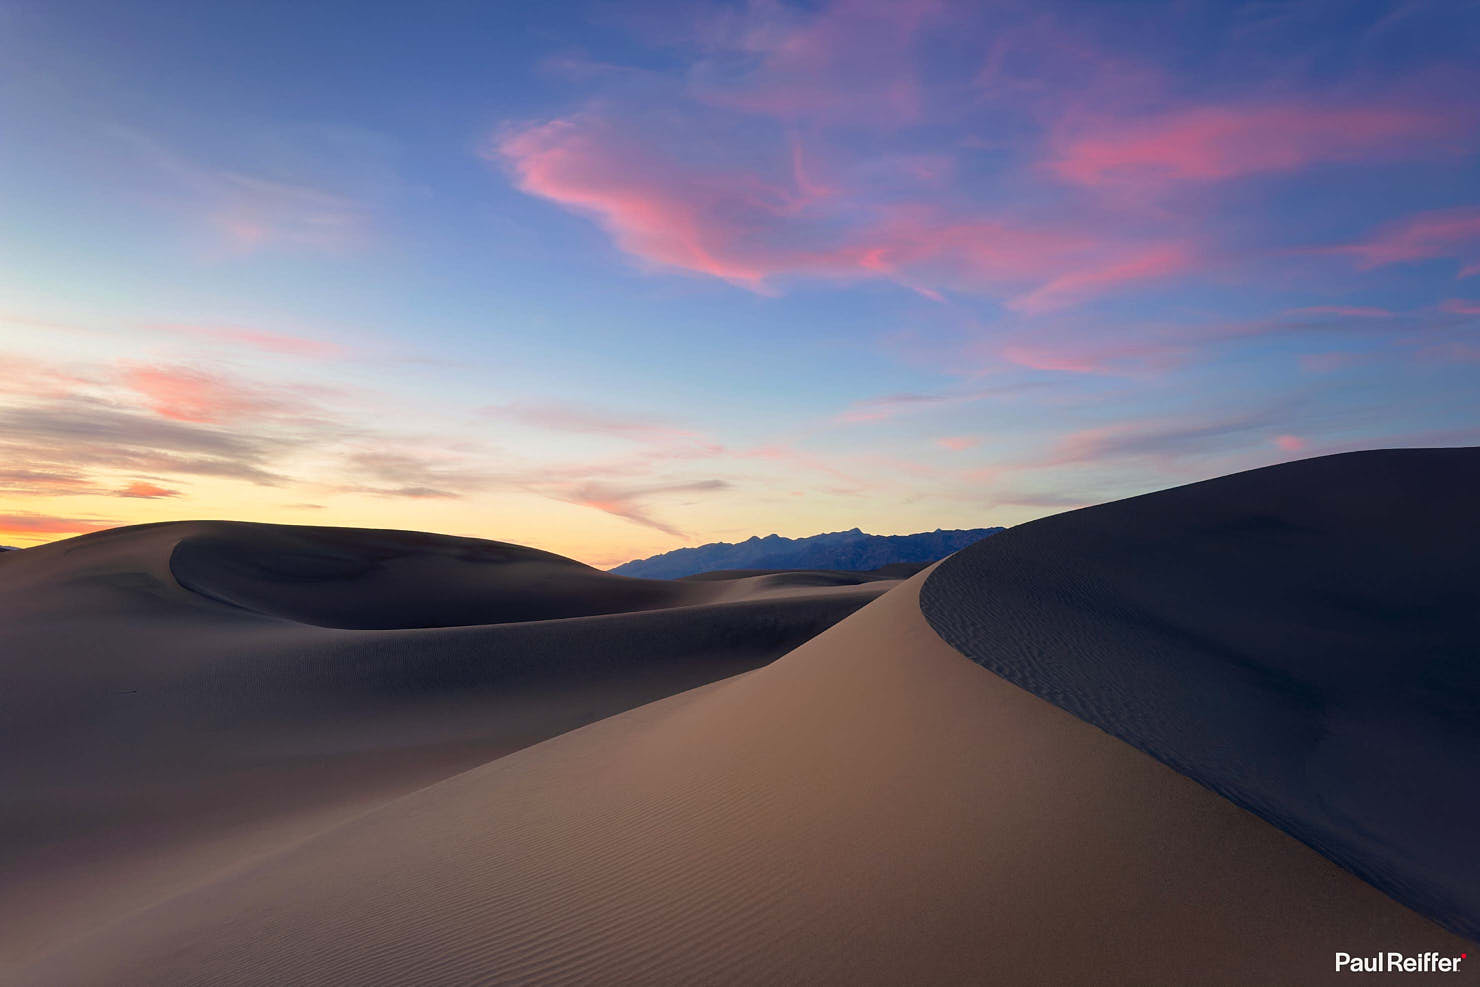
While balancing exposure on the snow across Telescope Peak in the example of Death Valley below, it’s seemingly pushed those bright pink colours that the clouds are reflecting from the sunrise just a little beyond its own colour space’s capabilities to capture and display.
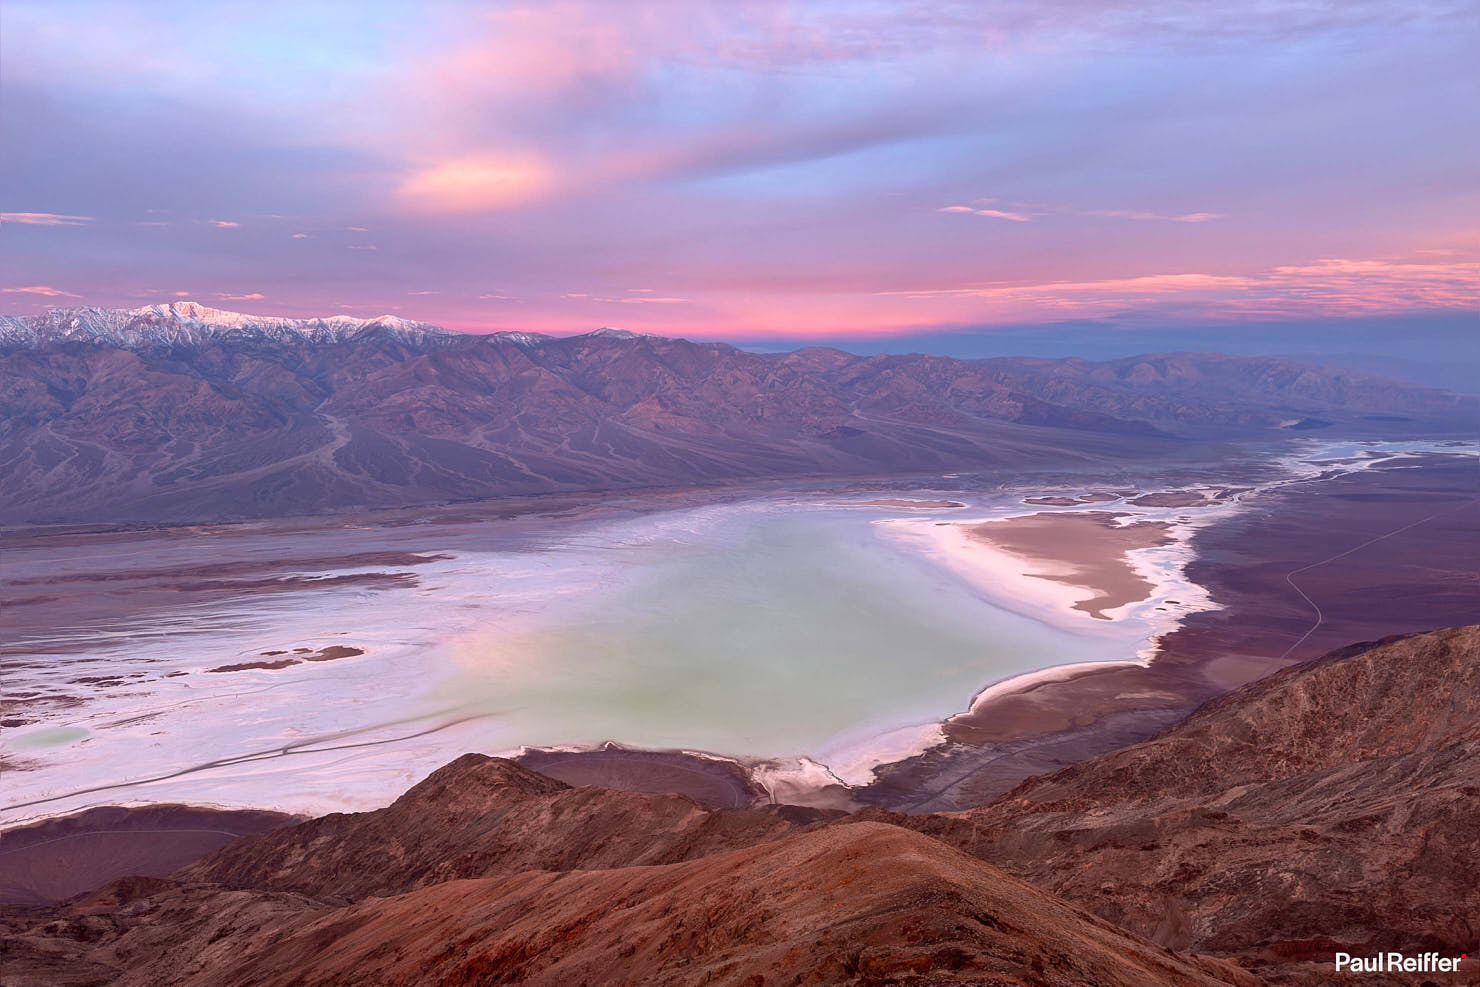
In reality, this particular morning was so vivid, I had my sunglasses on before sunrise to be able to see the sky properly – so I’d argue the iPhone 15 Pro Max did an incredible job at capturing what was there.
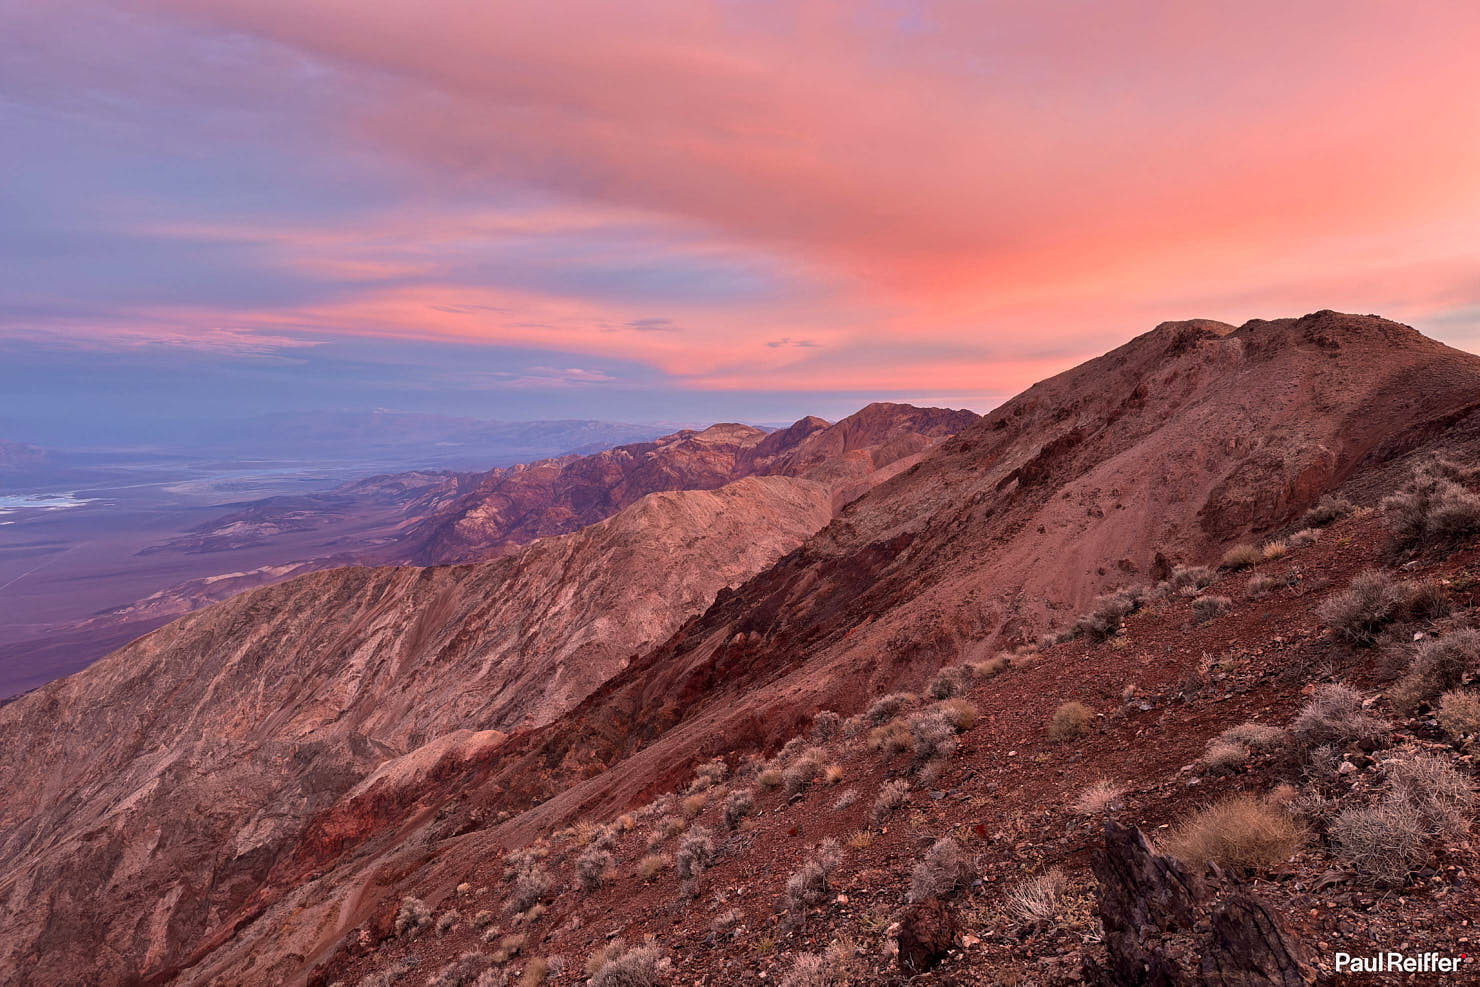
It’s just, printed – or hung on a wall – I’d be tempted to tell the image to “calm down”, just a little…!
Shallow Depth of Field
One of the challenges of a small sensor, even with what appears to be a lineup of wide apertures on the 13mm f/1.7, 24mm f/2.2 and 120mm f/2.8 lenses of iPhone 15 Pro Max, is that those low numbers translate into a relatively long depth of field when you factor in the sensor size.
Is it possible, then, to capture shallow depths of field on such lenses? Sure it is.

You just need to get closer.
Of course, you can also invoke “Portrait” mode for a bit of “Fokeh”, but while you don’t have the luxury of using a wider aperture, you can force iPhone to only be able to focus on what you want sharp.

If shooting at 2x, for example, try shooting 1x but a lot closer – you’ll see a natural fall-off occurs (such as between gas pump and car on the left, or car and mountain on the right shot) – add in some apps and you’ll be able to control a few more aspects in software too.
Sun Flares (or lack of)
The challenge with those tiny sensors that affects both bokeh and depth of field also finds itself as the culprit in our lack of lens flares / sun stars / pinwheels / starbursts (or whatever else you’d like to call them).
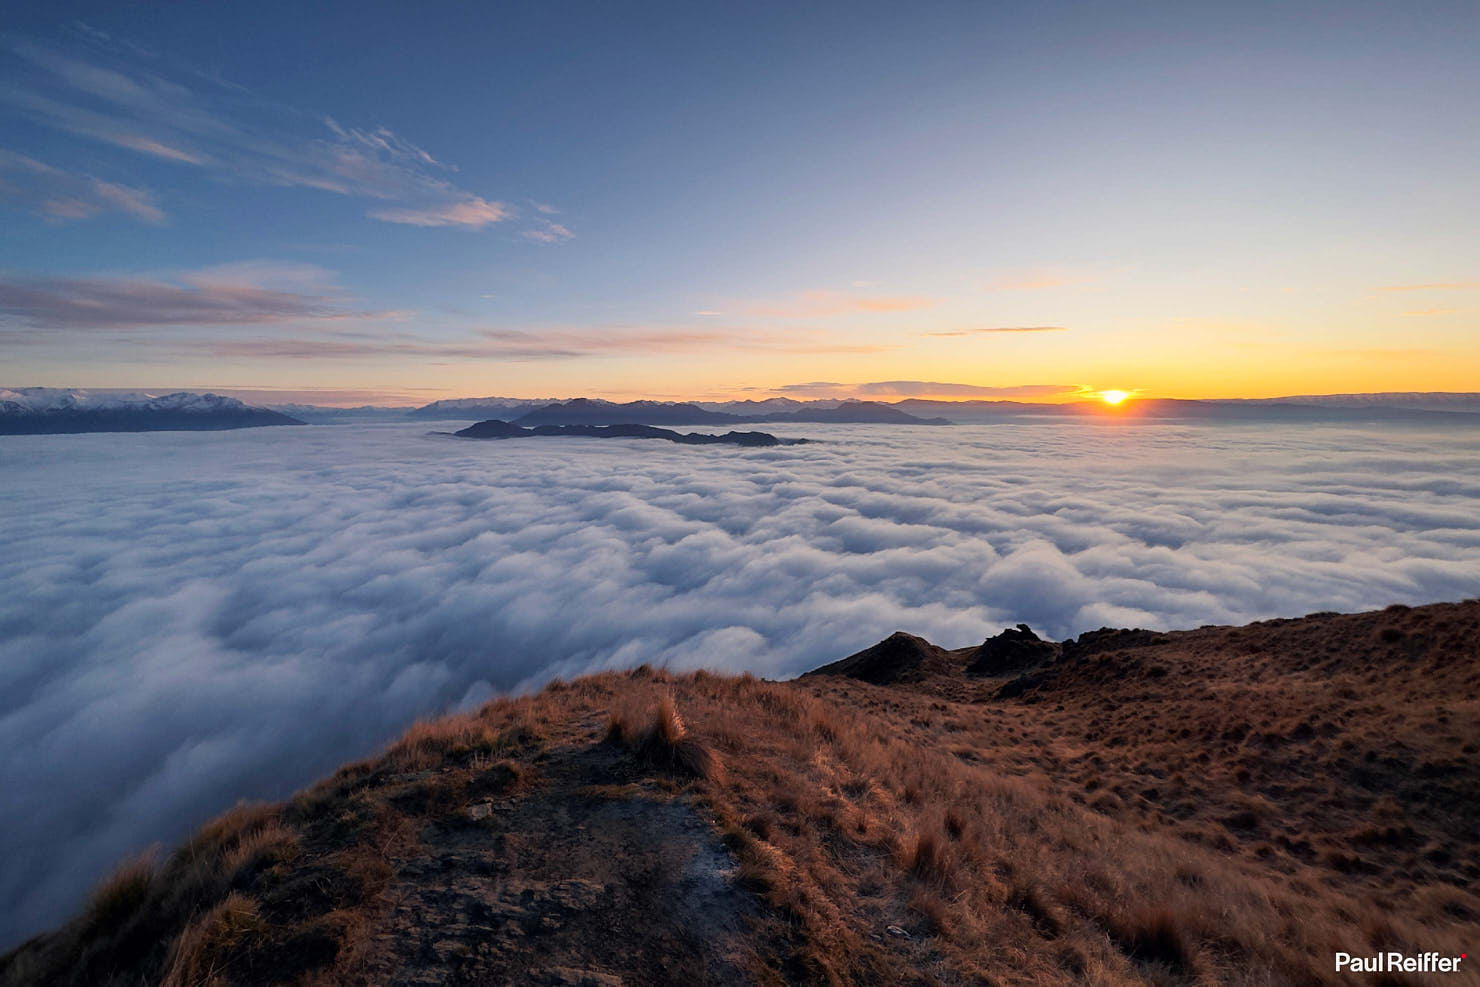
There are apps out there that can allow you to switch, in software, to an equivalent smaller aperture (on 35mm we’re generally looking for f/11-f/16 to guarantee a “burst” when the sun hits) – but it’s one thing that all phone cameras still struggle to deliver.
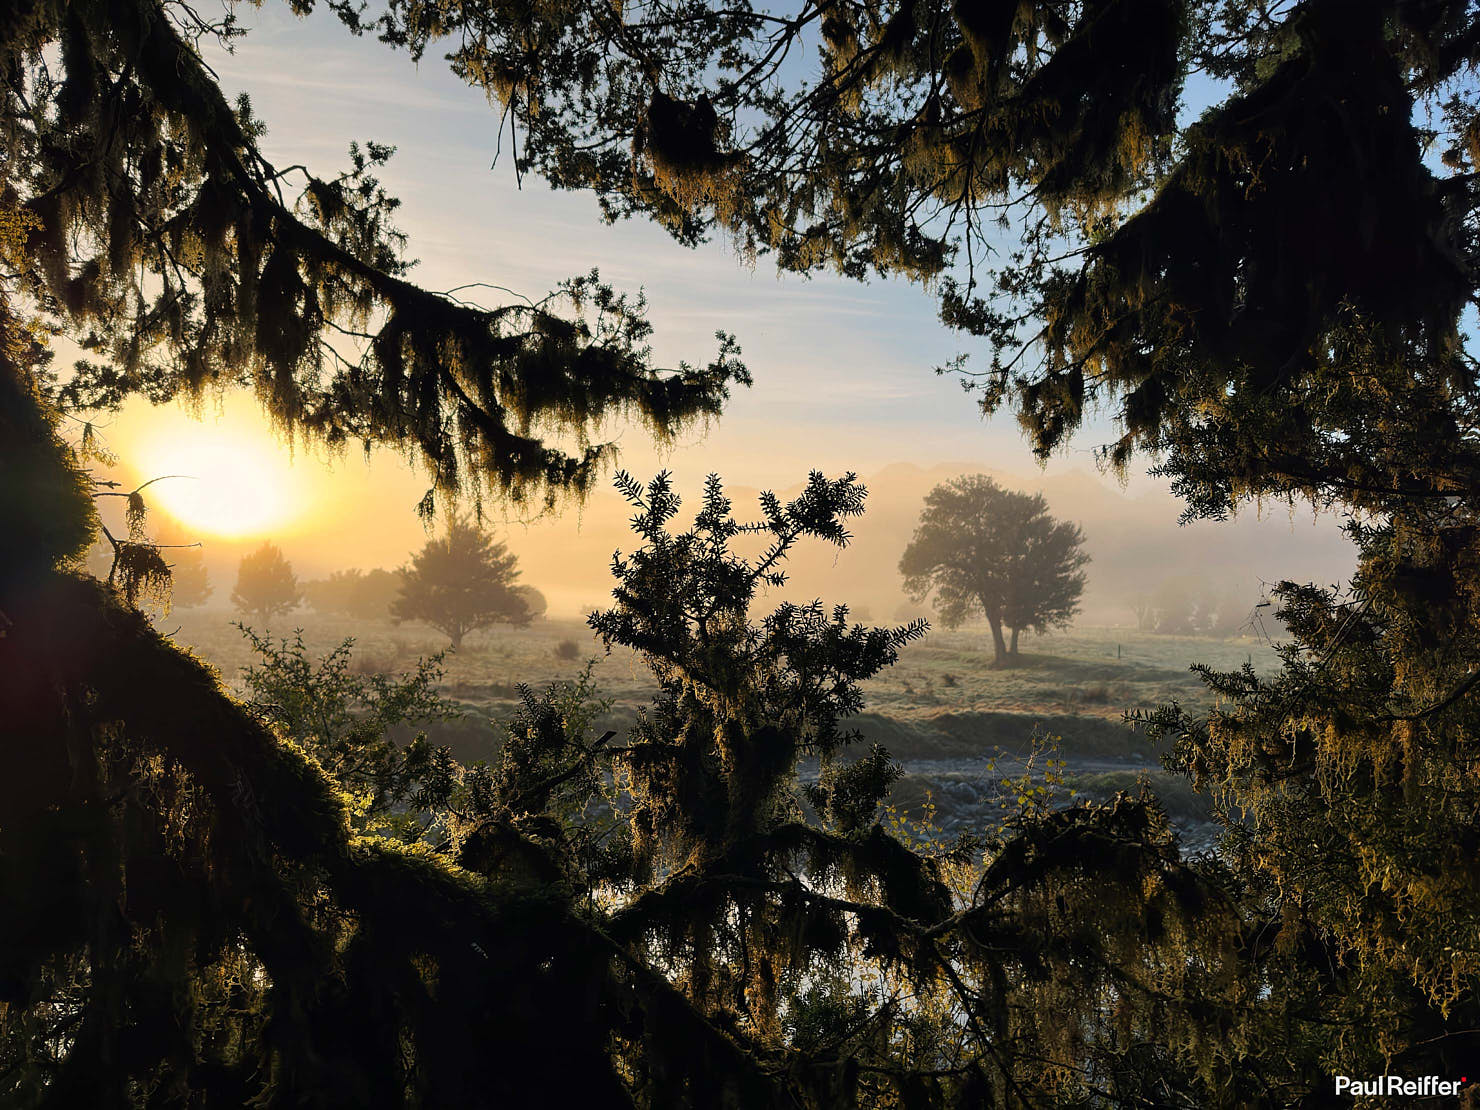
There are scenes that I’d have loved to have offered up a natural sunburst at the point the light hit – whether on a hazy morning above the misty lakes in New Zealand, or over the newly formed salt pool in Death Valley – but these tiny sensors and lens combinations can’t quite manage it for now.
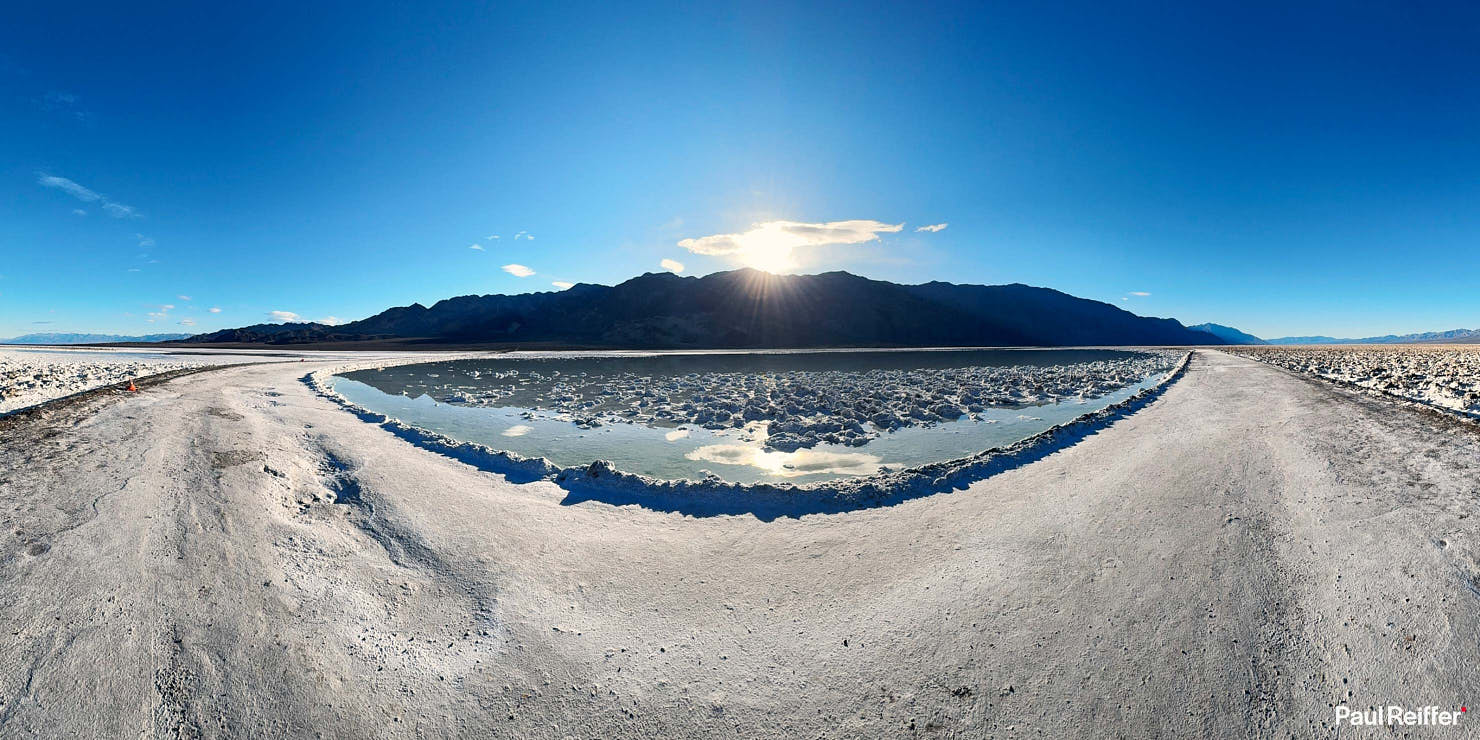
Will there come a point where they natively can? I’m not sure – the physical size restrictions in those camera arrays may take quite some engineering to improve things to that extent – but I’d sure love to see it, without the need for computational interference or (gasp) AI trying its hand at a fake one.
Concerts & Tricky Lighting
So I guess that brings me tight back to my early beginnings with iPhone – 15 years ago, when I was one of many trying to record concerts I’d gone to on my phone to remember in future.
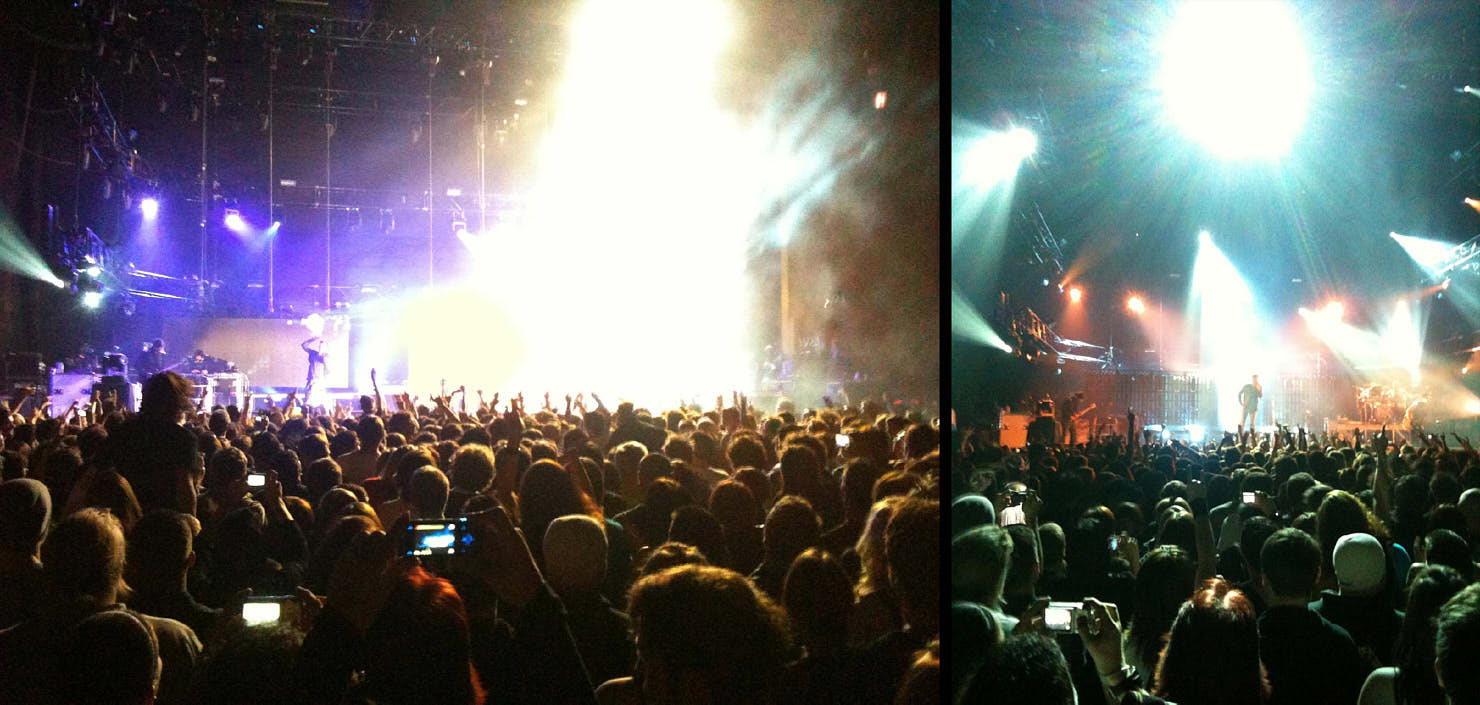
Only, it wasn’t actually very good for being able to reminisce over great nights – as I can’t actually see who it was.
Fast forward to the past 12 months, and even at a distance my iPhone is picking up details like never before – in truly difficult lighting scenarios, with every challenge thrown at it.
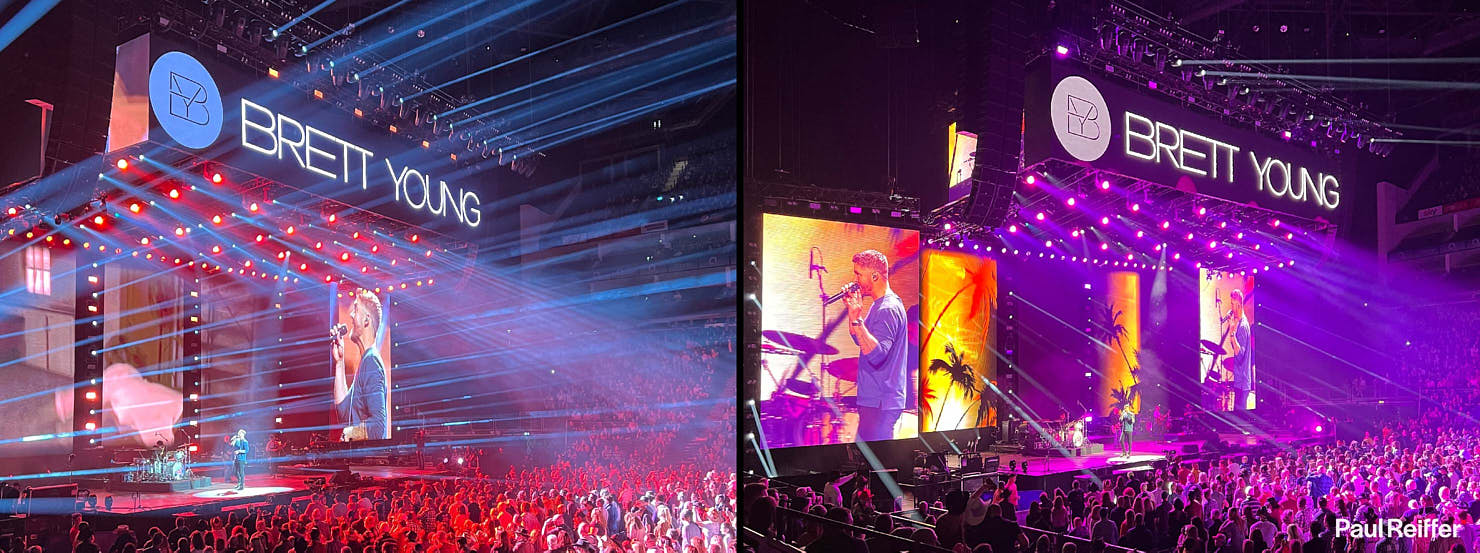
Plus, it’s there for those spontaneous moments that nobody could have predicted – right in my pocket, ready to go.
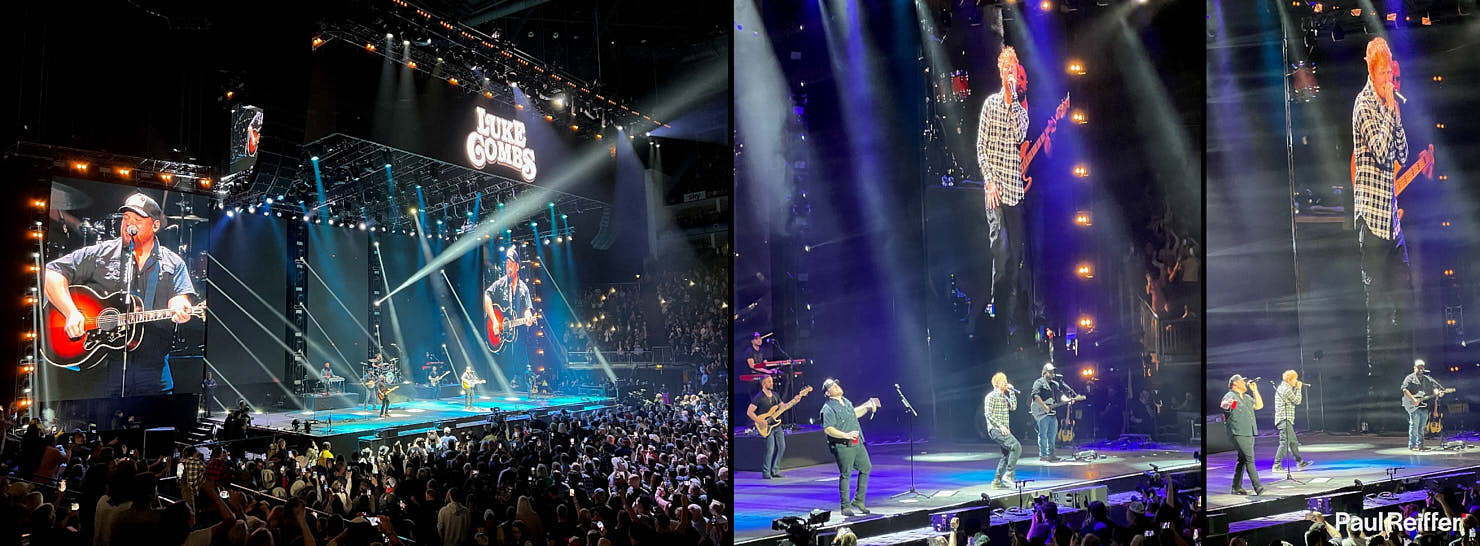
Just remember to put the camera down at least every now and then, and actually enjoy the world – for real.
iPhone 16 and beyond
In a week’s time, we’ll see what Apple has in-store for us in the latest iPhone iterations.
From standard, to Pro, to Max – I’m sure it’ll offer up another huge step towards delivering incredible image quality and features that offer a truly mobile photographic option that’s hard to beat.
